Last post we took the plaster down from the bedroom and closet. Now we move on to the original bathroom.

To recap our plans: The original 1st floor layout of the bedrooms and bathroom has 2 bedrooms with a bathroom inbetween. The bedrooms and bathroom comprised the entire North side of the 1st floor. The only room remaining the same in our plans is the West bedroom.

The bathroom was dismantled in logical order. Water lines turned off and removed from the sink and toilet, vanity removed then the toilet. We shoved a bunch of towels into the waste lines (sticking out for easy removal of course) to keep the sewer gases from coming into the house.


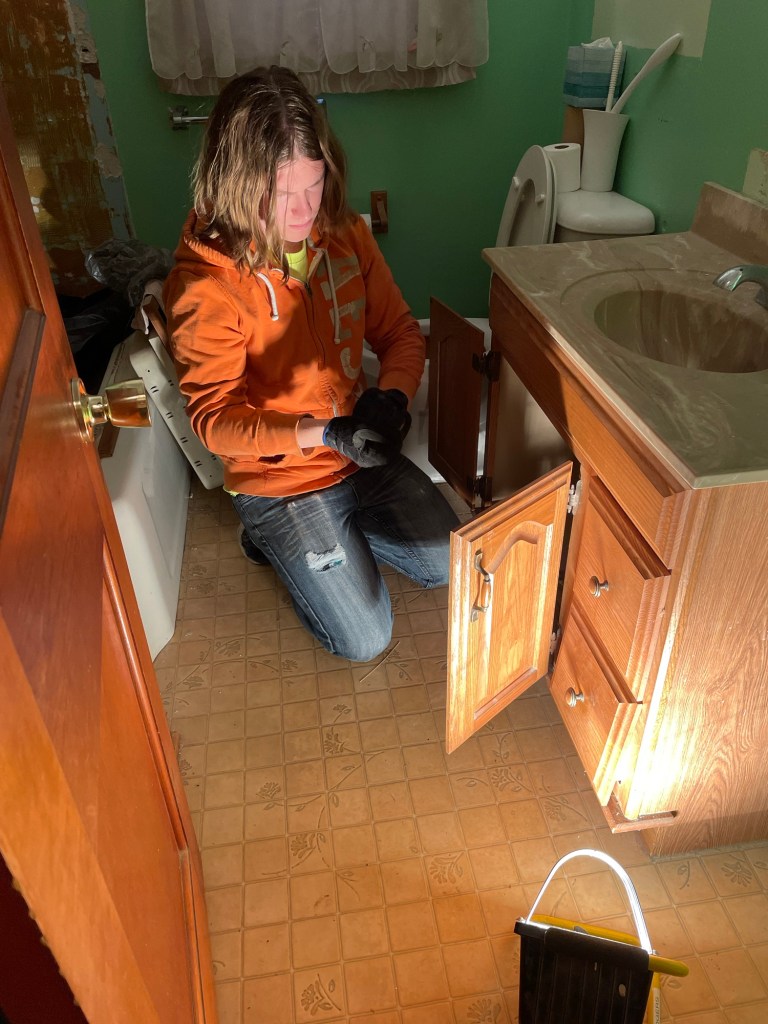

The toilet and sink were easy. They could be lifted and just carried out. Thankfully they both fit through the doorway. The bathroom had a 24″ door, narrower than usual. The challenge would be the tub. Several things would not make moving the tub easy. First, and most obvious is the size. The only way it would fit through the doorway would be to turn it on its side, since it is 32″ and the door was 24″, it is wider than the door. Knocking on it, we were very confident it was cast iron coasted with porcelain – heavy. Best guess on weight (looking at what the same size weighs) would be 350 pounds. Even with the toilet and vanity removed, this is not a luxuriously large room to maneuver this beast around in. Lastly, the largest obstacle to the removal of the tub would be how it was installed.
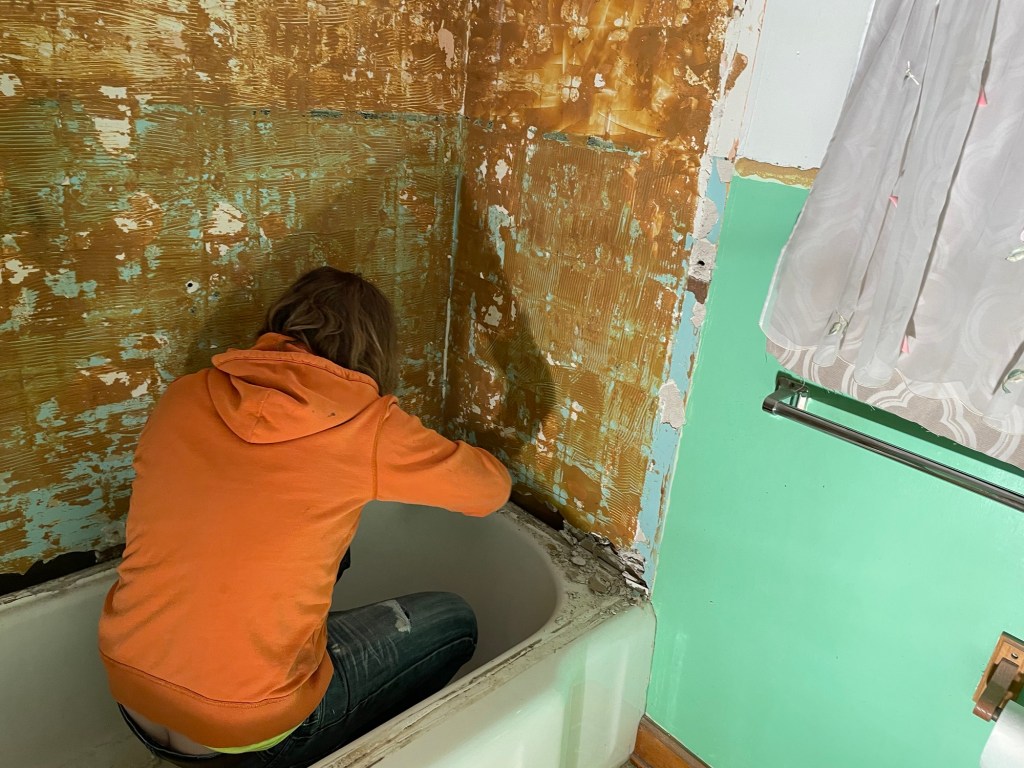
This is an alcove tub. When installing the tub is set into place on the studded walls, and then the drywall (or plaster & rock lath) is installed, and goes over the top of a small lip on the top of the tub. This helps keep water from going behind the tub (a total nightmare I don’t want to imagine). The drywall or plaster & rock lath also goes infront of the tub, tucking it in nice and tight. This is all great to insure waterproofing, terrible for figuring out how to remove the tub.
The shower doors and tile had been removed earlier, so we no longer had to worry about that. We had contemplated reusing the tub in the new bathroom, there was one problem. In the layout of the new bathroom, this tub had the faucets on the wrong end. I’m sure at least one person besides me is asking, does which end the faucets are on really matter? I learned, yes. Keep in mind this is a stone house, and the basement is also stone. Then there is the space where the timbers of the frame for the interior of the house rest on the fieldstone foundation. This is a classic spot for pipes to freeze in the winter especially if the wind is blowing in the right direction. We are up on top of a hill, with not a whole lot to stop the wind. Brad wanted the faucets on the interior of the new alcove to protect the pipes from freezing. Having had to thaw pipes growing up because of a similar scenario if we put them on the outside wall, I could see his logic and agreed, we would not be reusing this tub.
Our oldest was home for Christmas break and was helping Brad brainstorm on how to move the tub. Brad had a thought. Confirmed that we were quite sure it was cast iron, and he was certain that we would not be reusing it. He went and got the sledge hammer, and with a good swing cracked the tub. A few more swings (and ear protection) the tub left the house in pieces. Was this a waste, perhaps. It was not a vintage claw foot tub or anything noteworthy. We try our best to reuse when we can, and donate to Goodwill, St. Vincent de Paul, and the ReStore when we can. In all practicality, this was the only way (without more work than it was worth) to remove the tub.
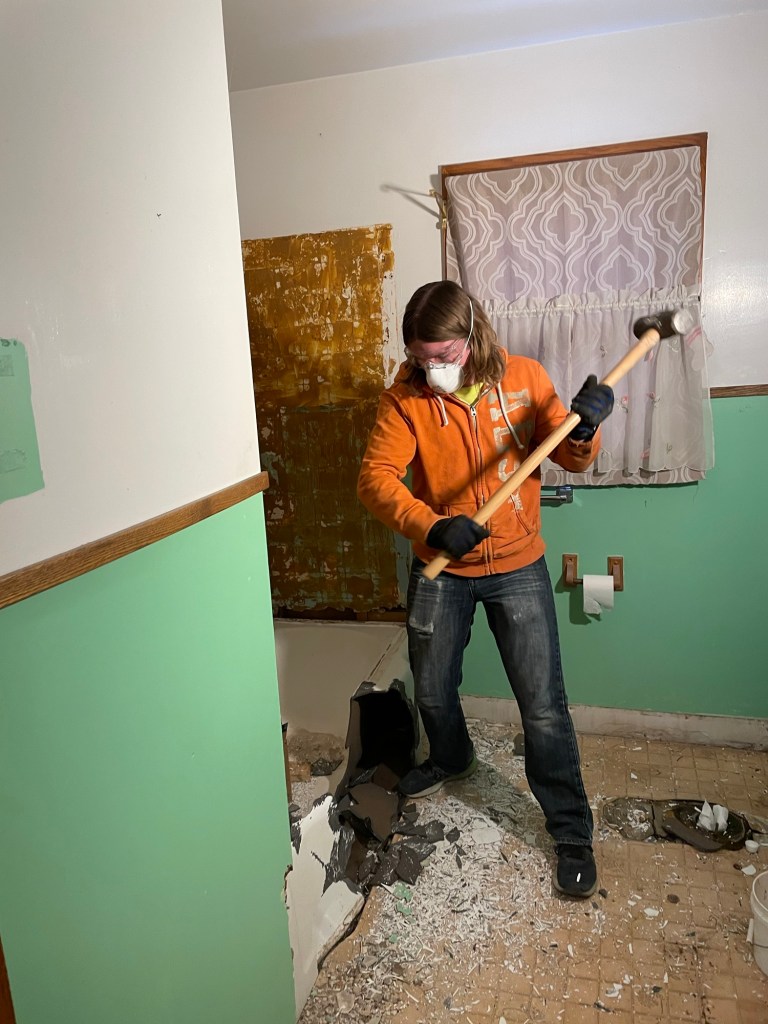


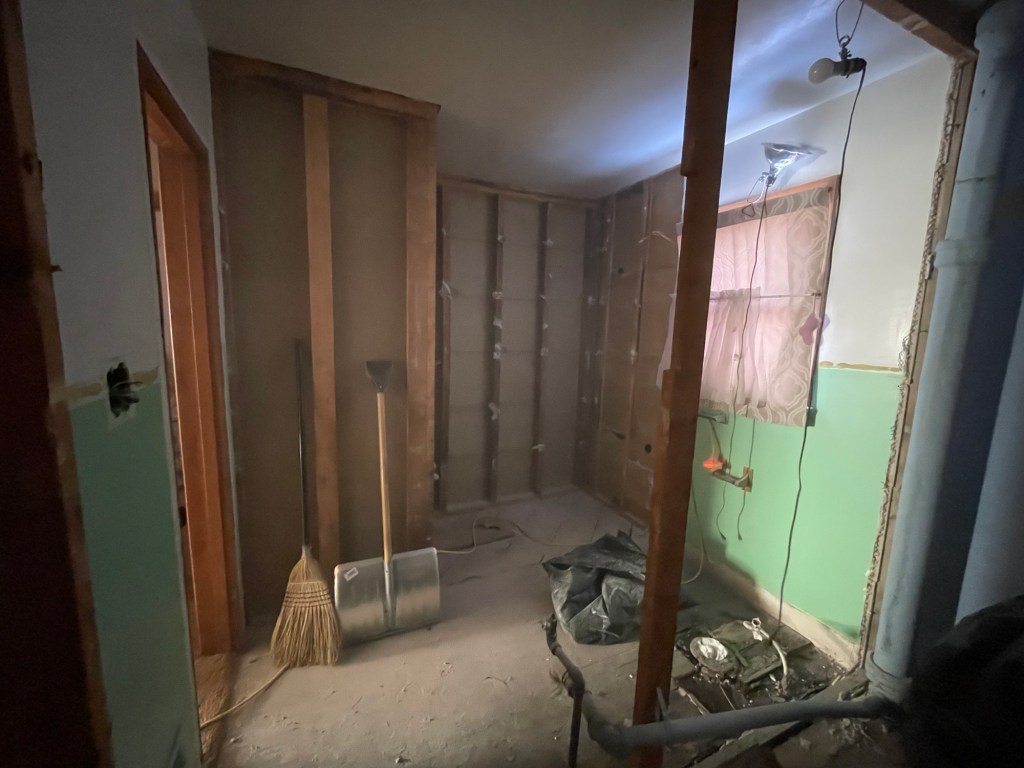
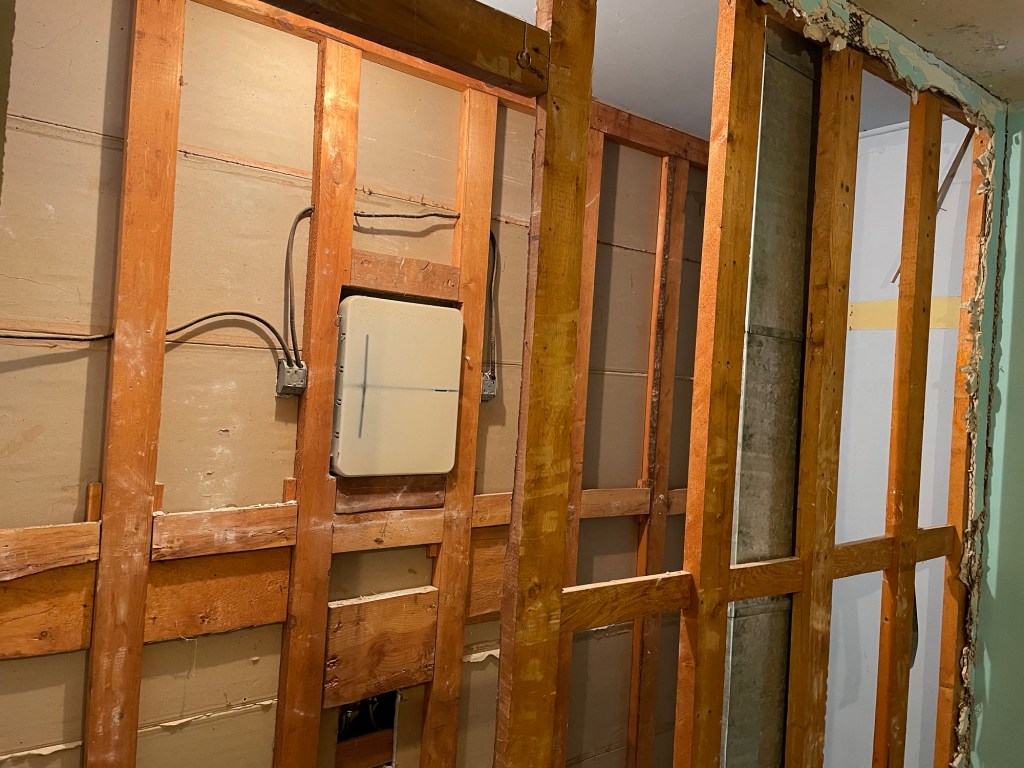
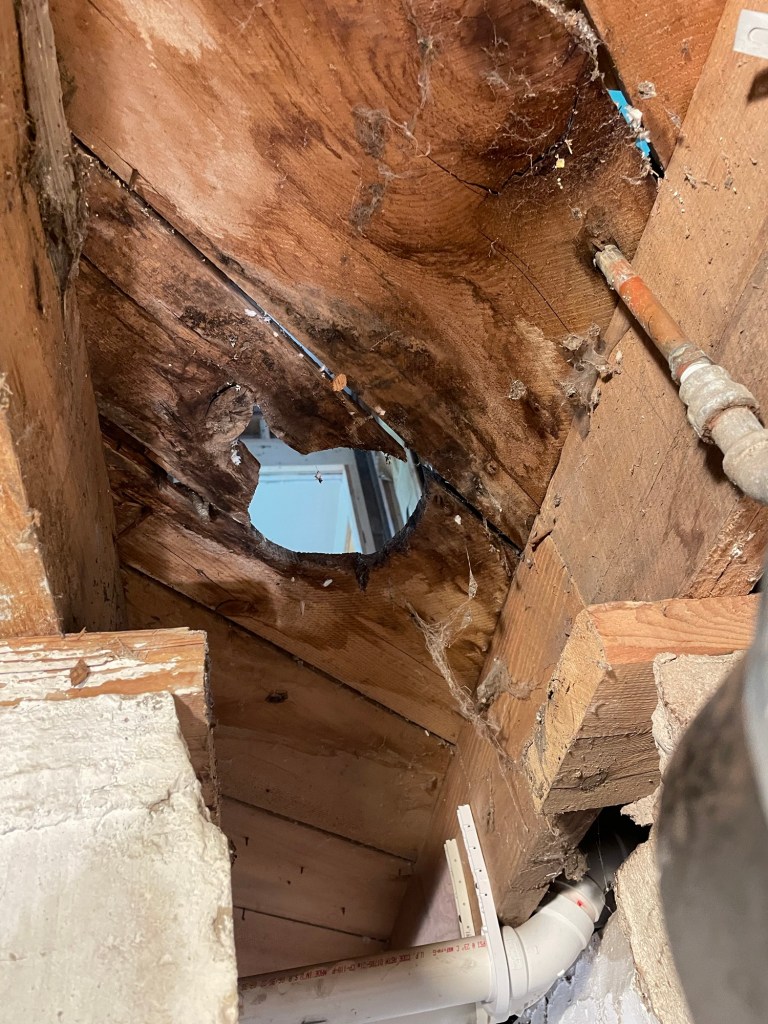
Once that was out – I first made Brad put a board over where the drain line had been. Last thing we needed was someone taking the fast route to the basement. Then we removed the plaster and rock lath from most of the walls. Brad used a oscillating tool (not reciprocating, that’s the Sawzall) with different attachments to cleanly cut the “lovely” plaster and rock lath where we were saving the plaster.


Then it was LOTS of clean-up. We removed the plaster & rock lath in large chunks whenever possible. Still the amount of plaster dust was staggering. As we’ve done throughout this project, safety glasses and dust masks were worn. We switched to full blown respirators if we really questioned something, and ear protection when appropriate.
We took up the vinyl flooring to find another layer of vinyl (yay – not). Took up vinyl layer #2 to find tar paper. Pulling up the carpet from the hall just a little bit, our hopes were confirmed, hardwood in the hall, and most certainly in the living room.
Looking at what we had done, we stood in a wide expanse. There was so much we had done, and so very much more to do. That will have to wait for another post.