Good-bye dirt floor!

We finally got the call from Jack that he was ready to pour the basement floor!!!

We had originally started talking to Jack last year about this time in November 2020. He came and looked at the project and was willing to do it. It wasn’t a big project and our schedule was really flexible. He told us we should talk to him sometime next spring (spring 2021). We touched base with him in spring, and after a conversation decided that it would just be best if he waited until the stone mason was completed with his work to avoid them getting in each other’s way. Darren, the stone mason started in May and the 1 day job turned into 3 weeks (he was awesome, the scope was much bigger than he or we anticipated). (See Pandora’s Box for that story.) So Jack figured he would start sometime in June.

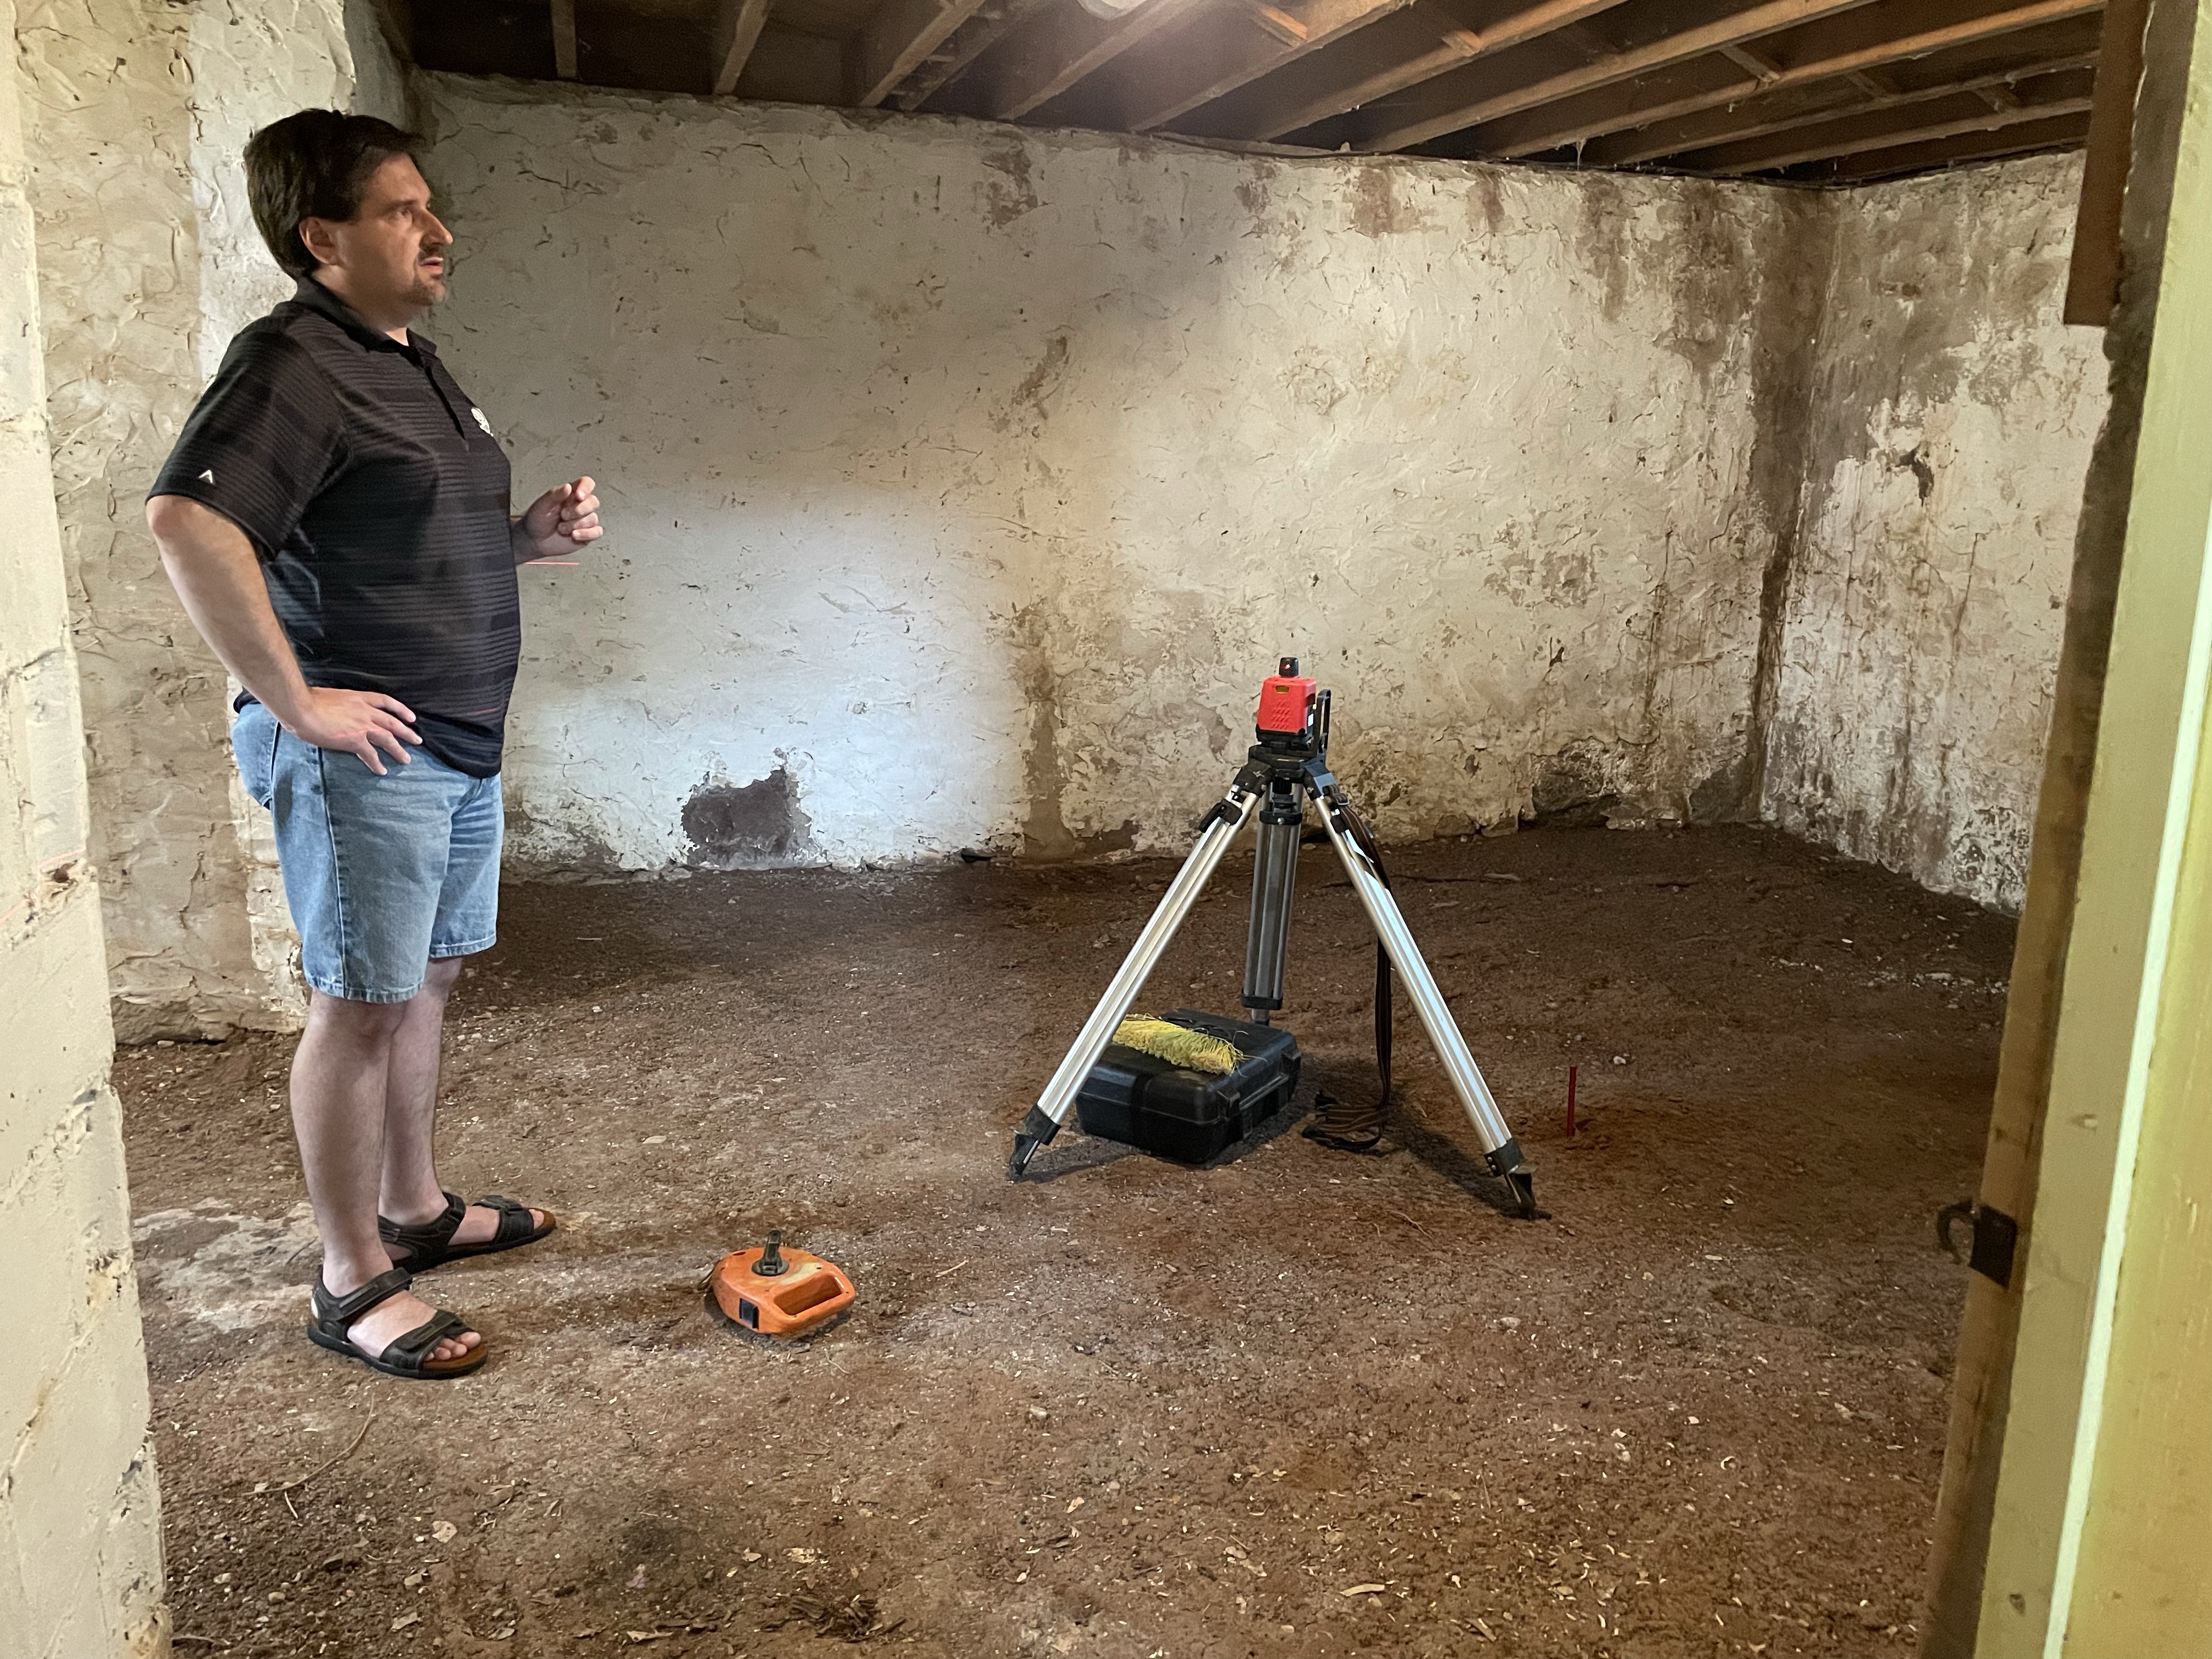
June became July, he had a break in his schedule and was able to come do the transit work. That was done, and then we were gone parts of early August and that messed schedules up. Time was ticking away to when we were loosing our help. Our youngest would be heading off to college, and Jack had been planning on Brandon running the wheelbarrow.

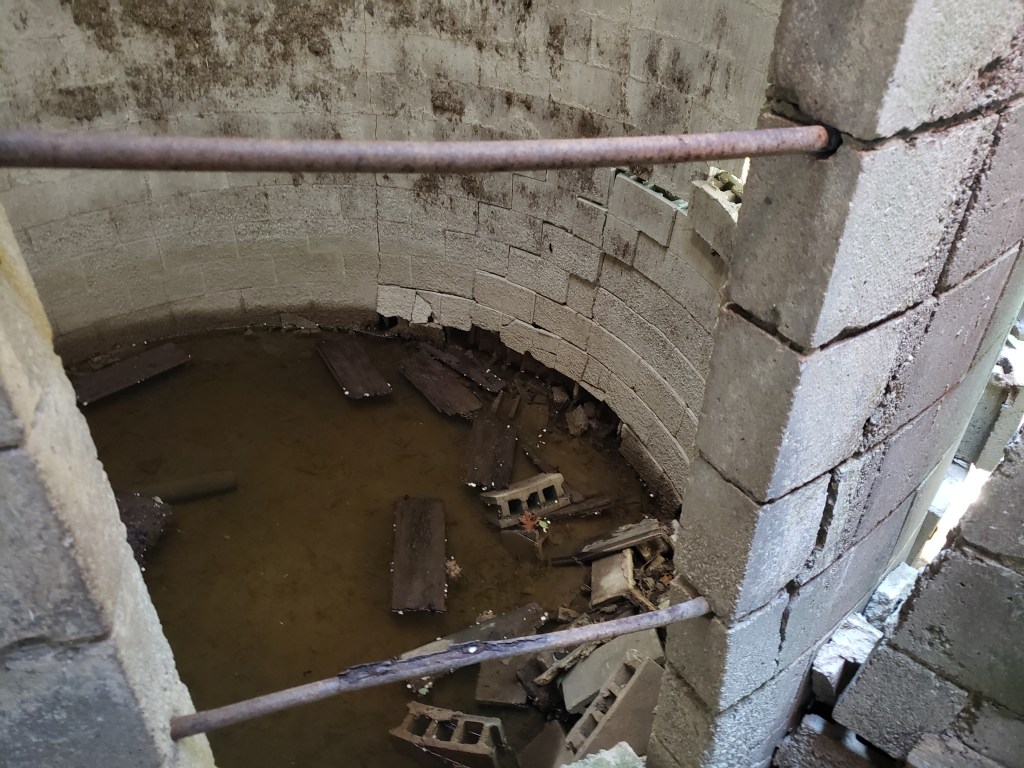
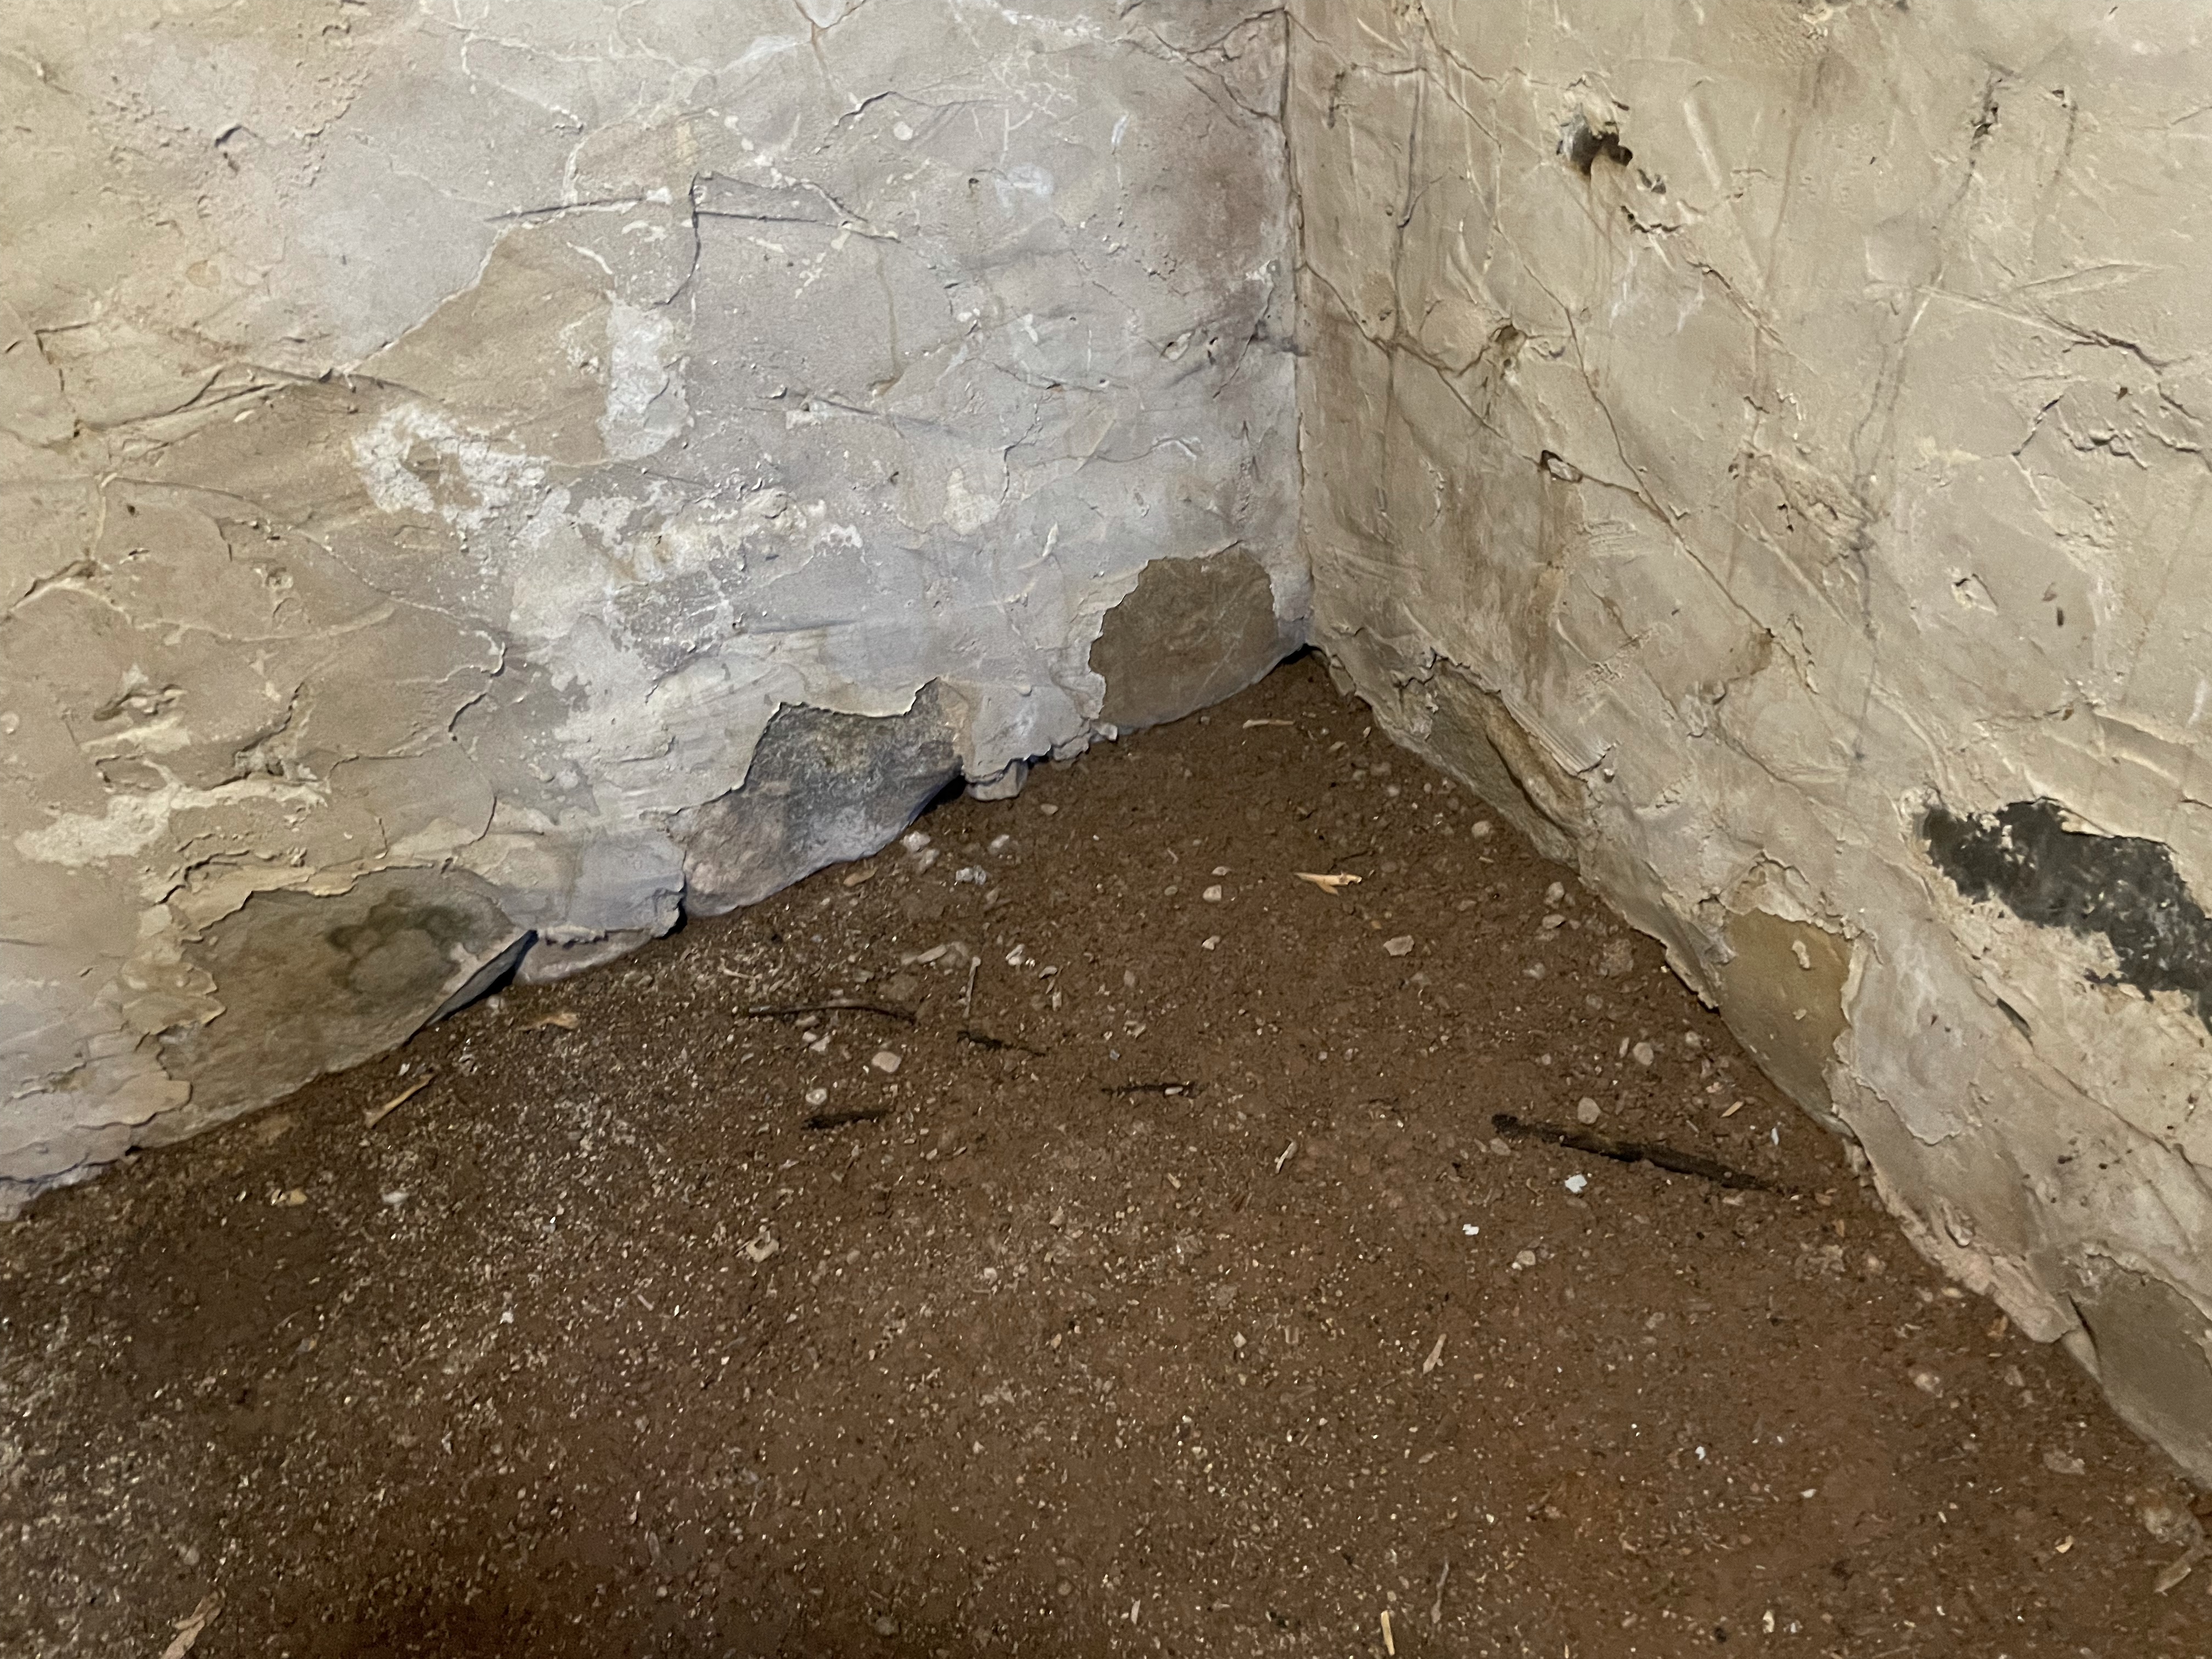
About a year before we originally talked to Jack about this project we had talked to another friend, who works with concrete on an industrial scale for his real job, and also does some stuff on the side. He thought we should take some of the dirt out and put a layer of gravel down for footings. We asked Jack his thoughts on that. Looking at the clay that had become hard packed over 75+ years, he said we were better off leaving it alone. If we dug too much and had to refill, we would never repack as hard as this clay was now. We were not going to complain. The thought of hauling 40 cubic feet of dirt up the steps was not something we looked forward too, so we were only too happy to accept his rationale.

For anyone who’s eyes just bugged out of their heads and is envisioning the floor failing, know that there is a ton of red clay on the property (and in the basement floor). When we dug the trenches we had to use a pick-axe to get through the packed clay. There is nothing going in this room but storage, and the floor will be fairly thick (keep reading).
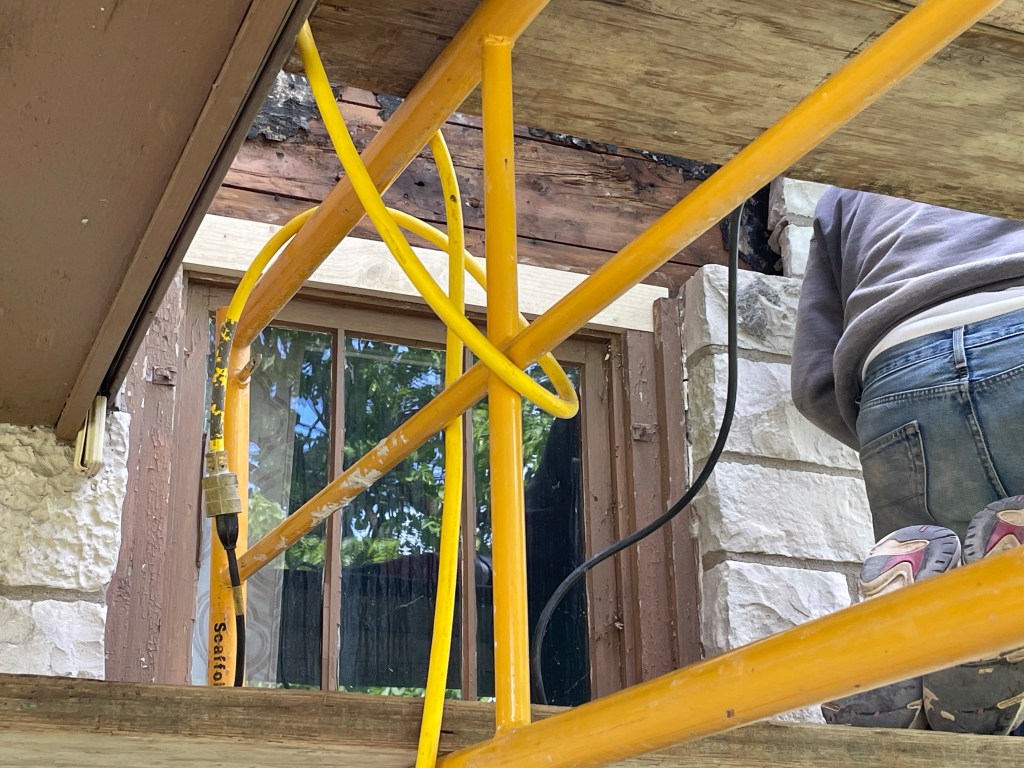
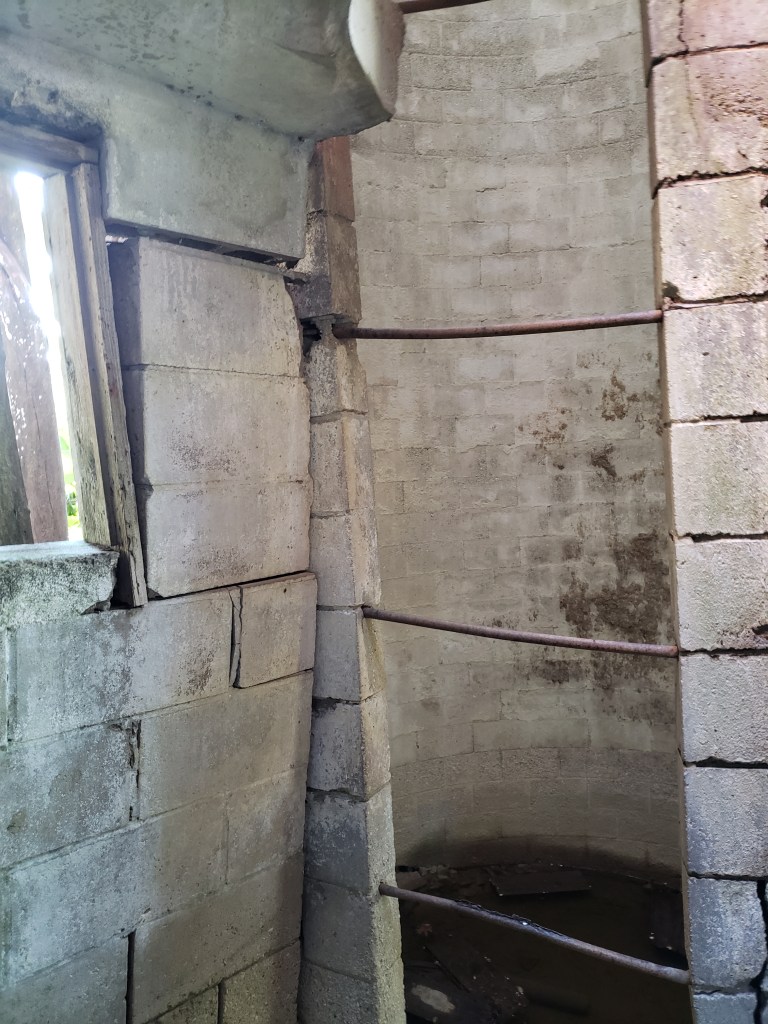
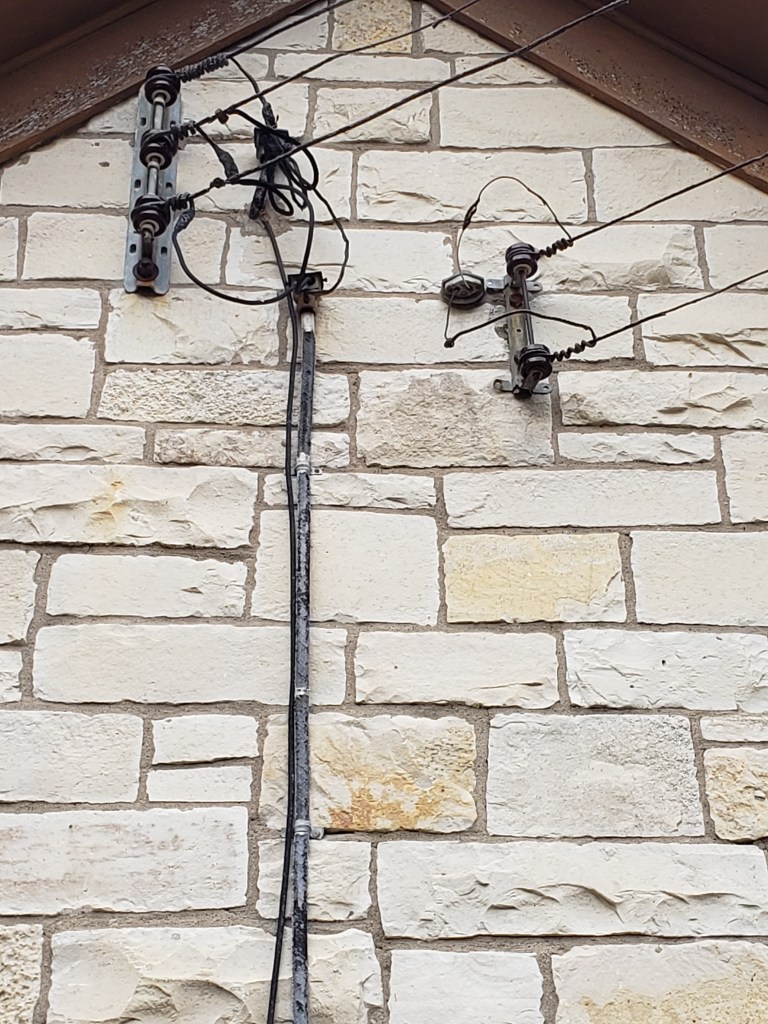
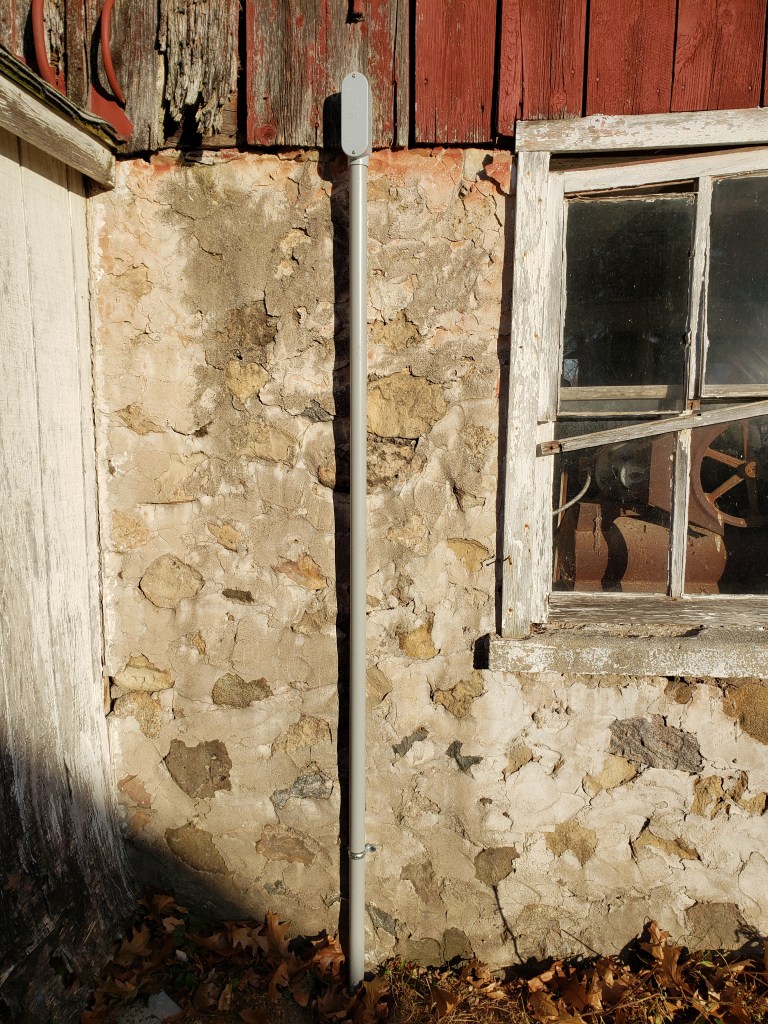
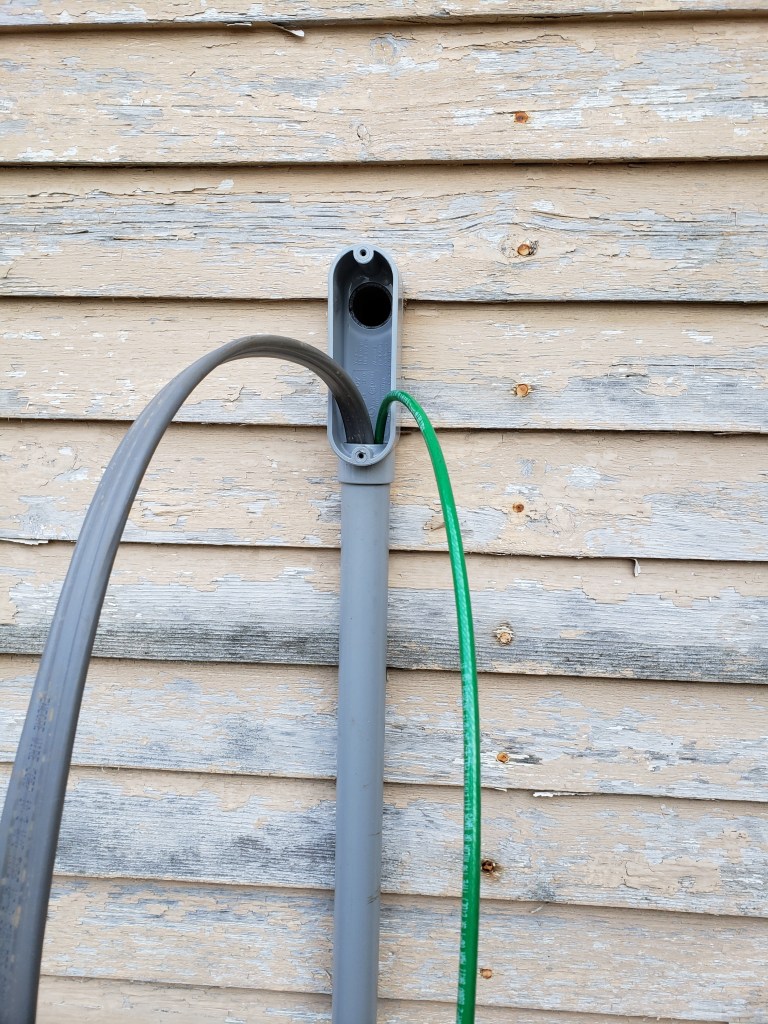
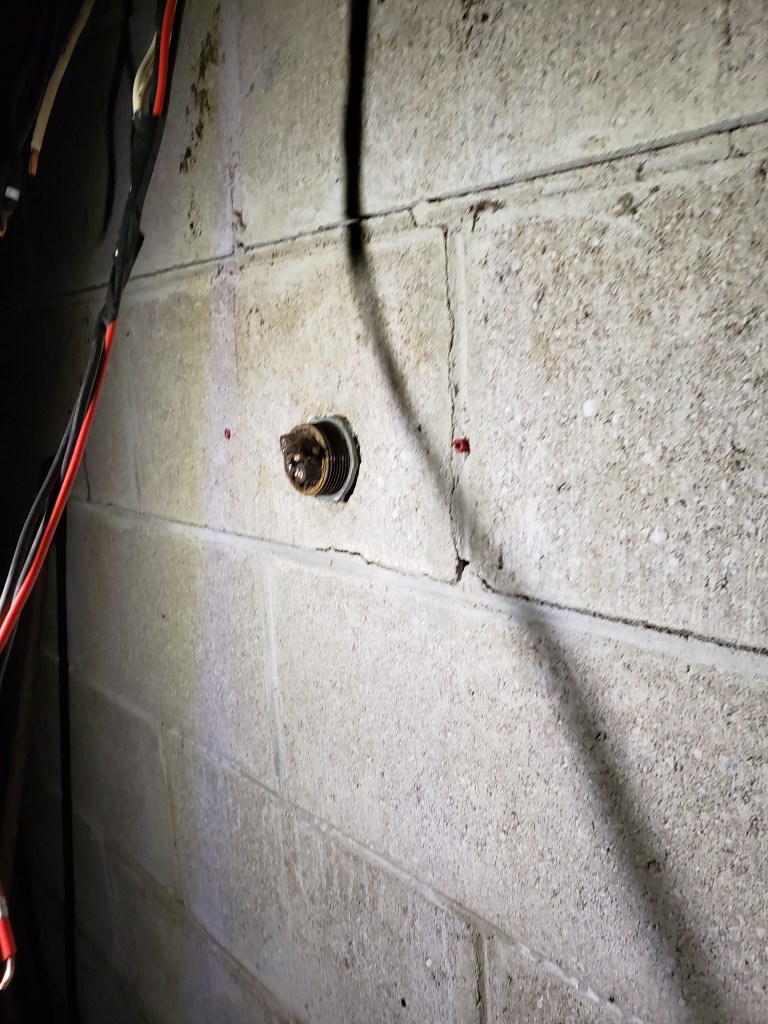
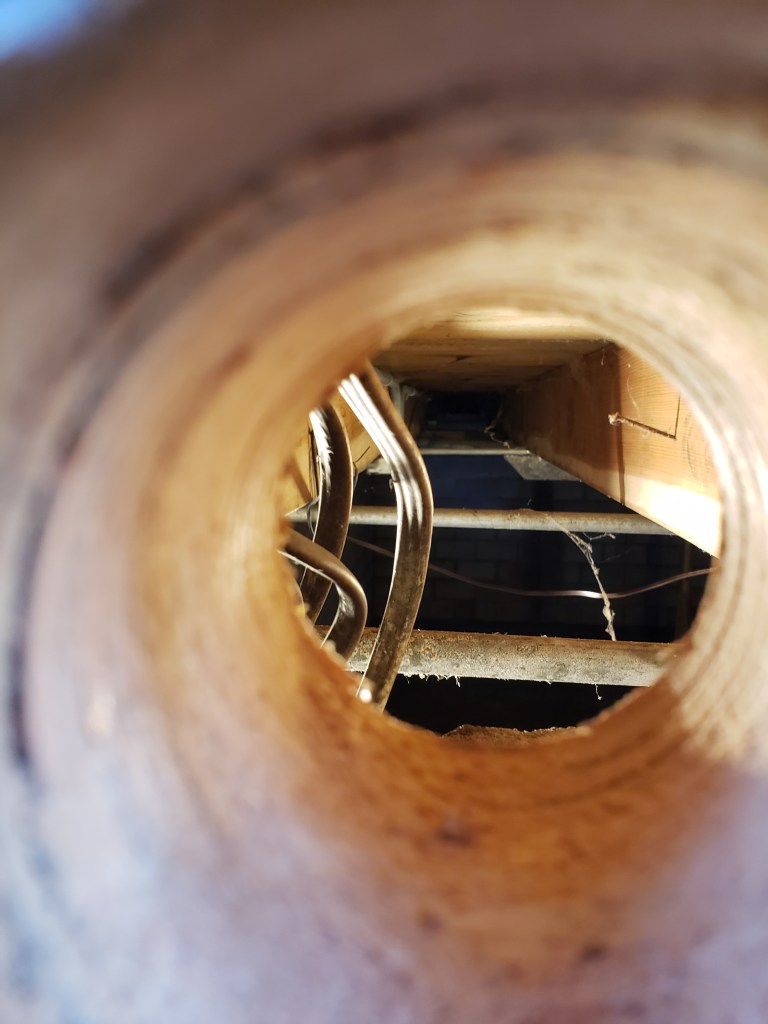
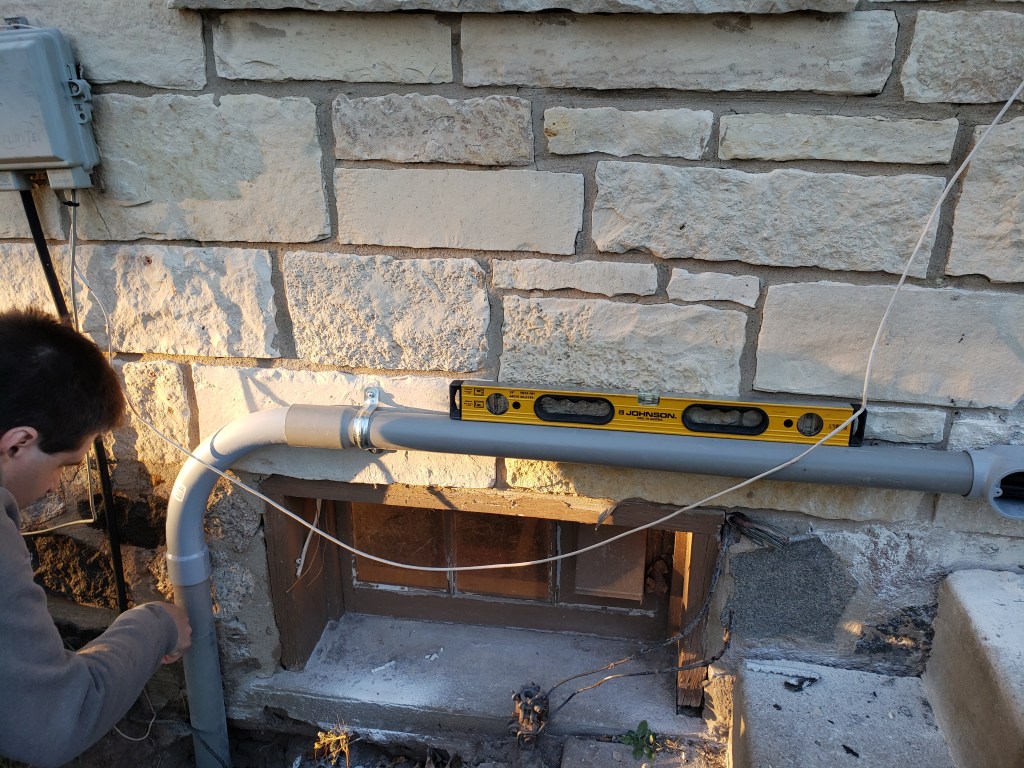
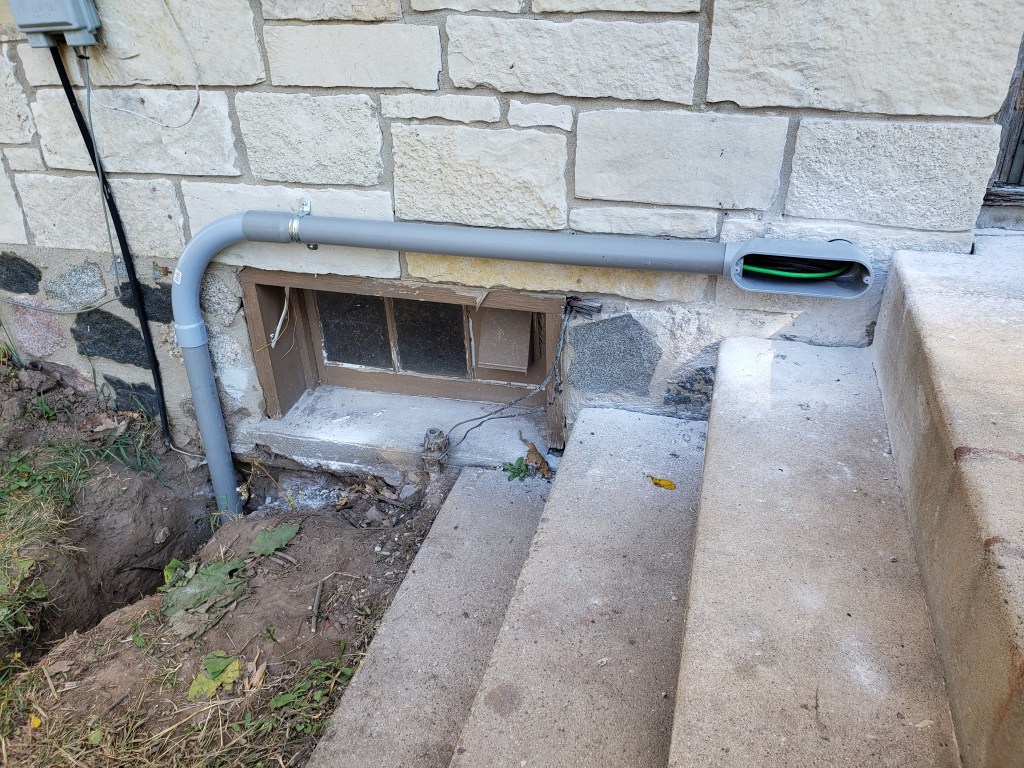
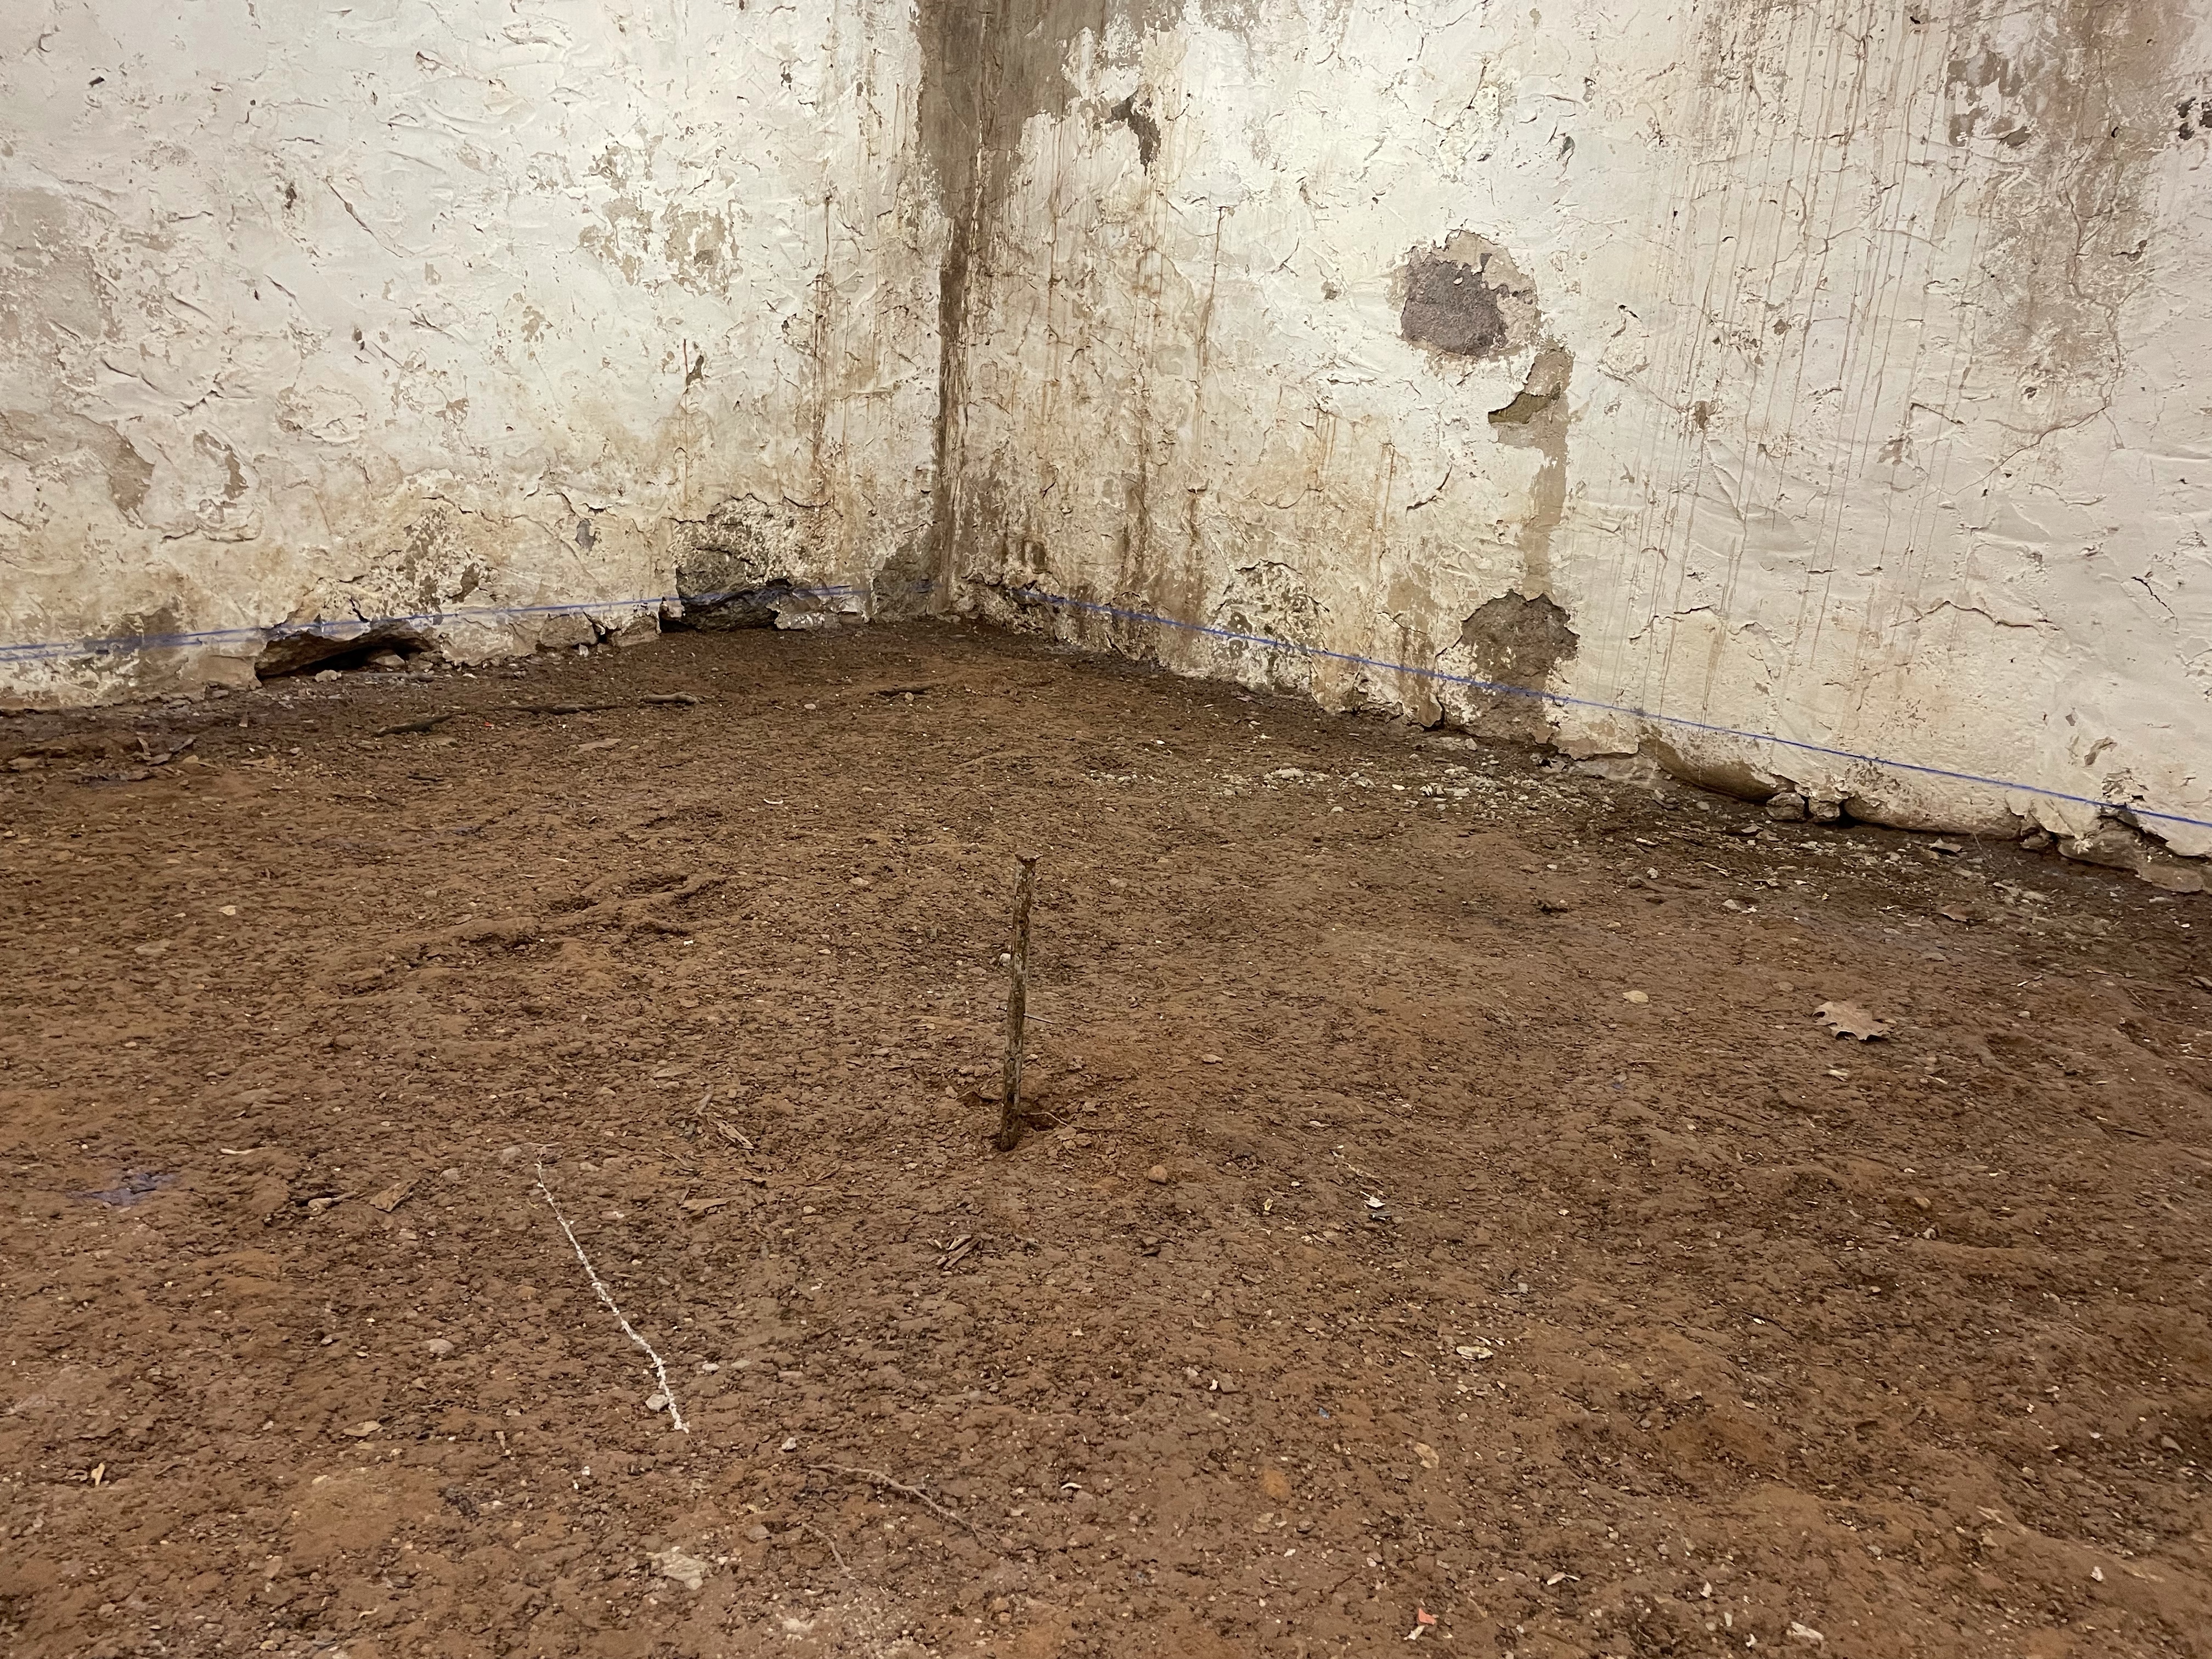
Transit line.
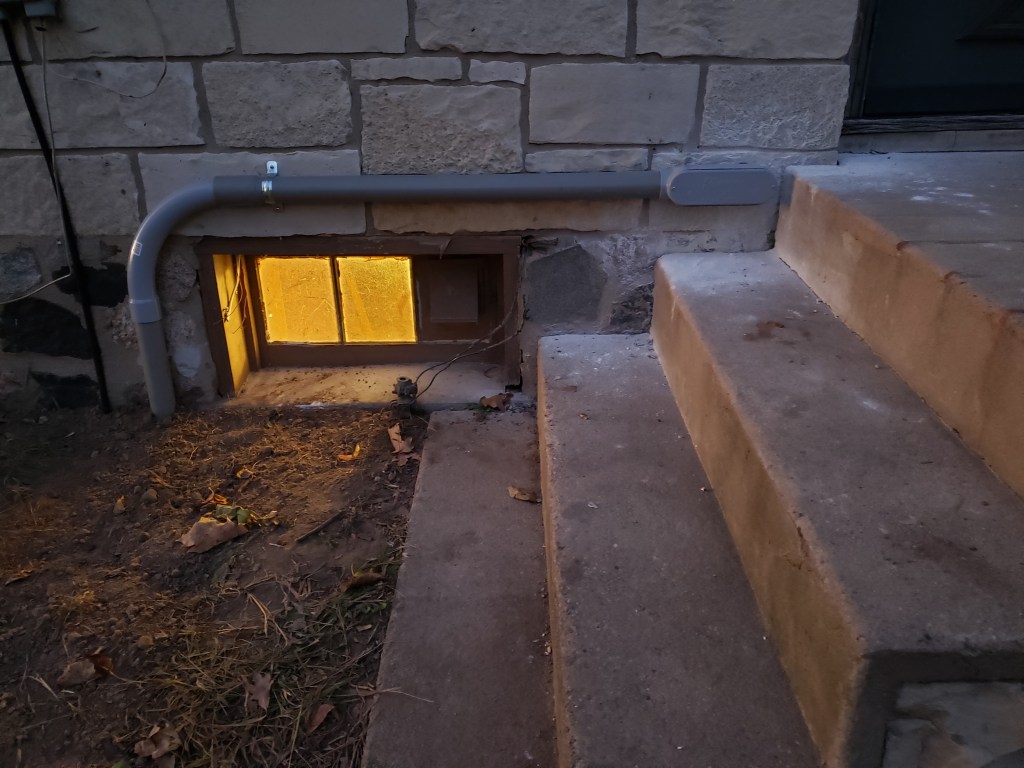
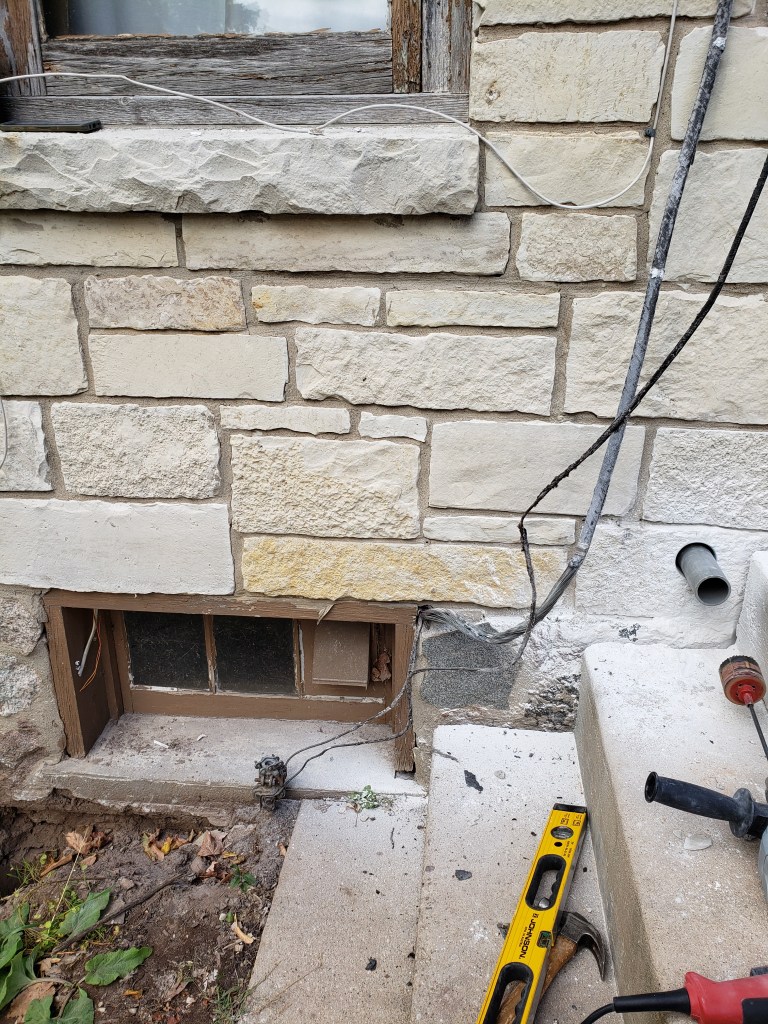
We did have to dig a bit out by the door, so cement could be added without having a step up into the room.

We were home, and then some contractors working for Jack on his own DIY projects finally had a break in their schedule which had a domino effect. Finally a week and a half before Brandon left for college our schedules aligned. Hallelujah!!!

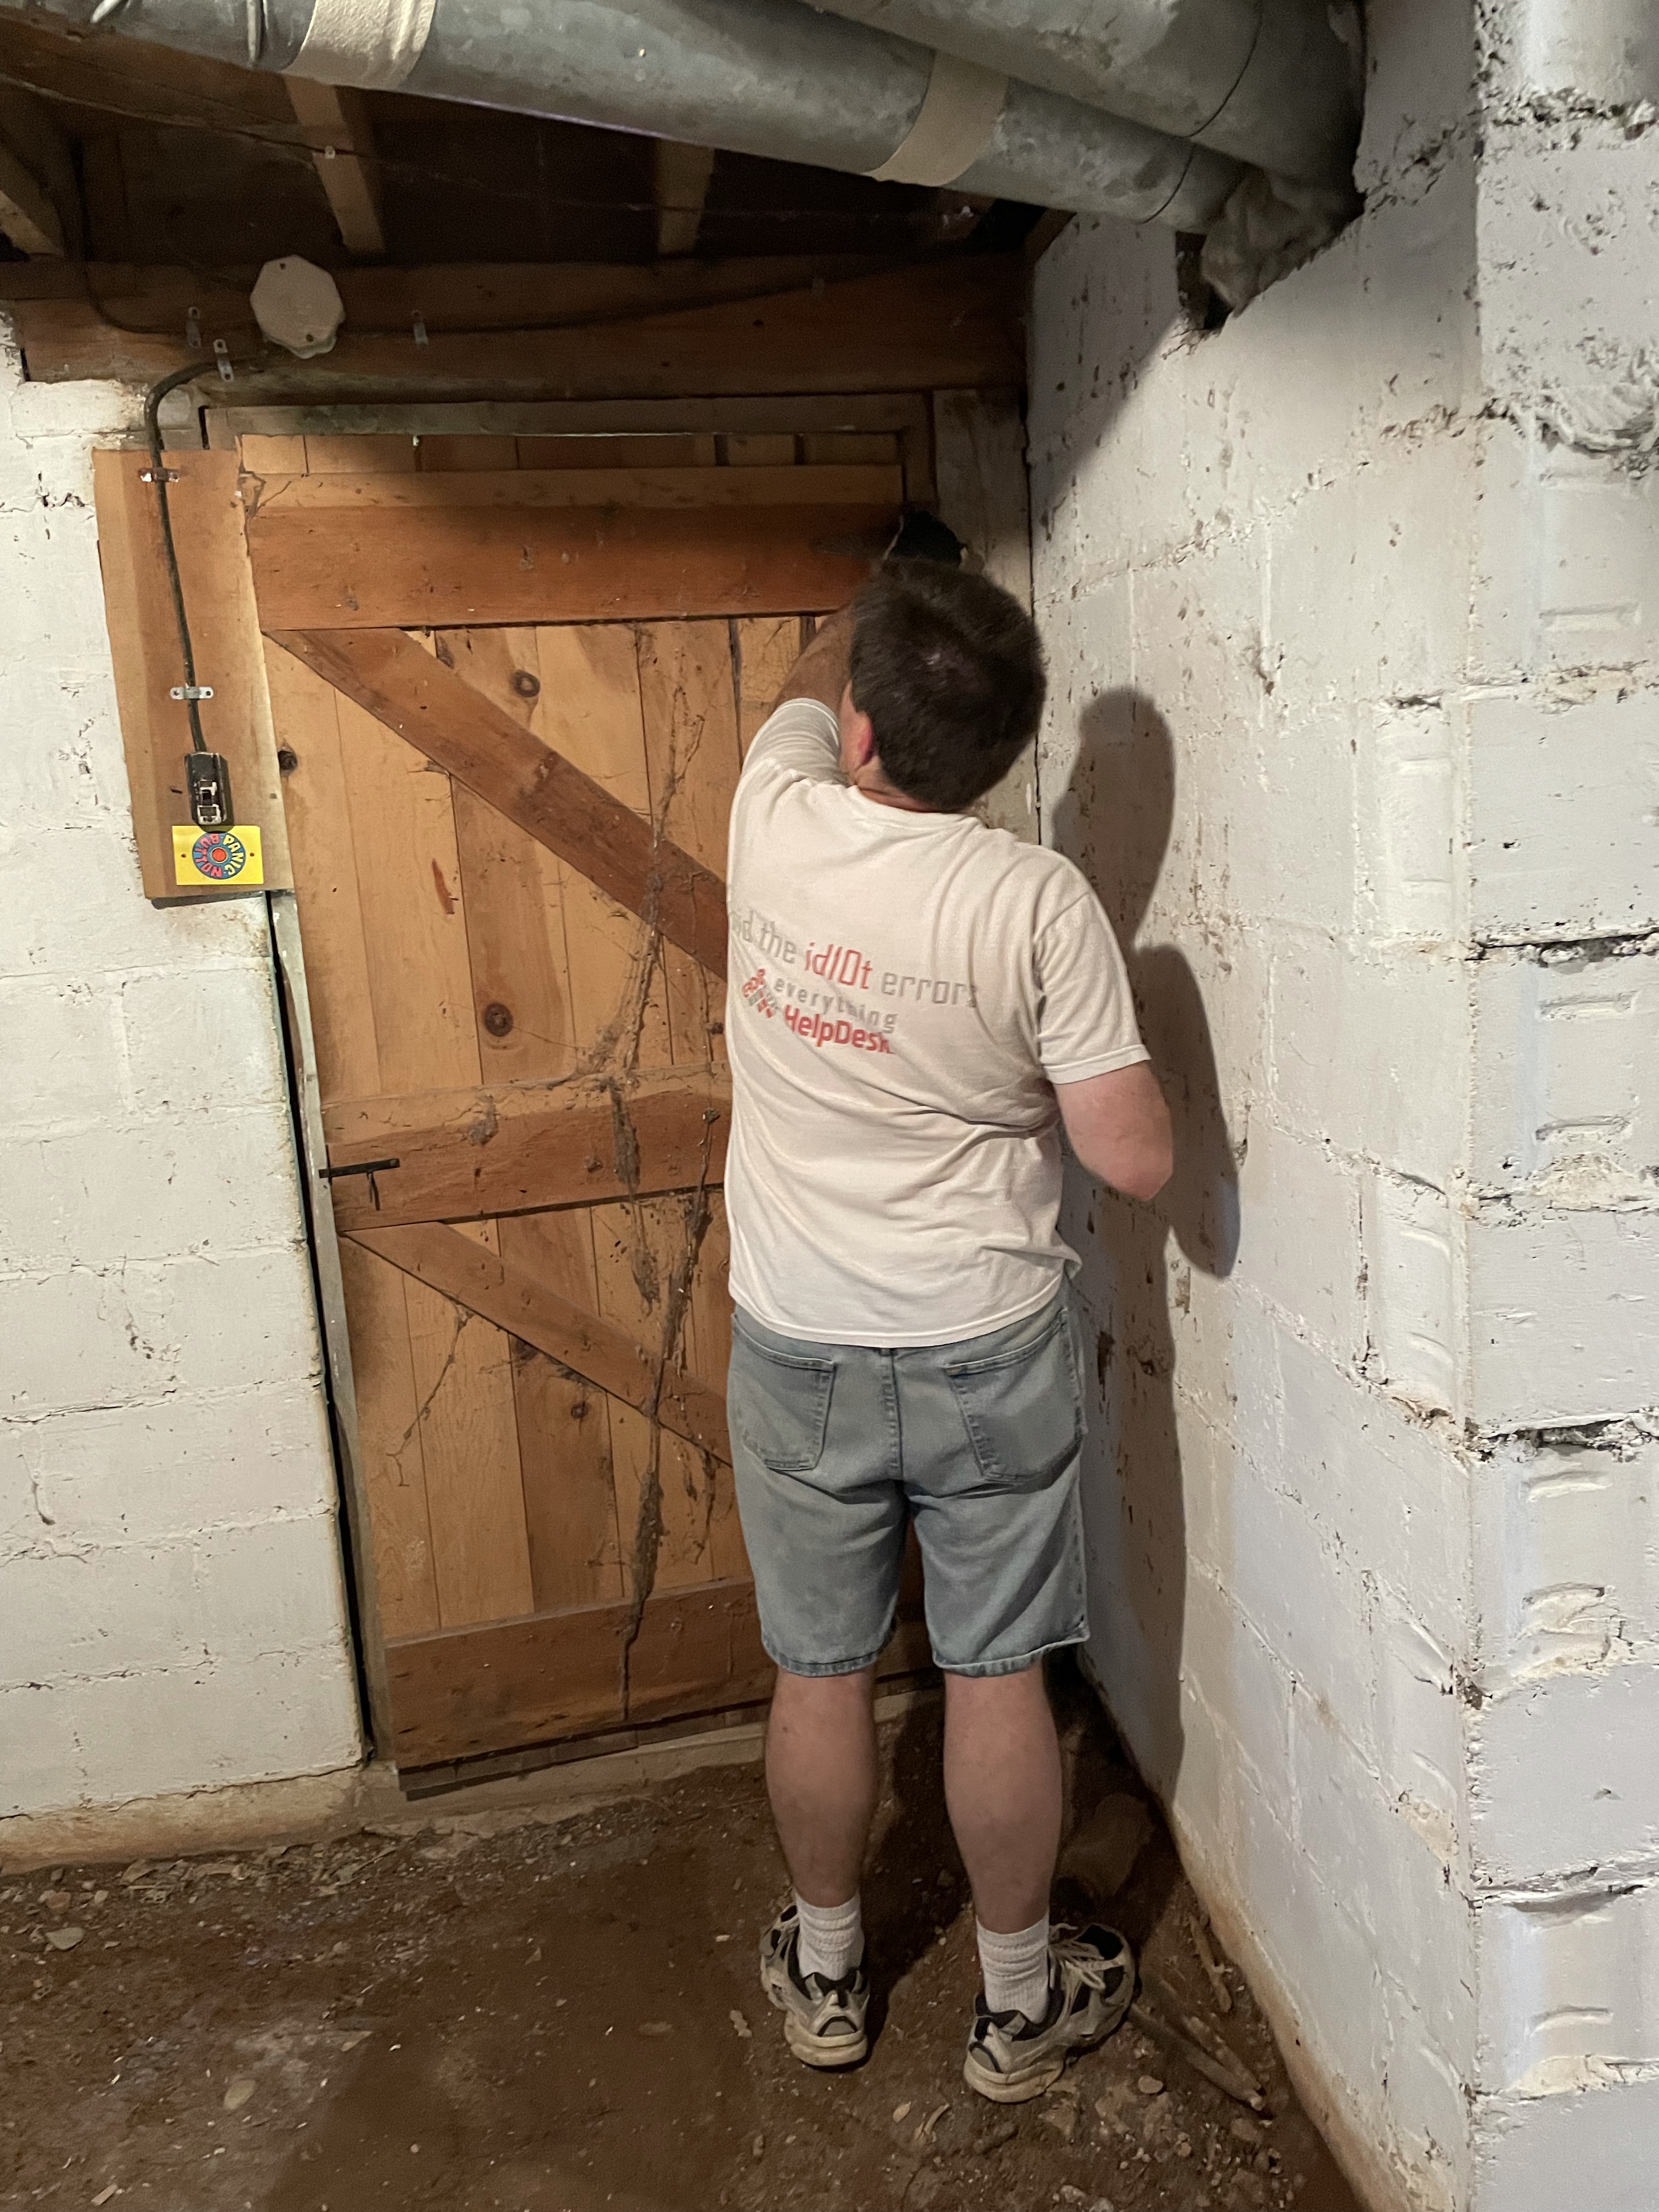
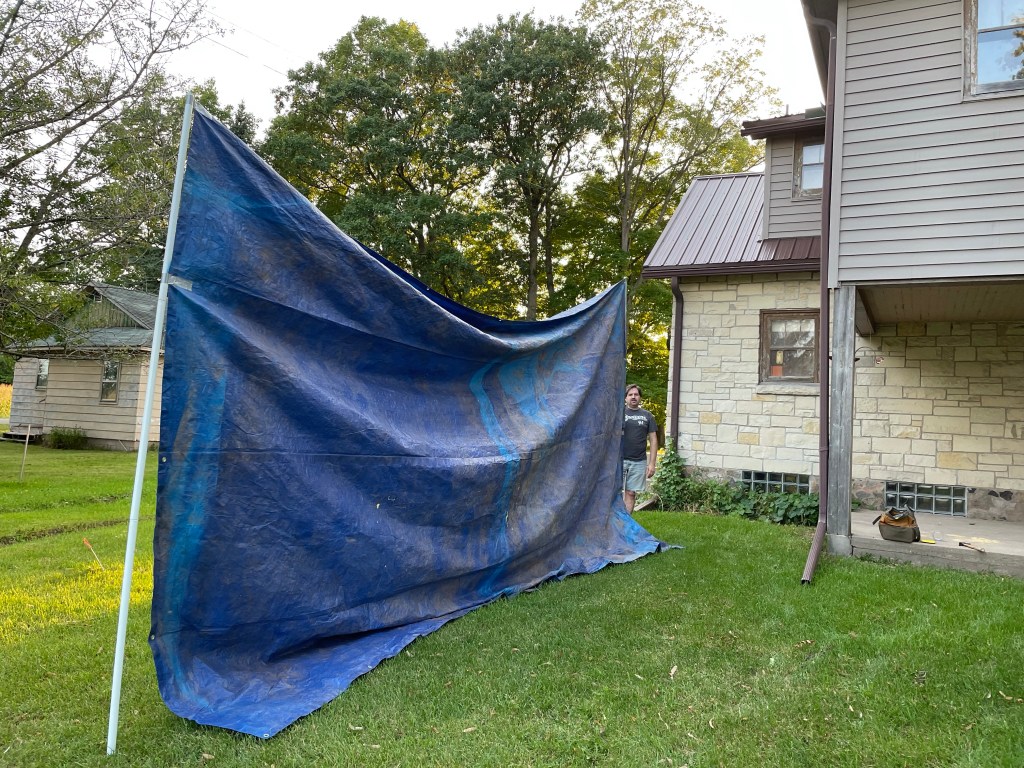
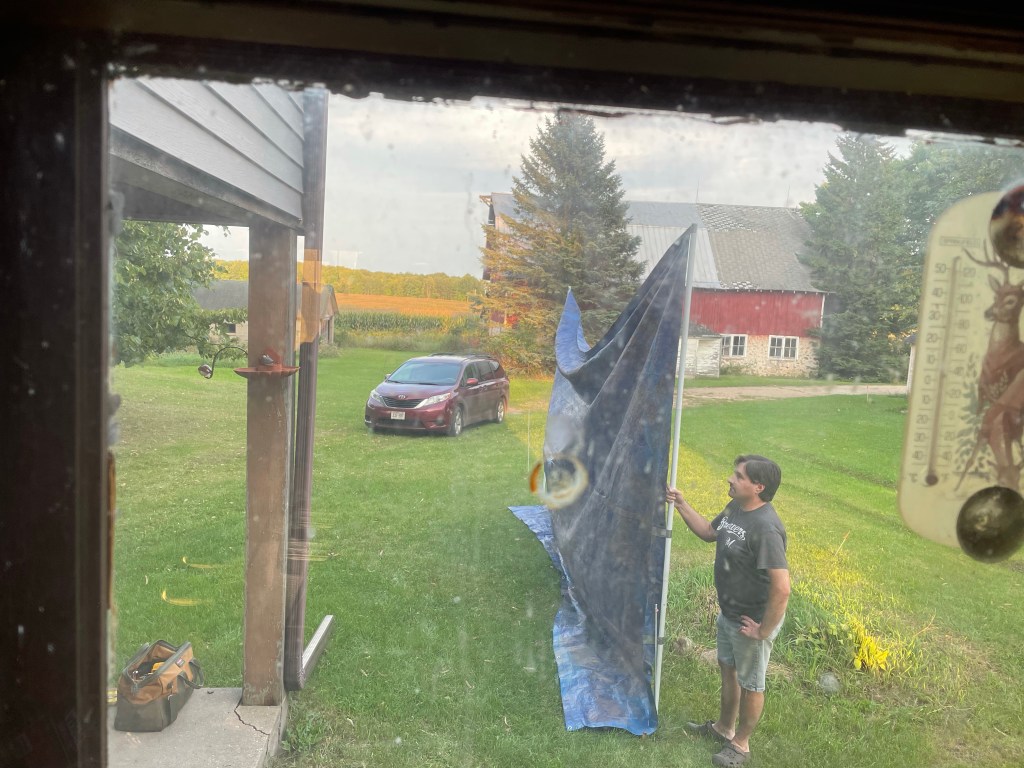
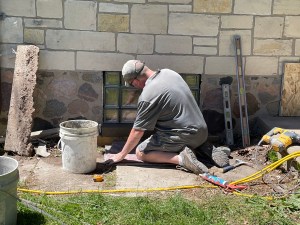
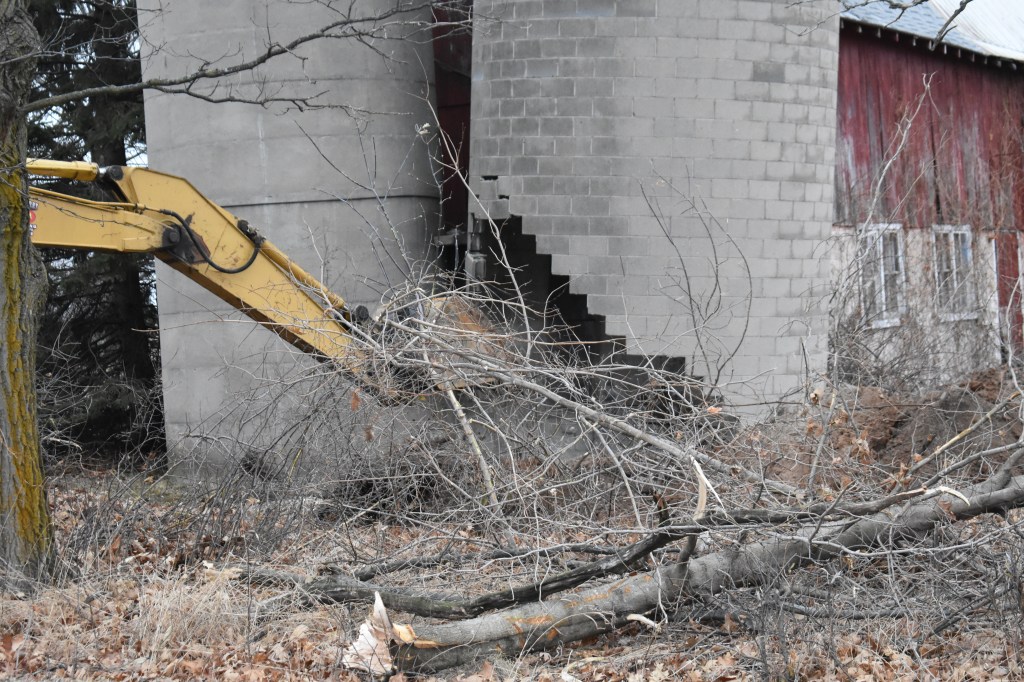
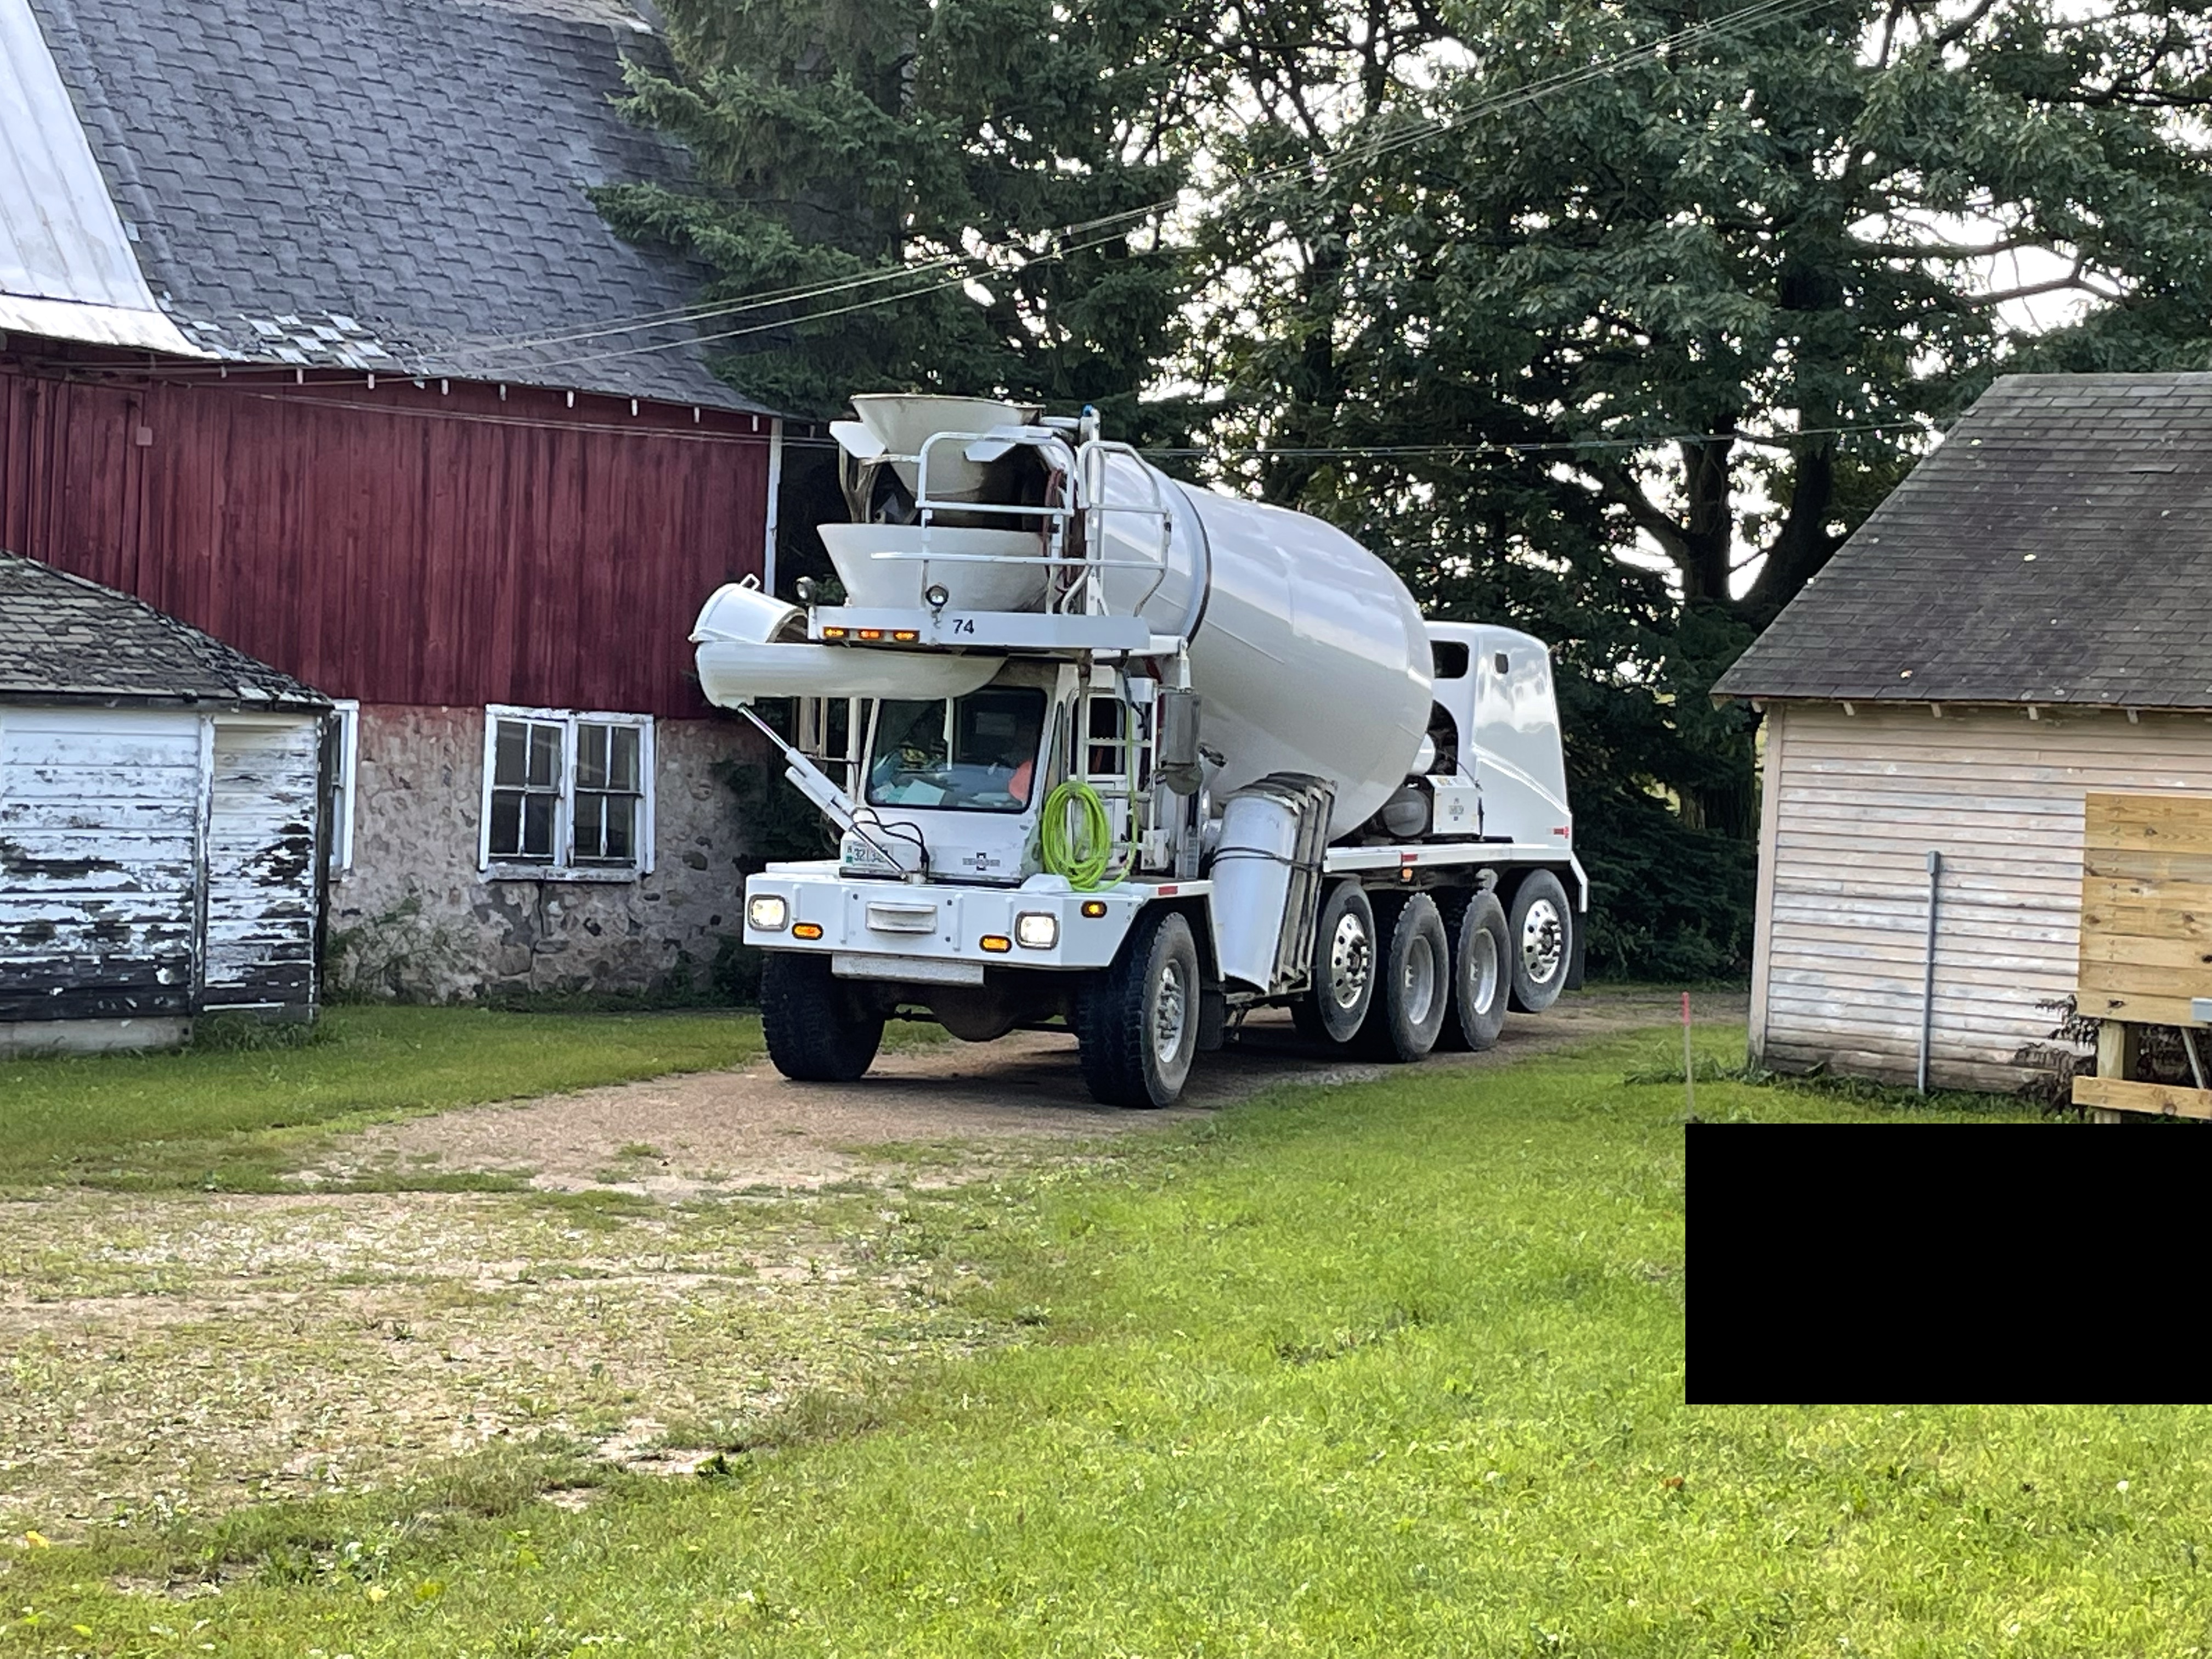
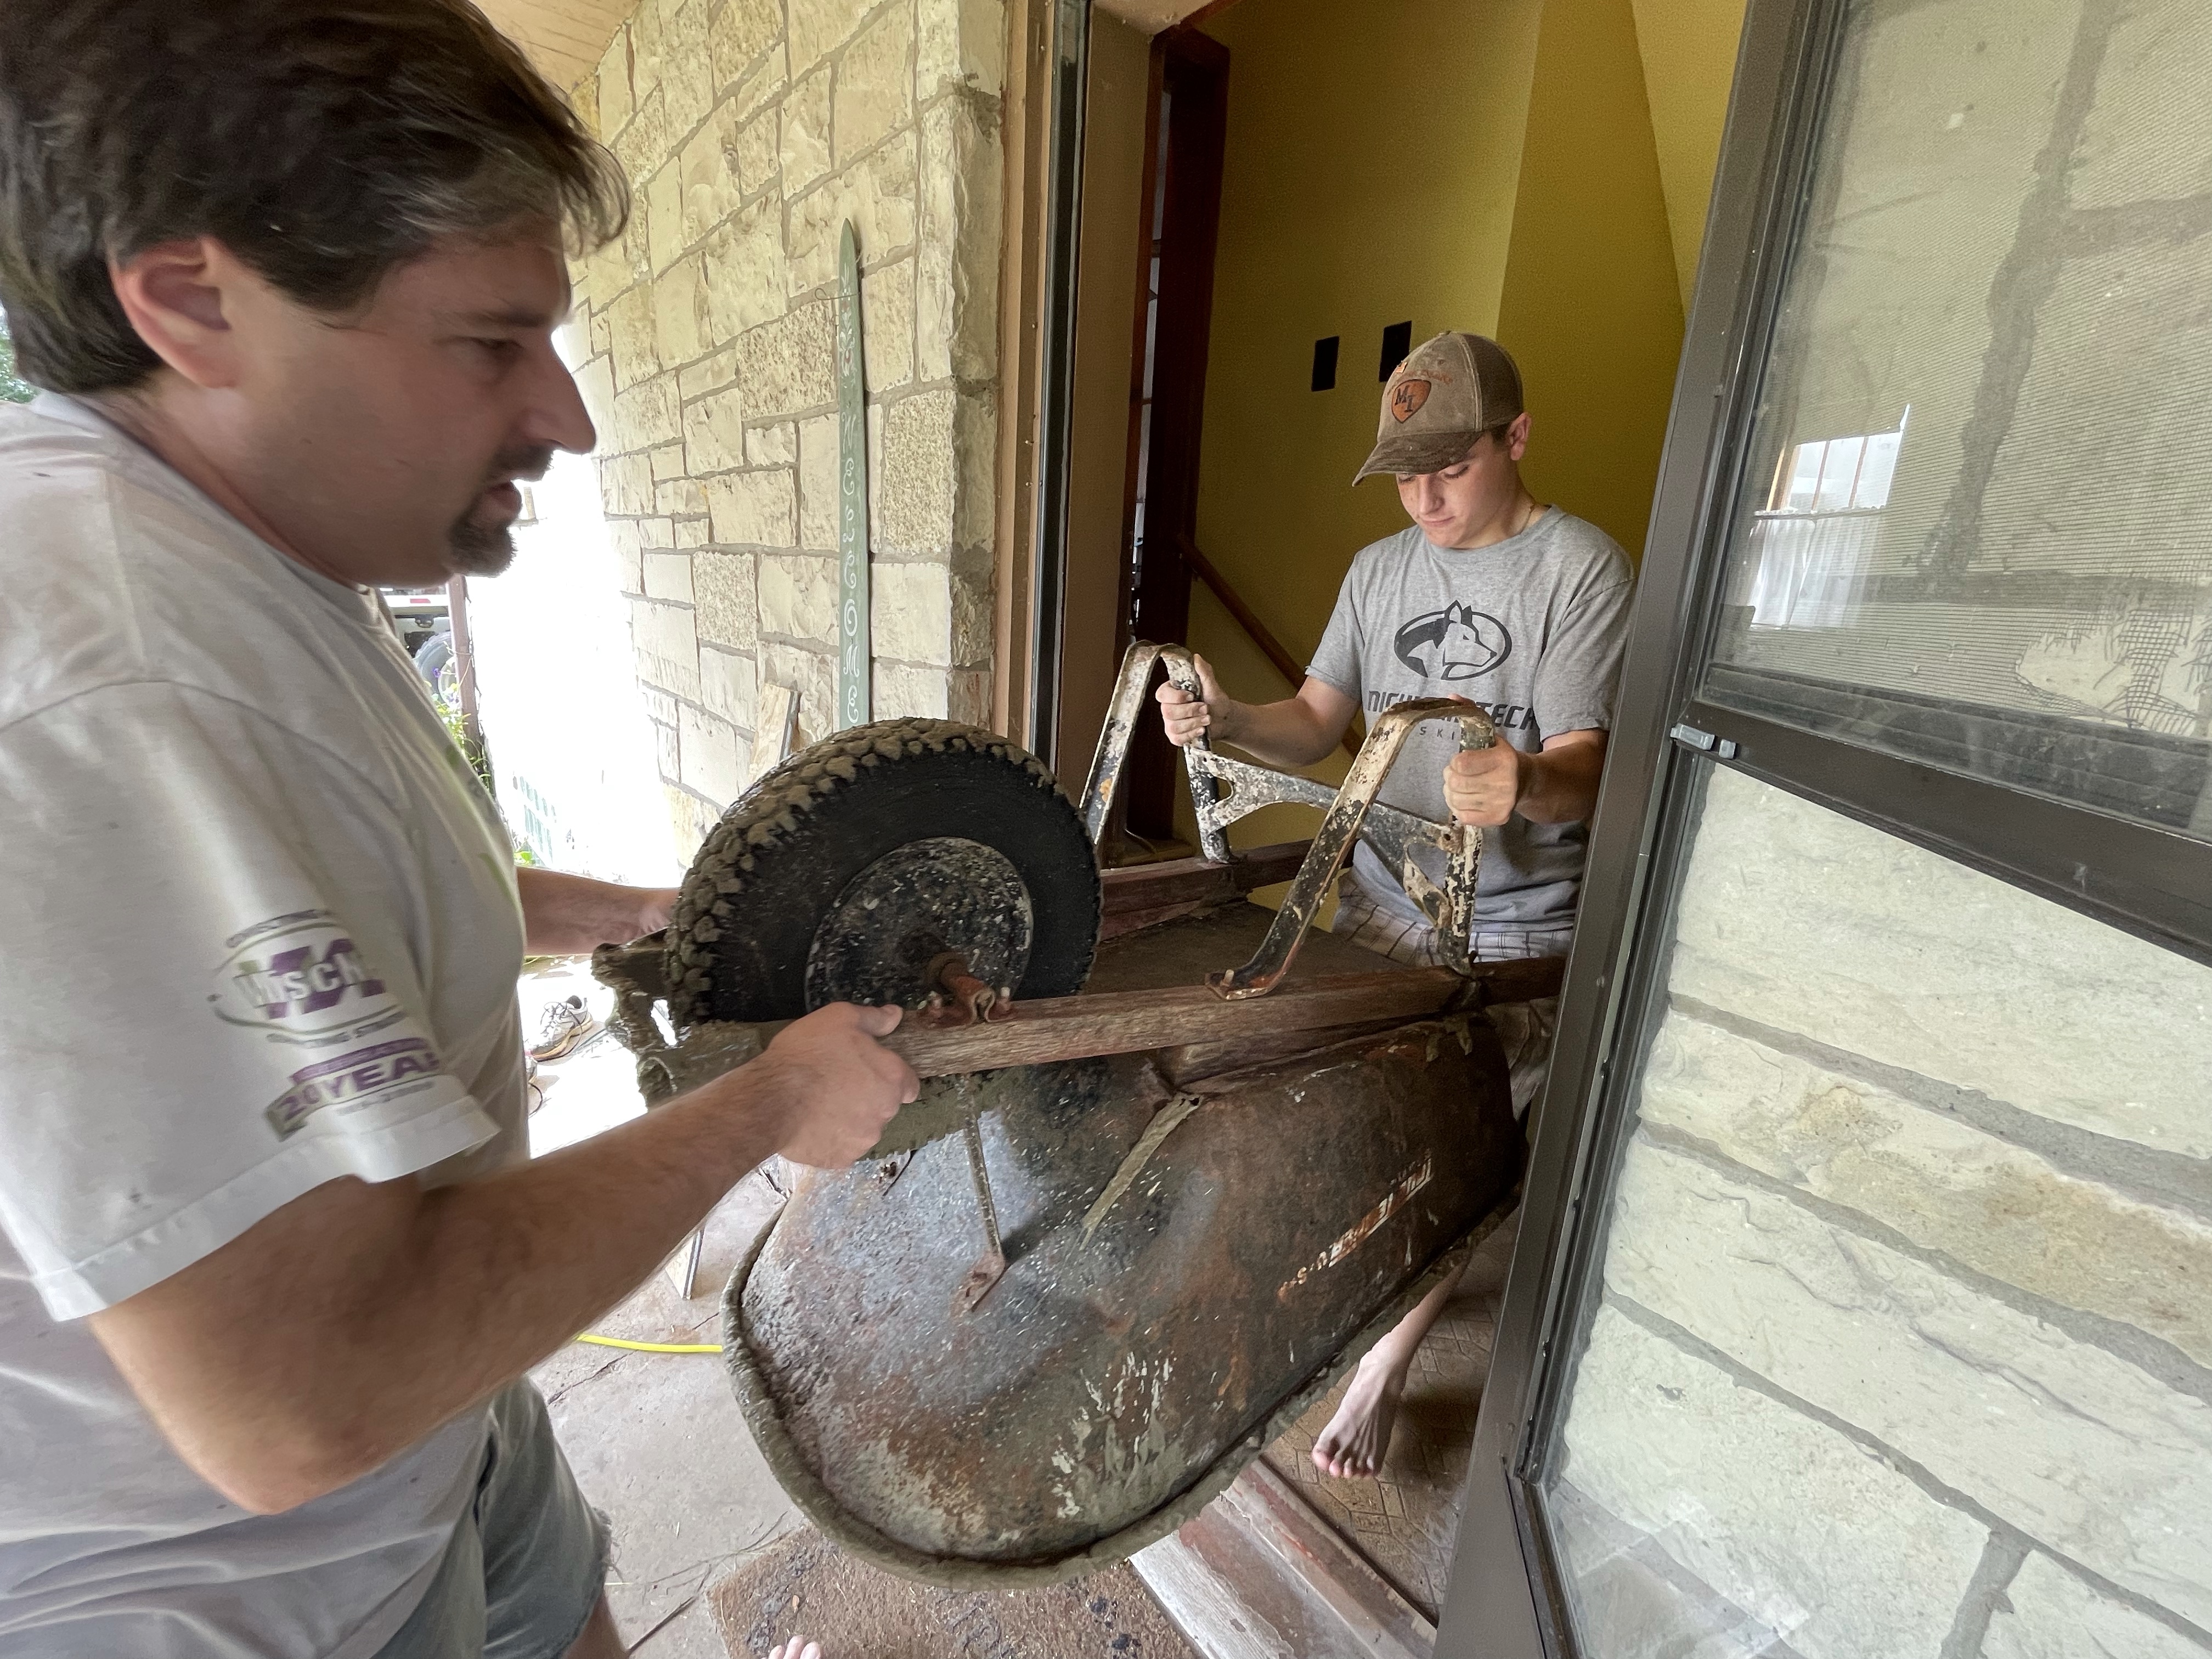
Brad took the door off the room so that it wouldn’t be in the way. Jack re-checked the transit work and we laid a vapor barrier and built a chute. The cement truck would be coming the next morning!

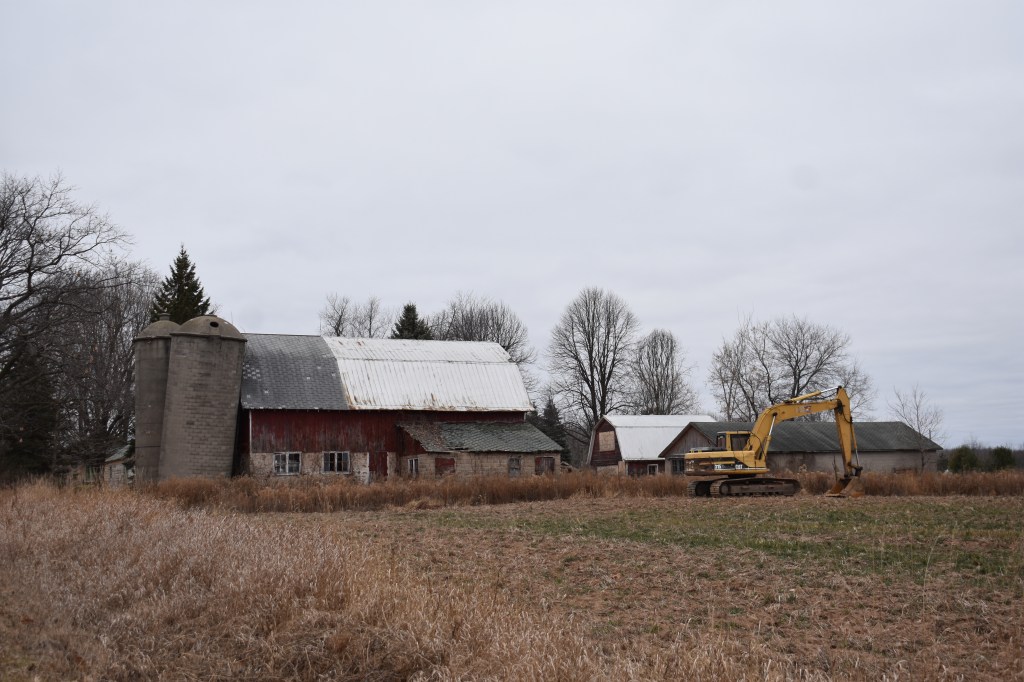
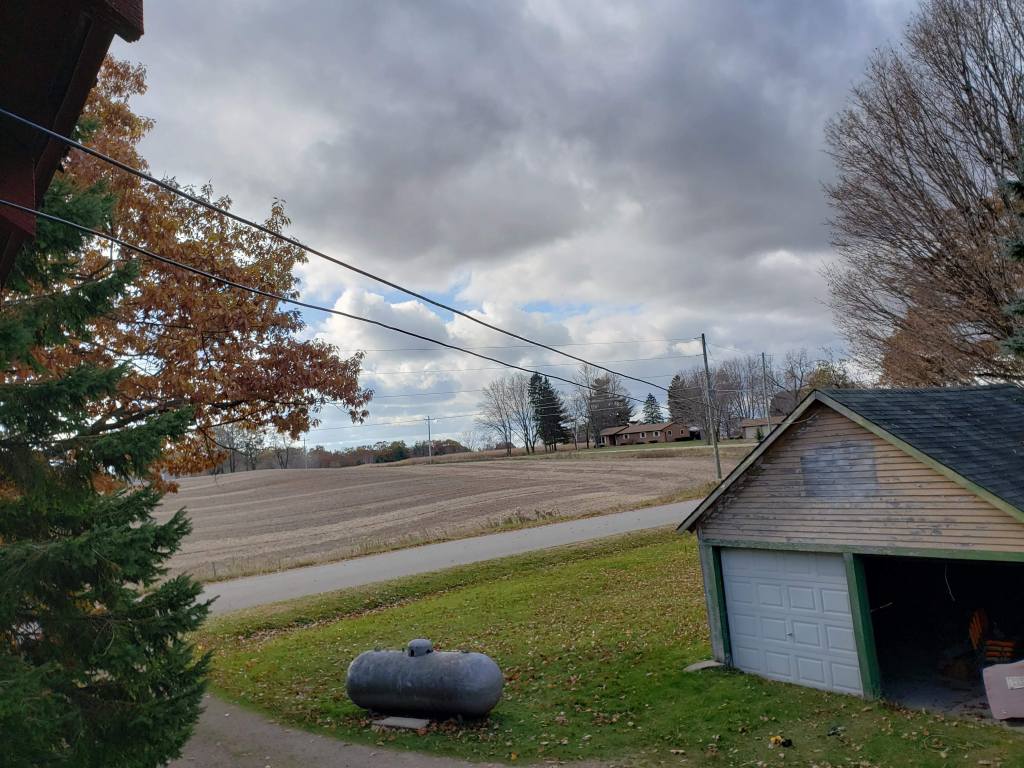
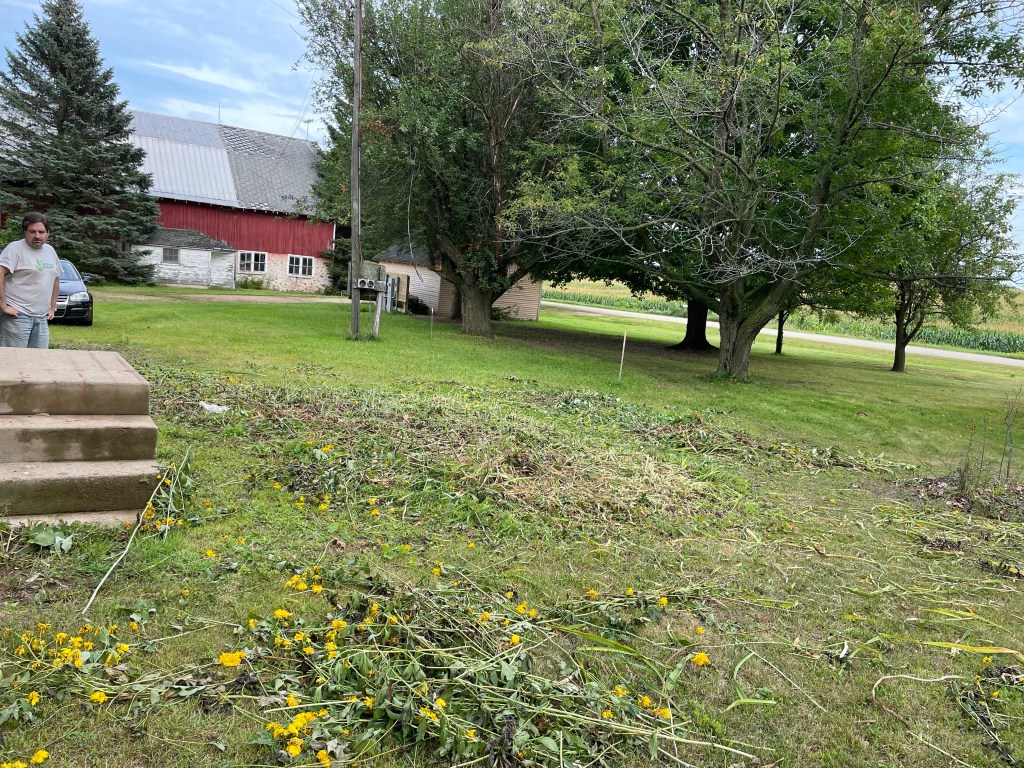
It had been dry for days, and then it rained overnight (the night before the cement truck was coming). This didn’t get the basement wet or deter the work. It just made the ground softer. The approximate weight of an empty cement truck is 13 tons. This truck was traveling light with only 4 yards of concrete (which adds nearly 8 tons). So we had approximately 21 tons driving across our damp, soft, squishy yard. (Not complaining, we were glad to finally be getting this done, just a bit surprising to see what 21 tons does to a lawn.

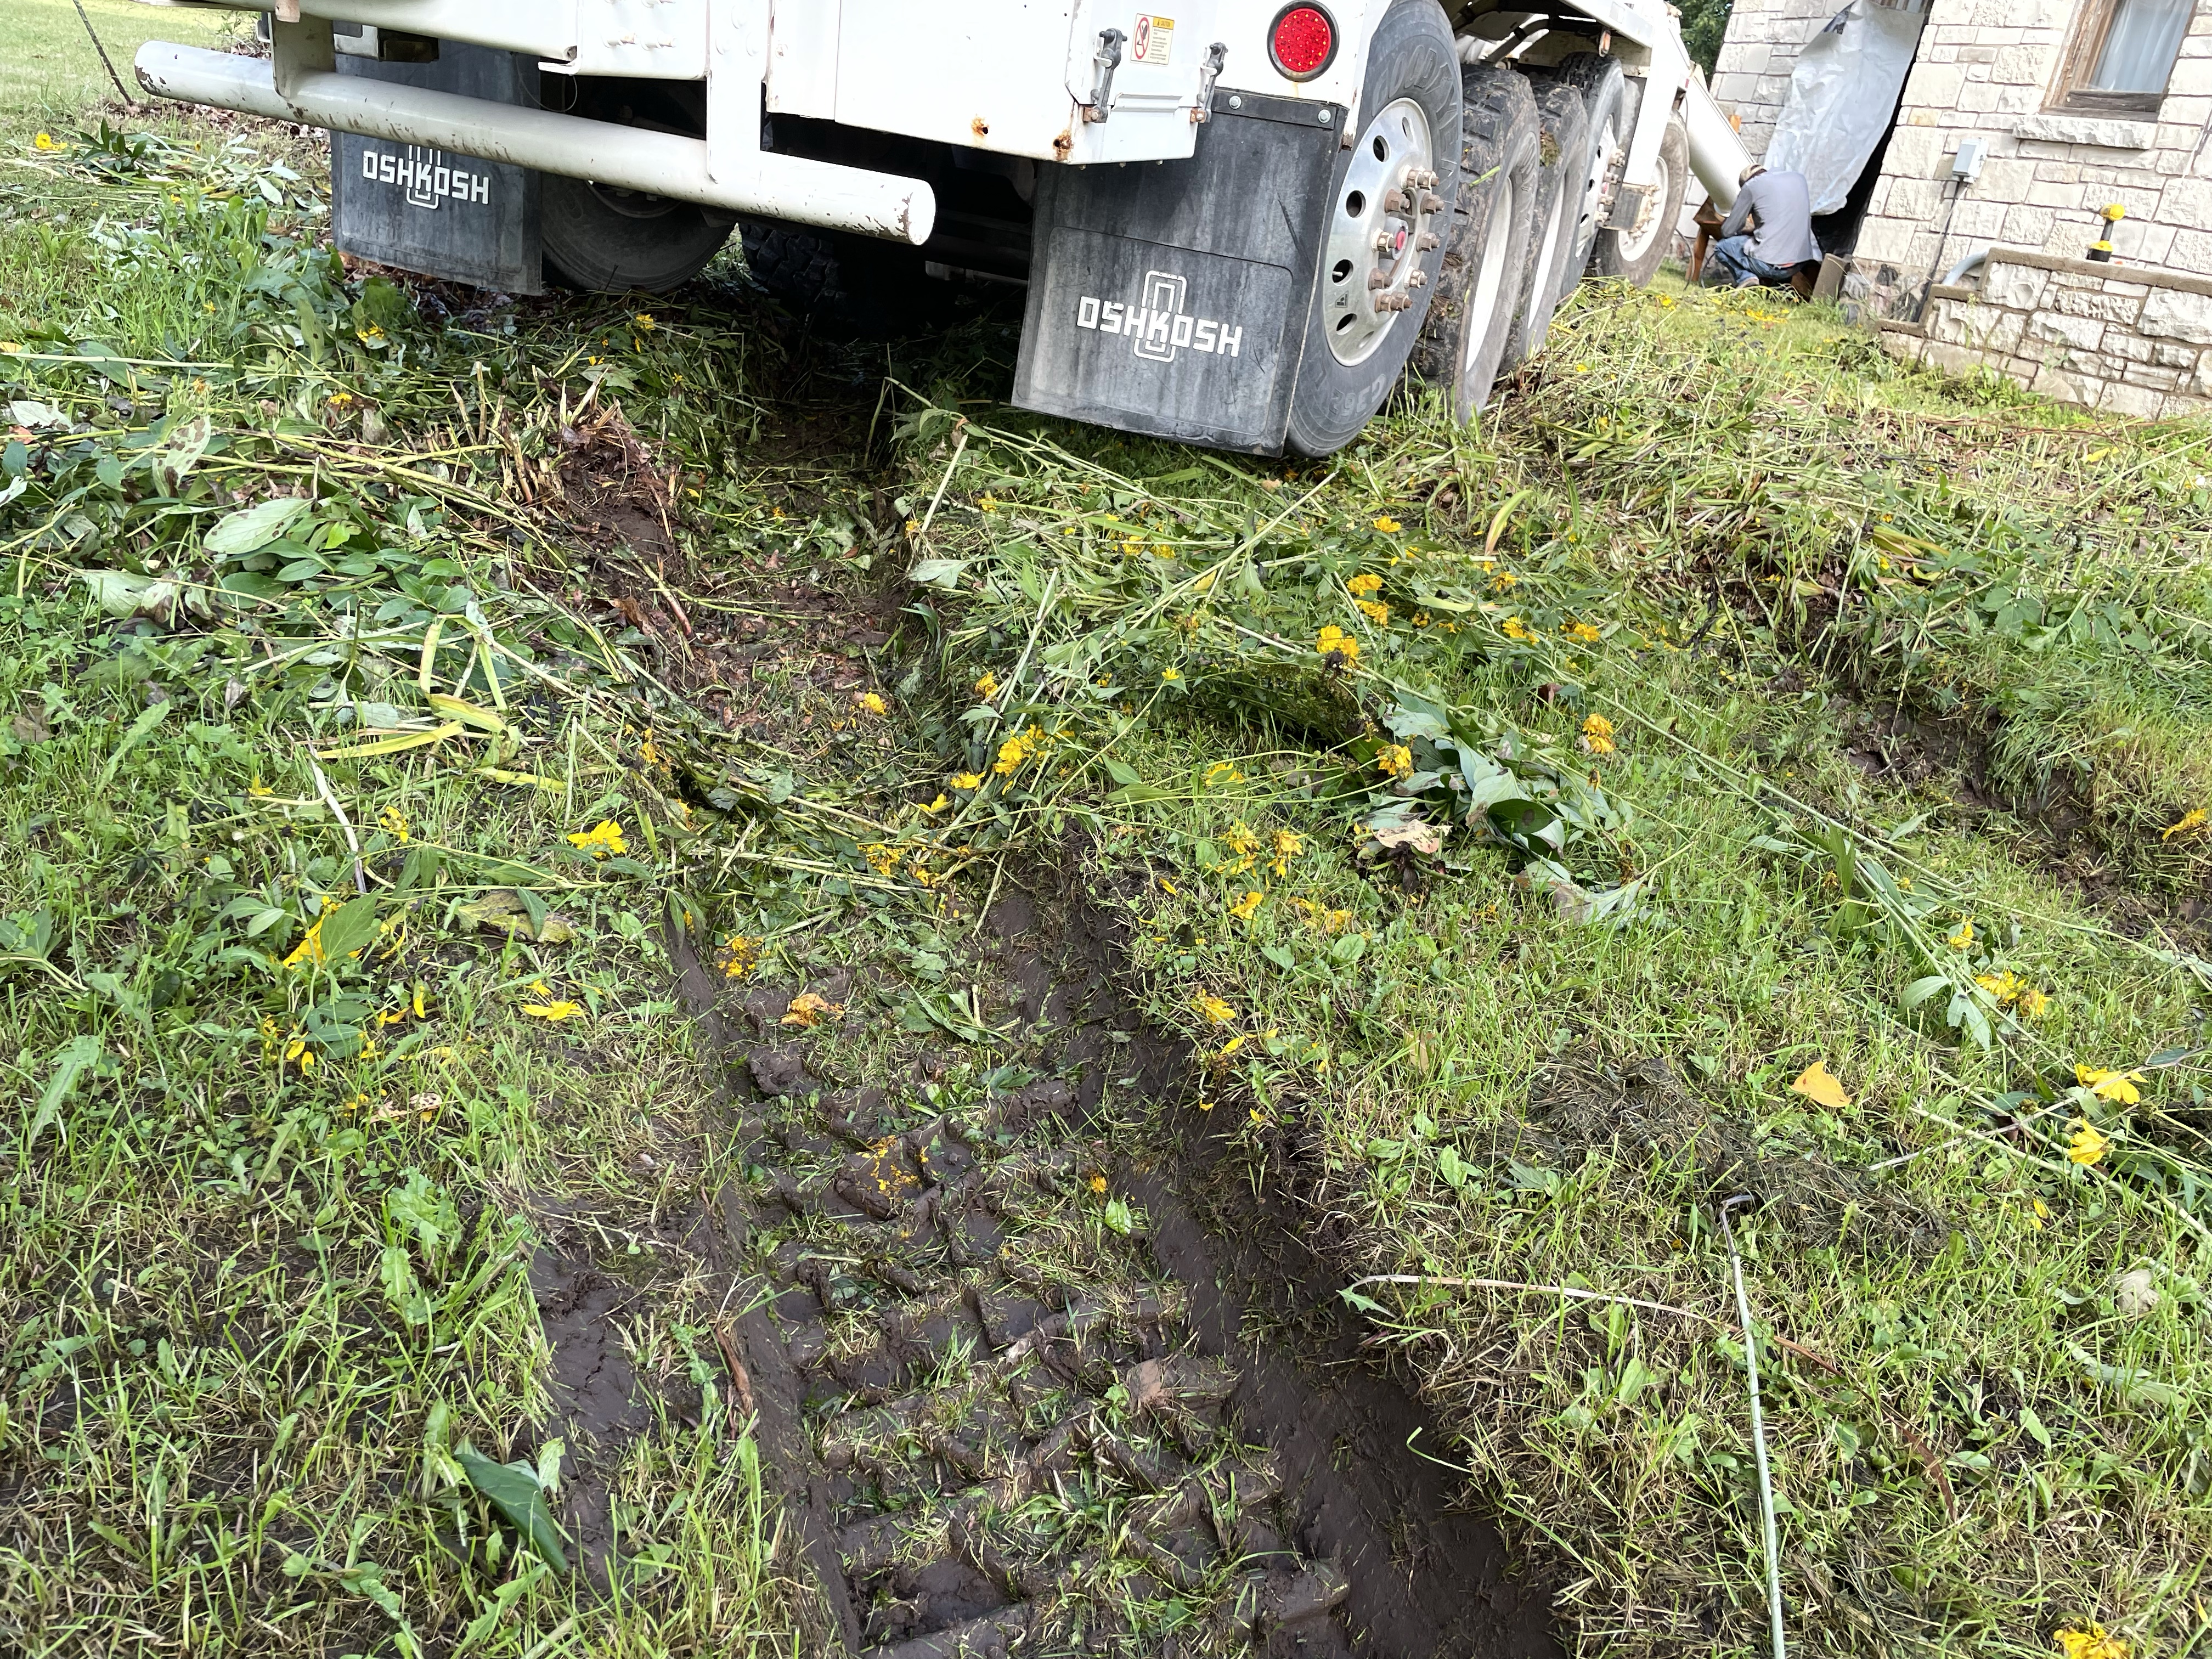
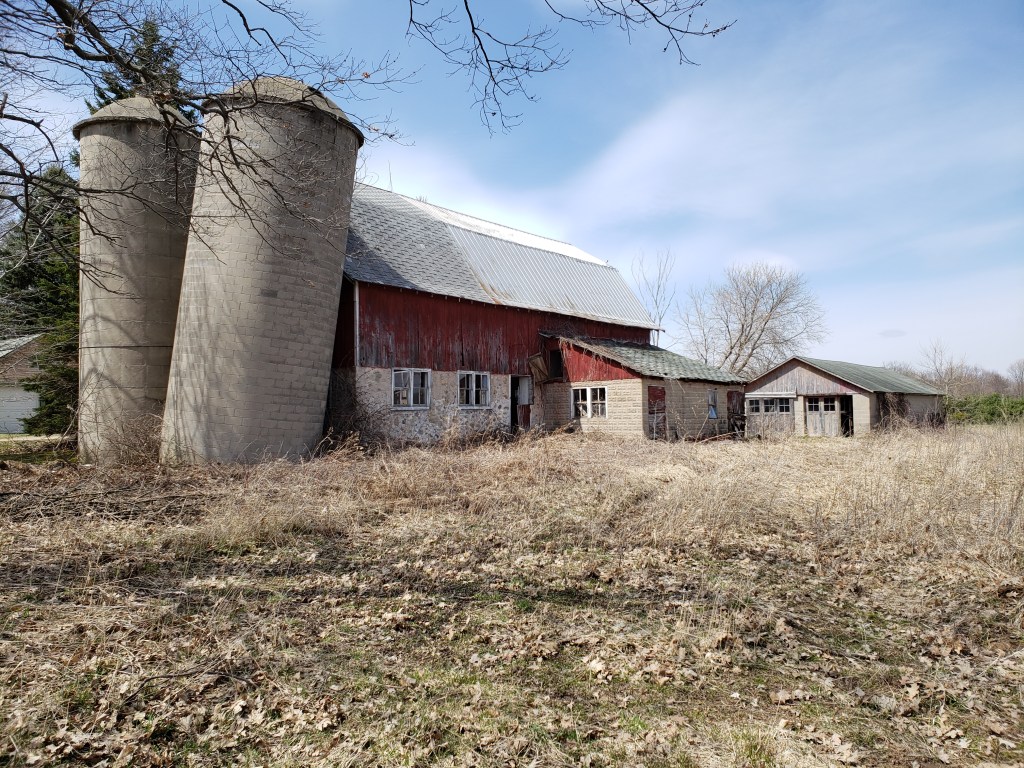
Now that you can see where the cement truck drove I’ll explain a little better why the garage was on hold.

You can see the South side of the future garage marked by the sticks near the 2 big trees on the right side of the yard-light pole. The North side of the future garage is hiding somewhere behind Brad. The cement truck drove directly over where the floor of the future garage would go. 21 tons would not be very good for a fresh concrete floor built to support the weight of standard passenger vehicles. And there will be J bolts sticking up out of the cement for anchoring the walls. Rolling over J bolts would not be too good for the cement truck’s tires. This is why the garage had to wait for the basement floor. Oh – and, no there is not a different path that the cement truck could take because of ditches, trees, and the guest house. There was no better window to get into this part of the basement either (even if we hadn’t put glass block in them). The only other window into this part of the basement is surrounded by trees, lilac bushes, and has the septic tank on that side too. This was the best window and it was the only clear shot with enough room to get a truck and the cement where it needed to go.

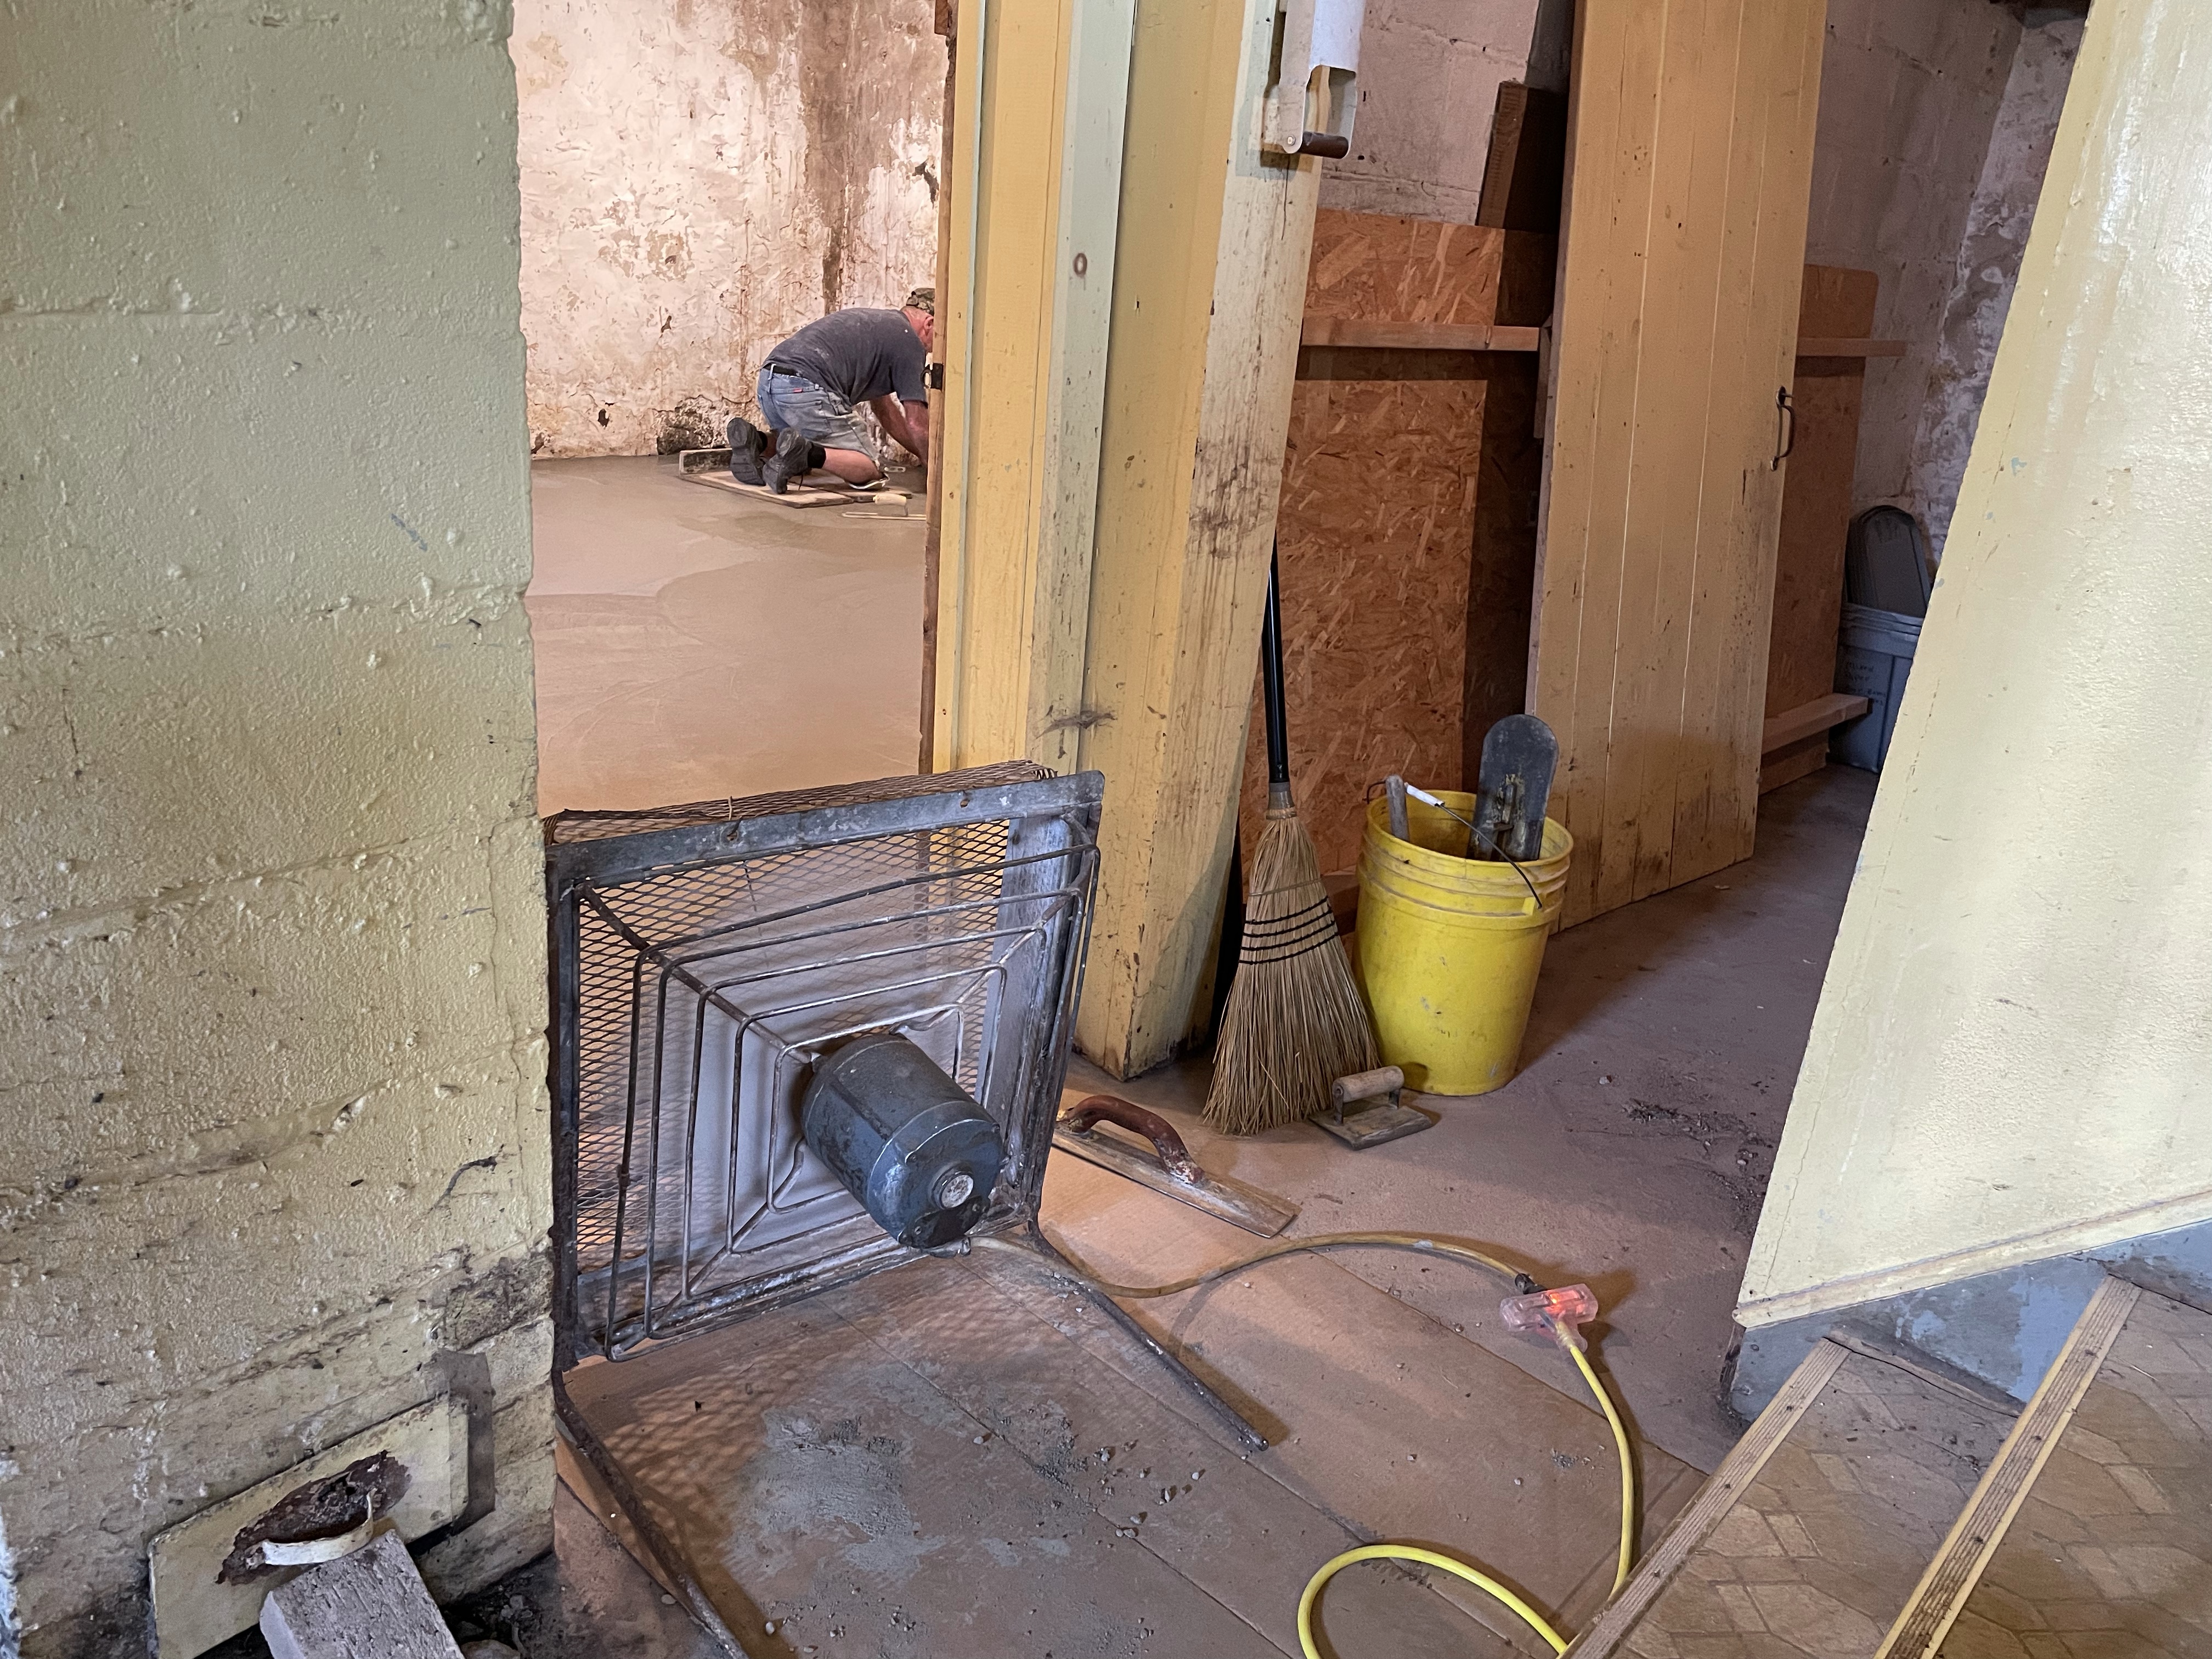
It took a bit to get the flow just right, but then we were in business!

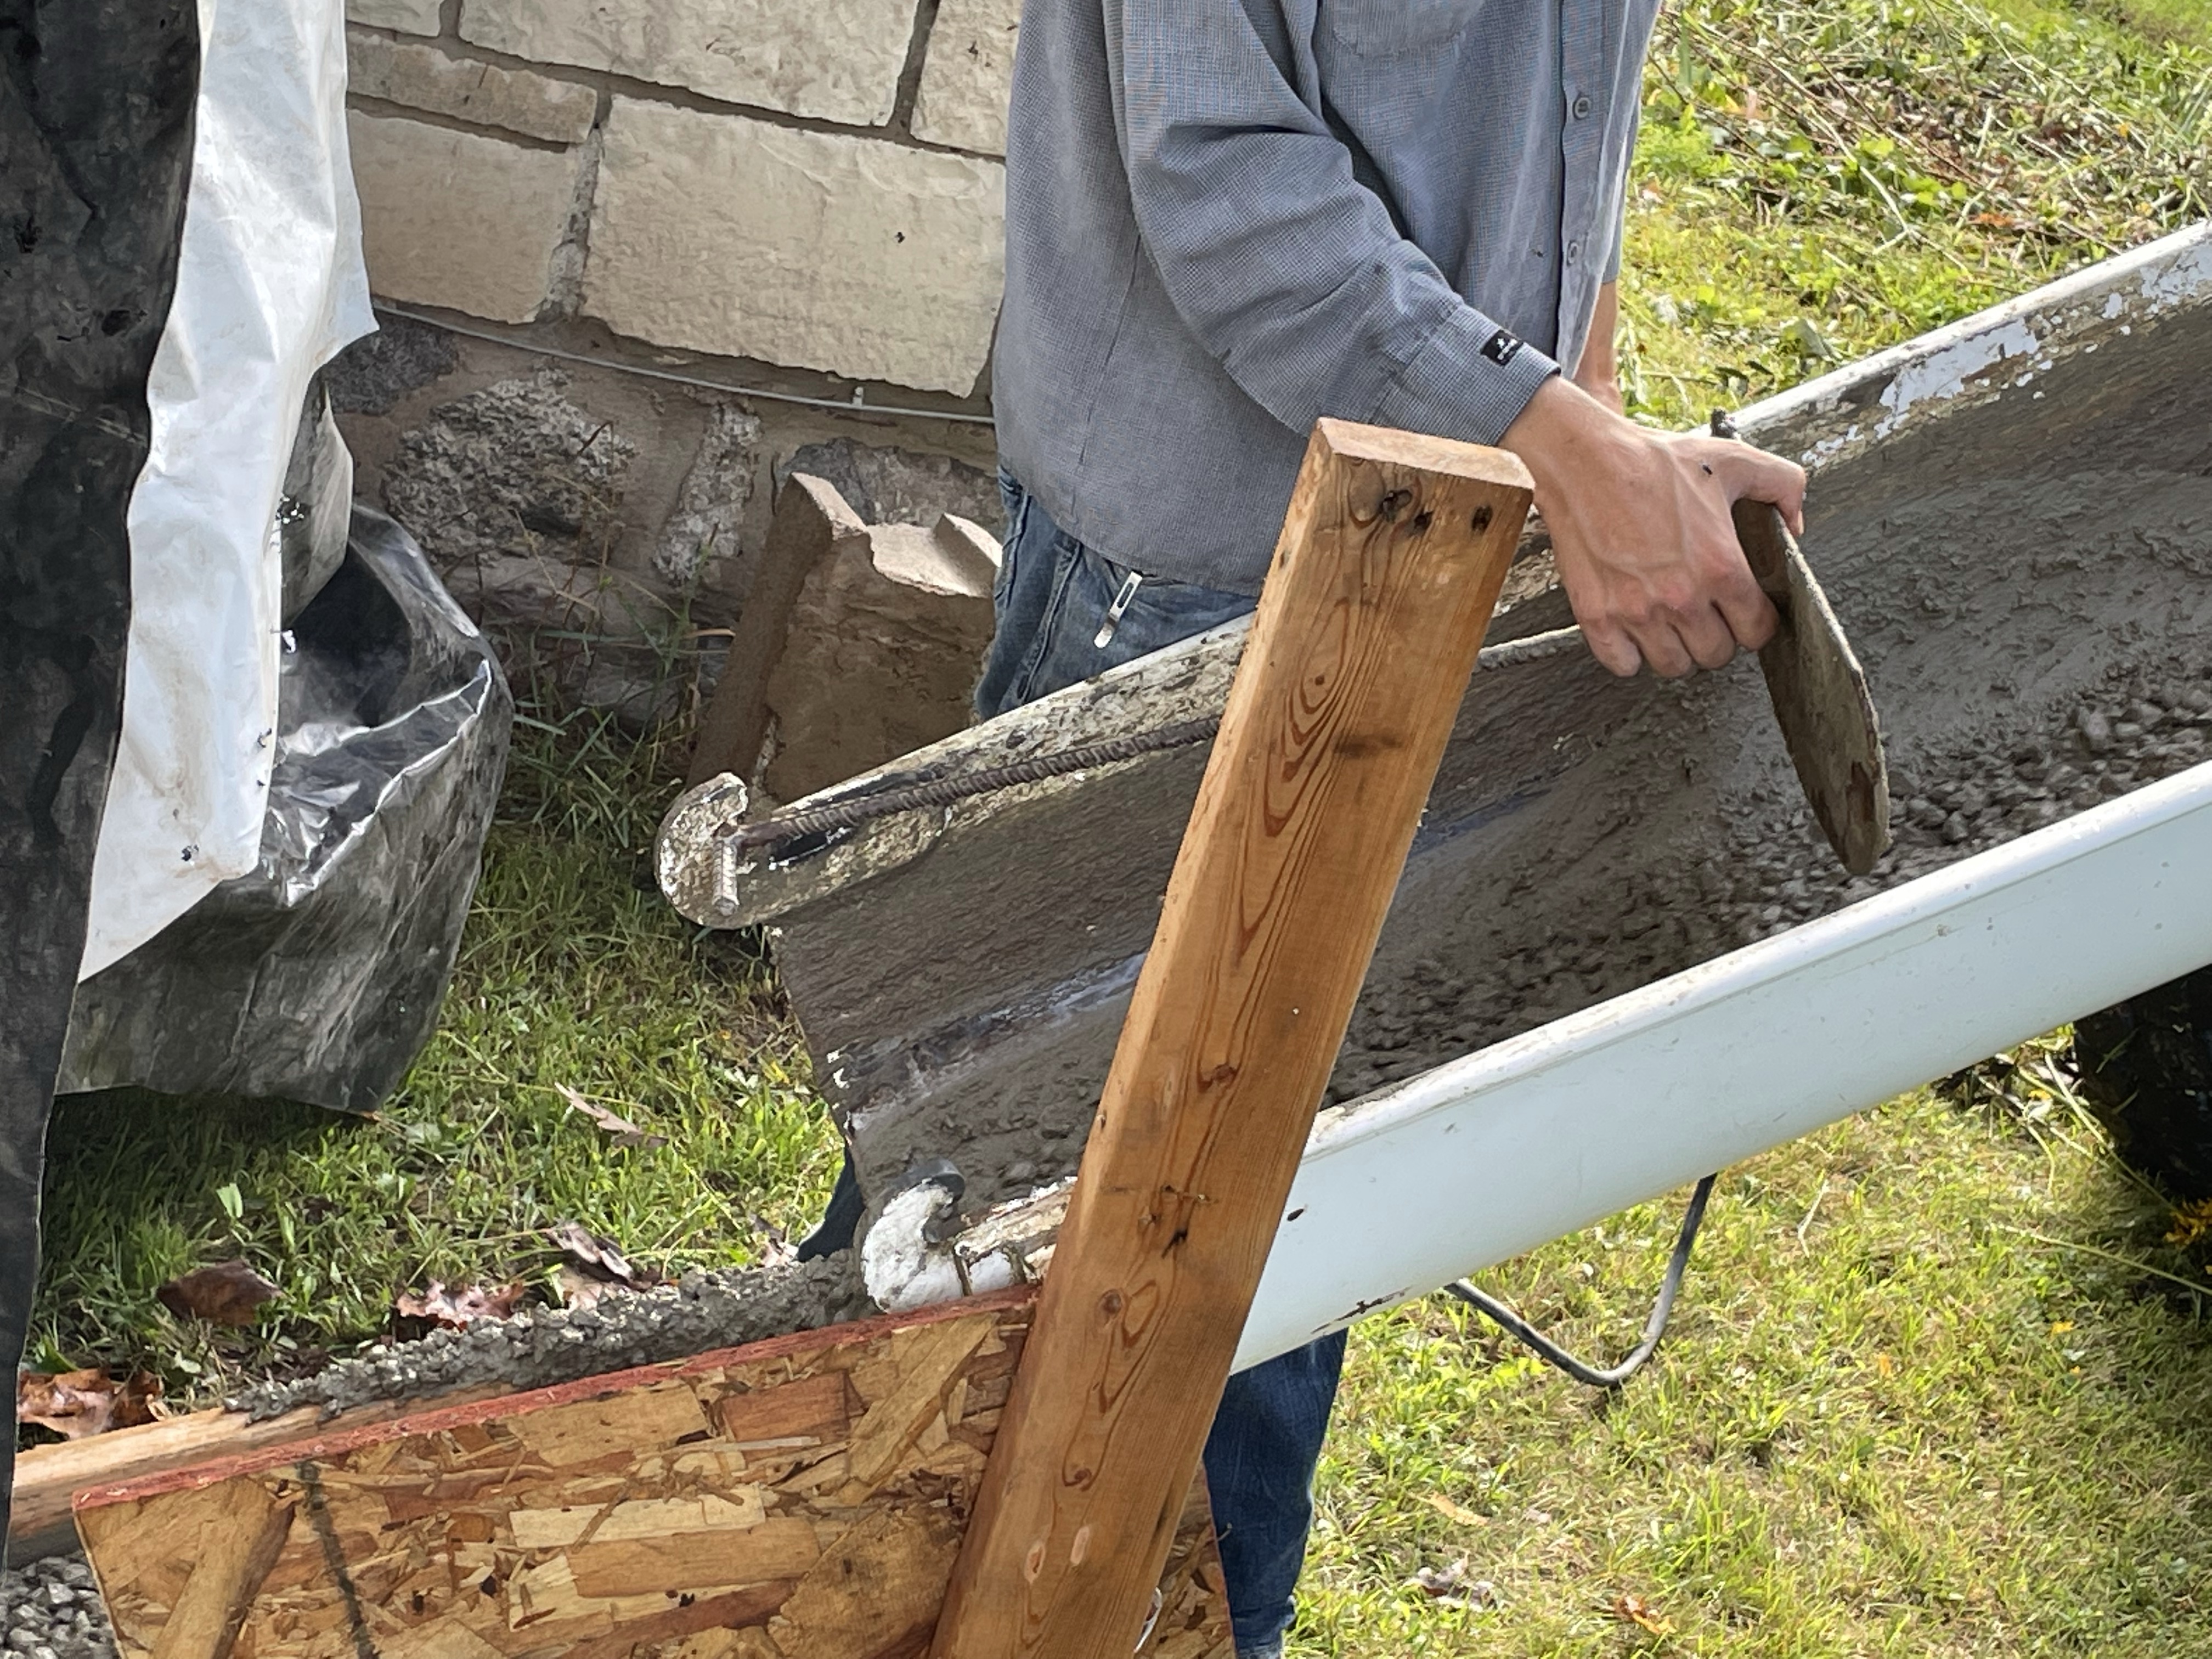
Brandon was a huge help and worked really hard. Jack was phenomenal. While the basement was large enough to be daunting (to someone who has no clue what they are doing) it was tight quarters to work in. Brandon couldn’t even turn the wheelbarrow around, he had to pull it back to the chute.

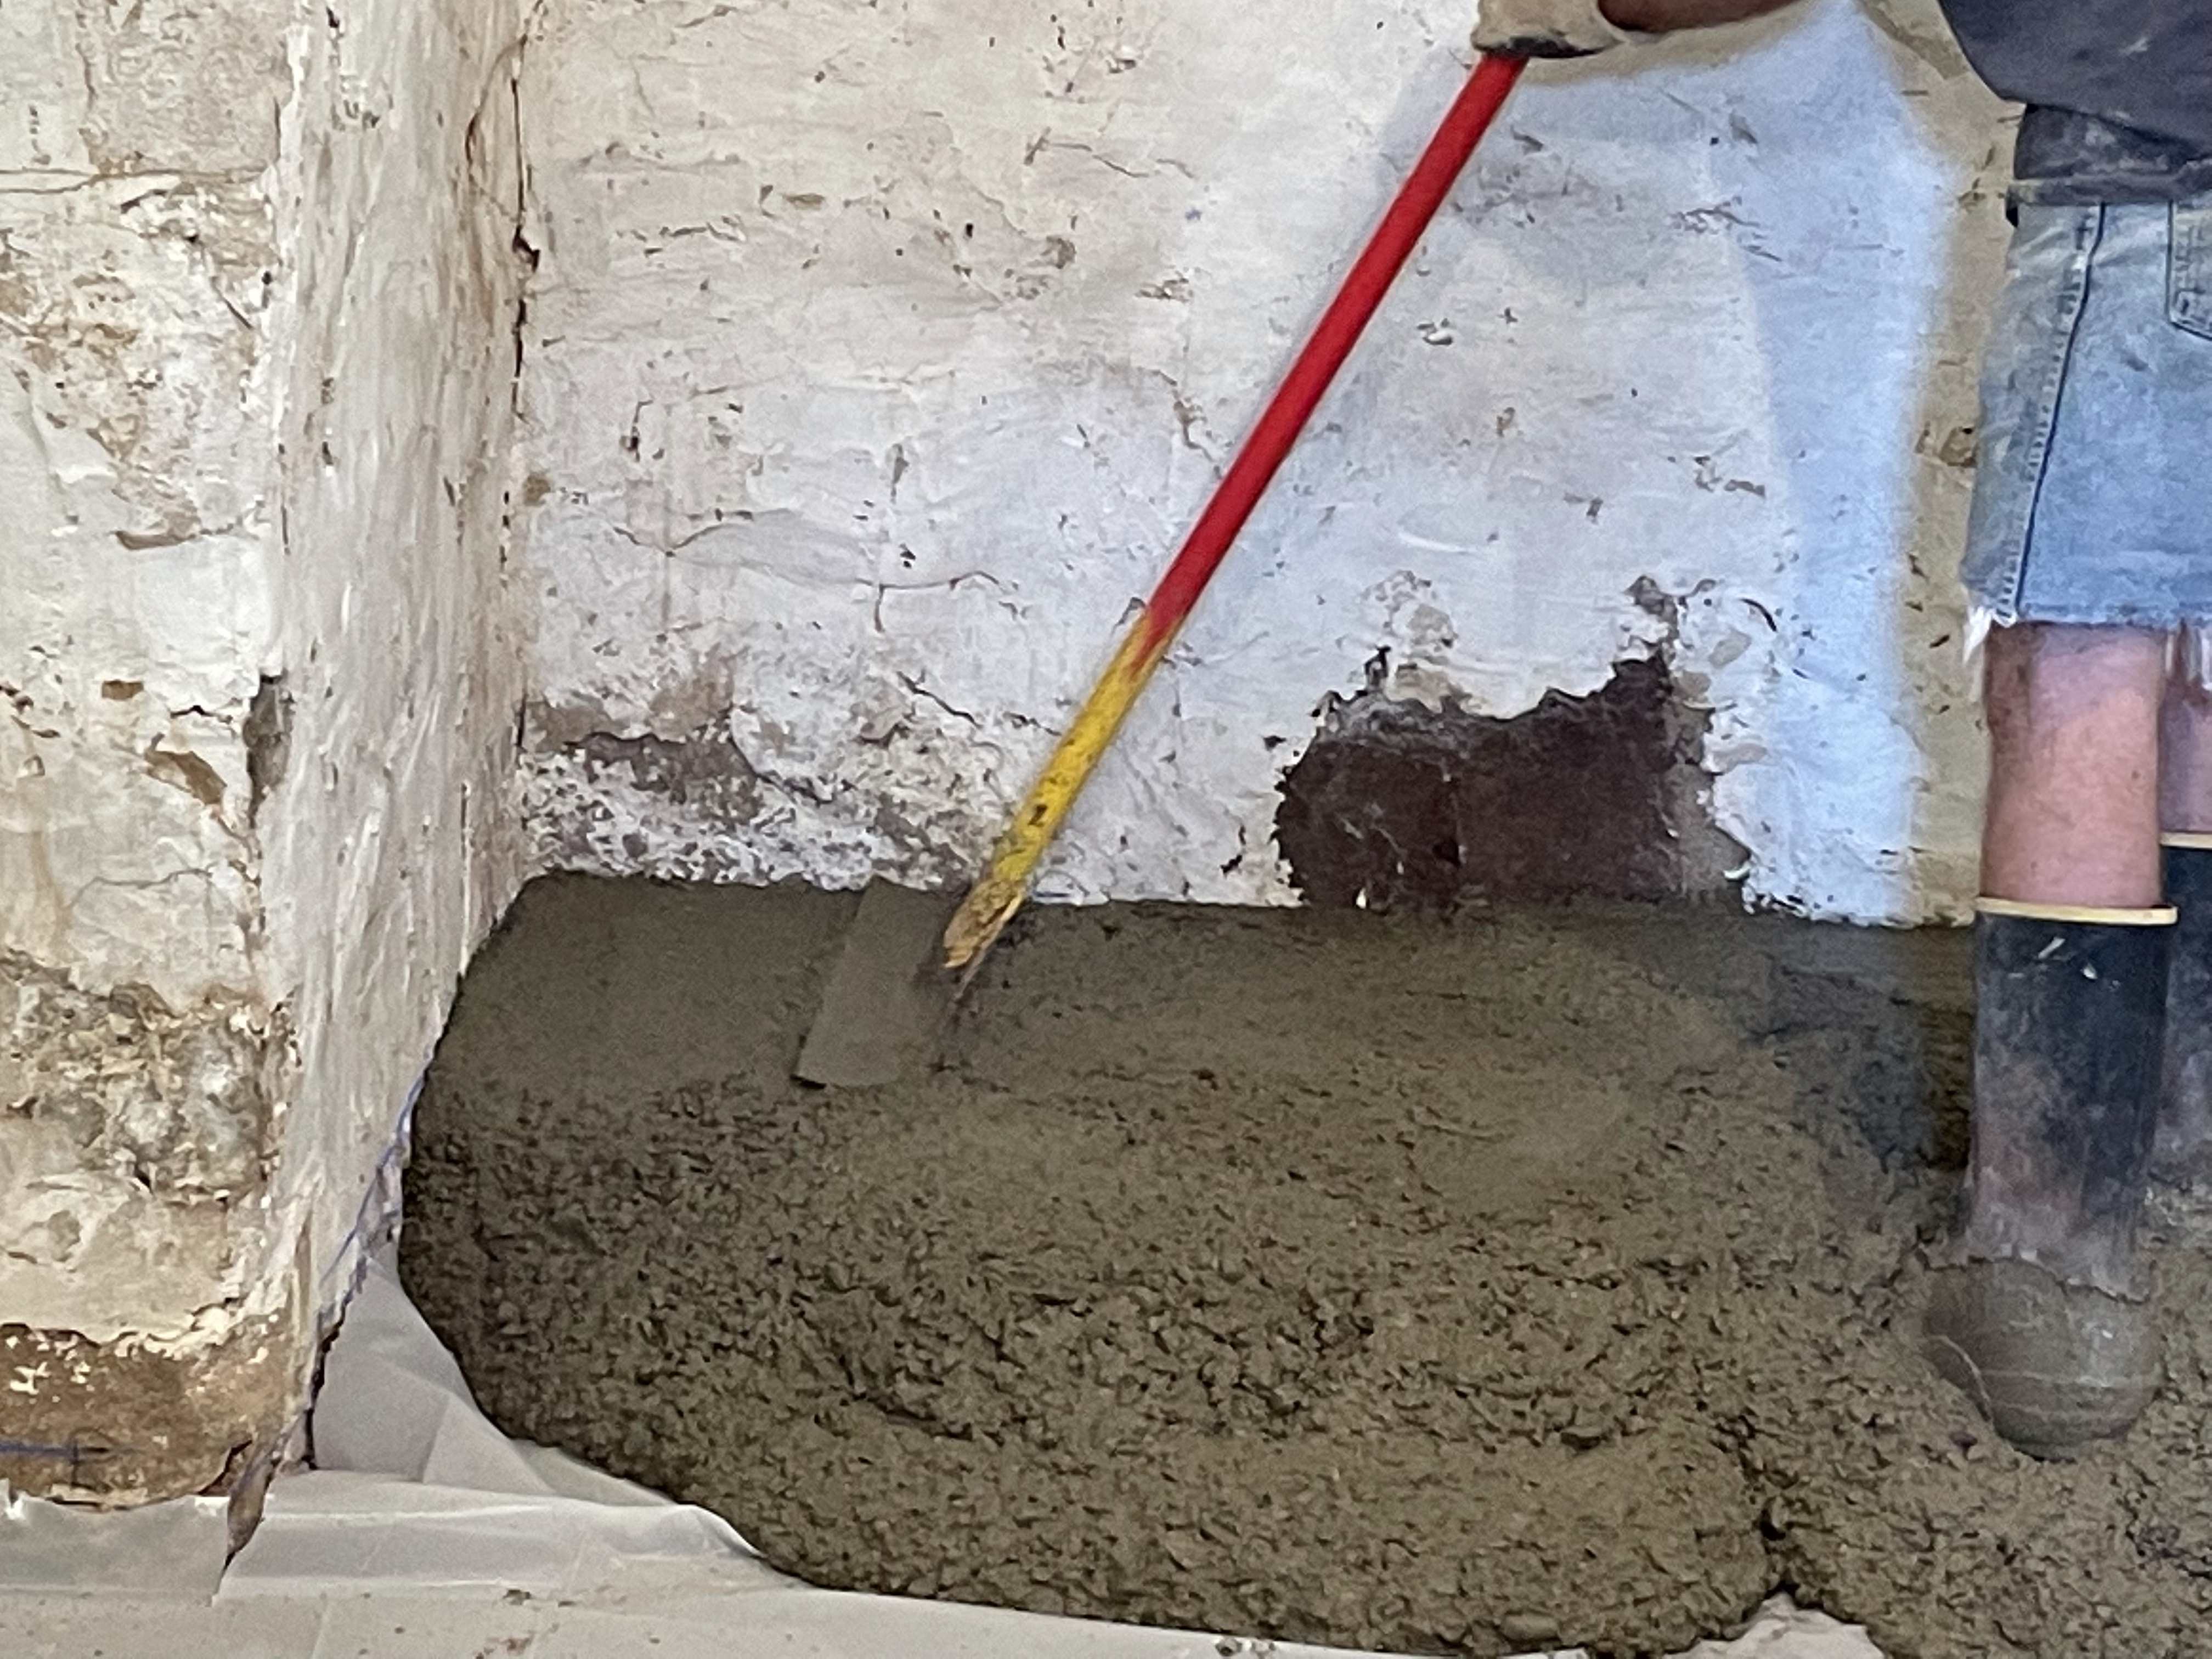
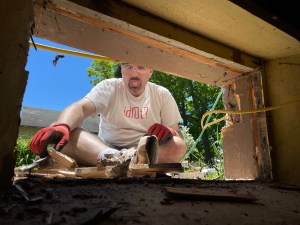
Brad and Brandon ran the wheelbarrow, and communicated with Marty the cement truck driver, and dumped their wheelbarrow full where Jack told them. Jack shoved, sloshed, and half kicked this gravely semi liquid – semi solid pile of slop around to where he wanted it. As it began to set-up it would hold its shape a bit. Because of the design of the basement, Brandon had to slosh through the concrete to get out. Jack worked his way to the chute and then using the ladder came out the window.

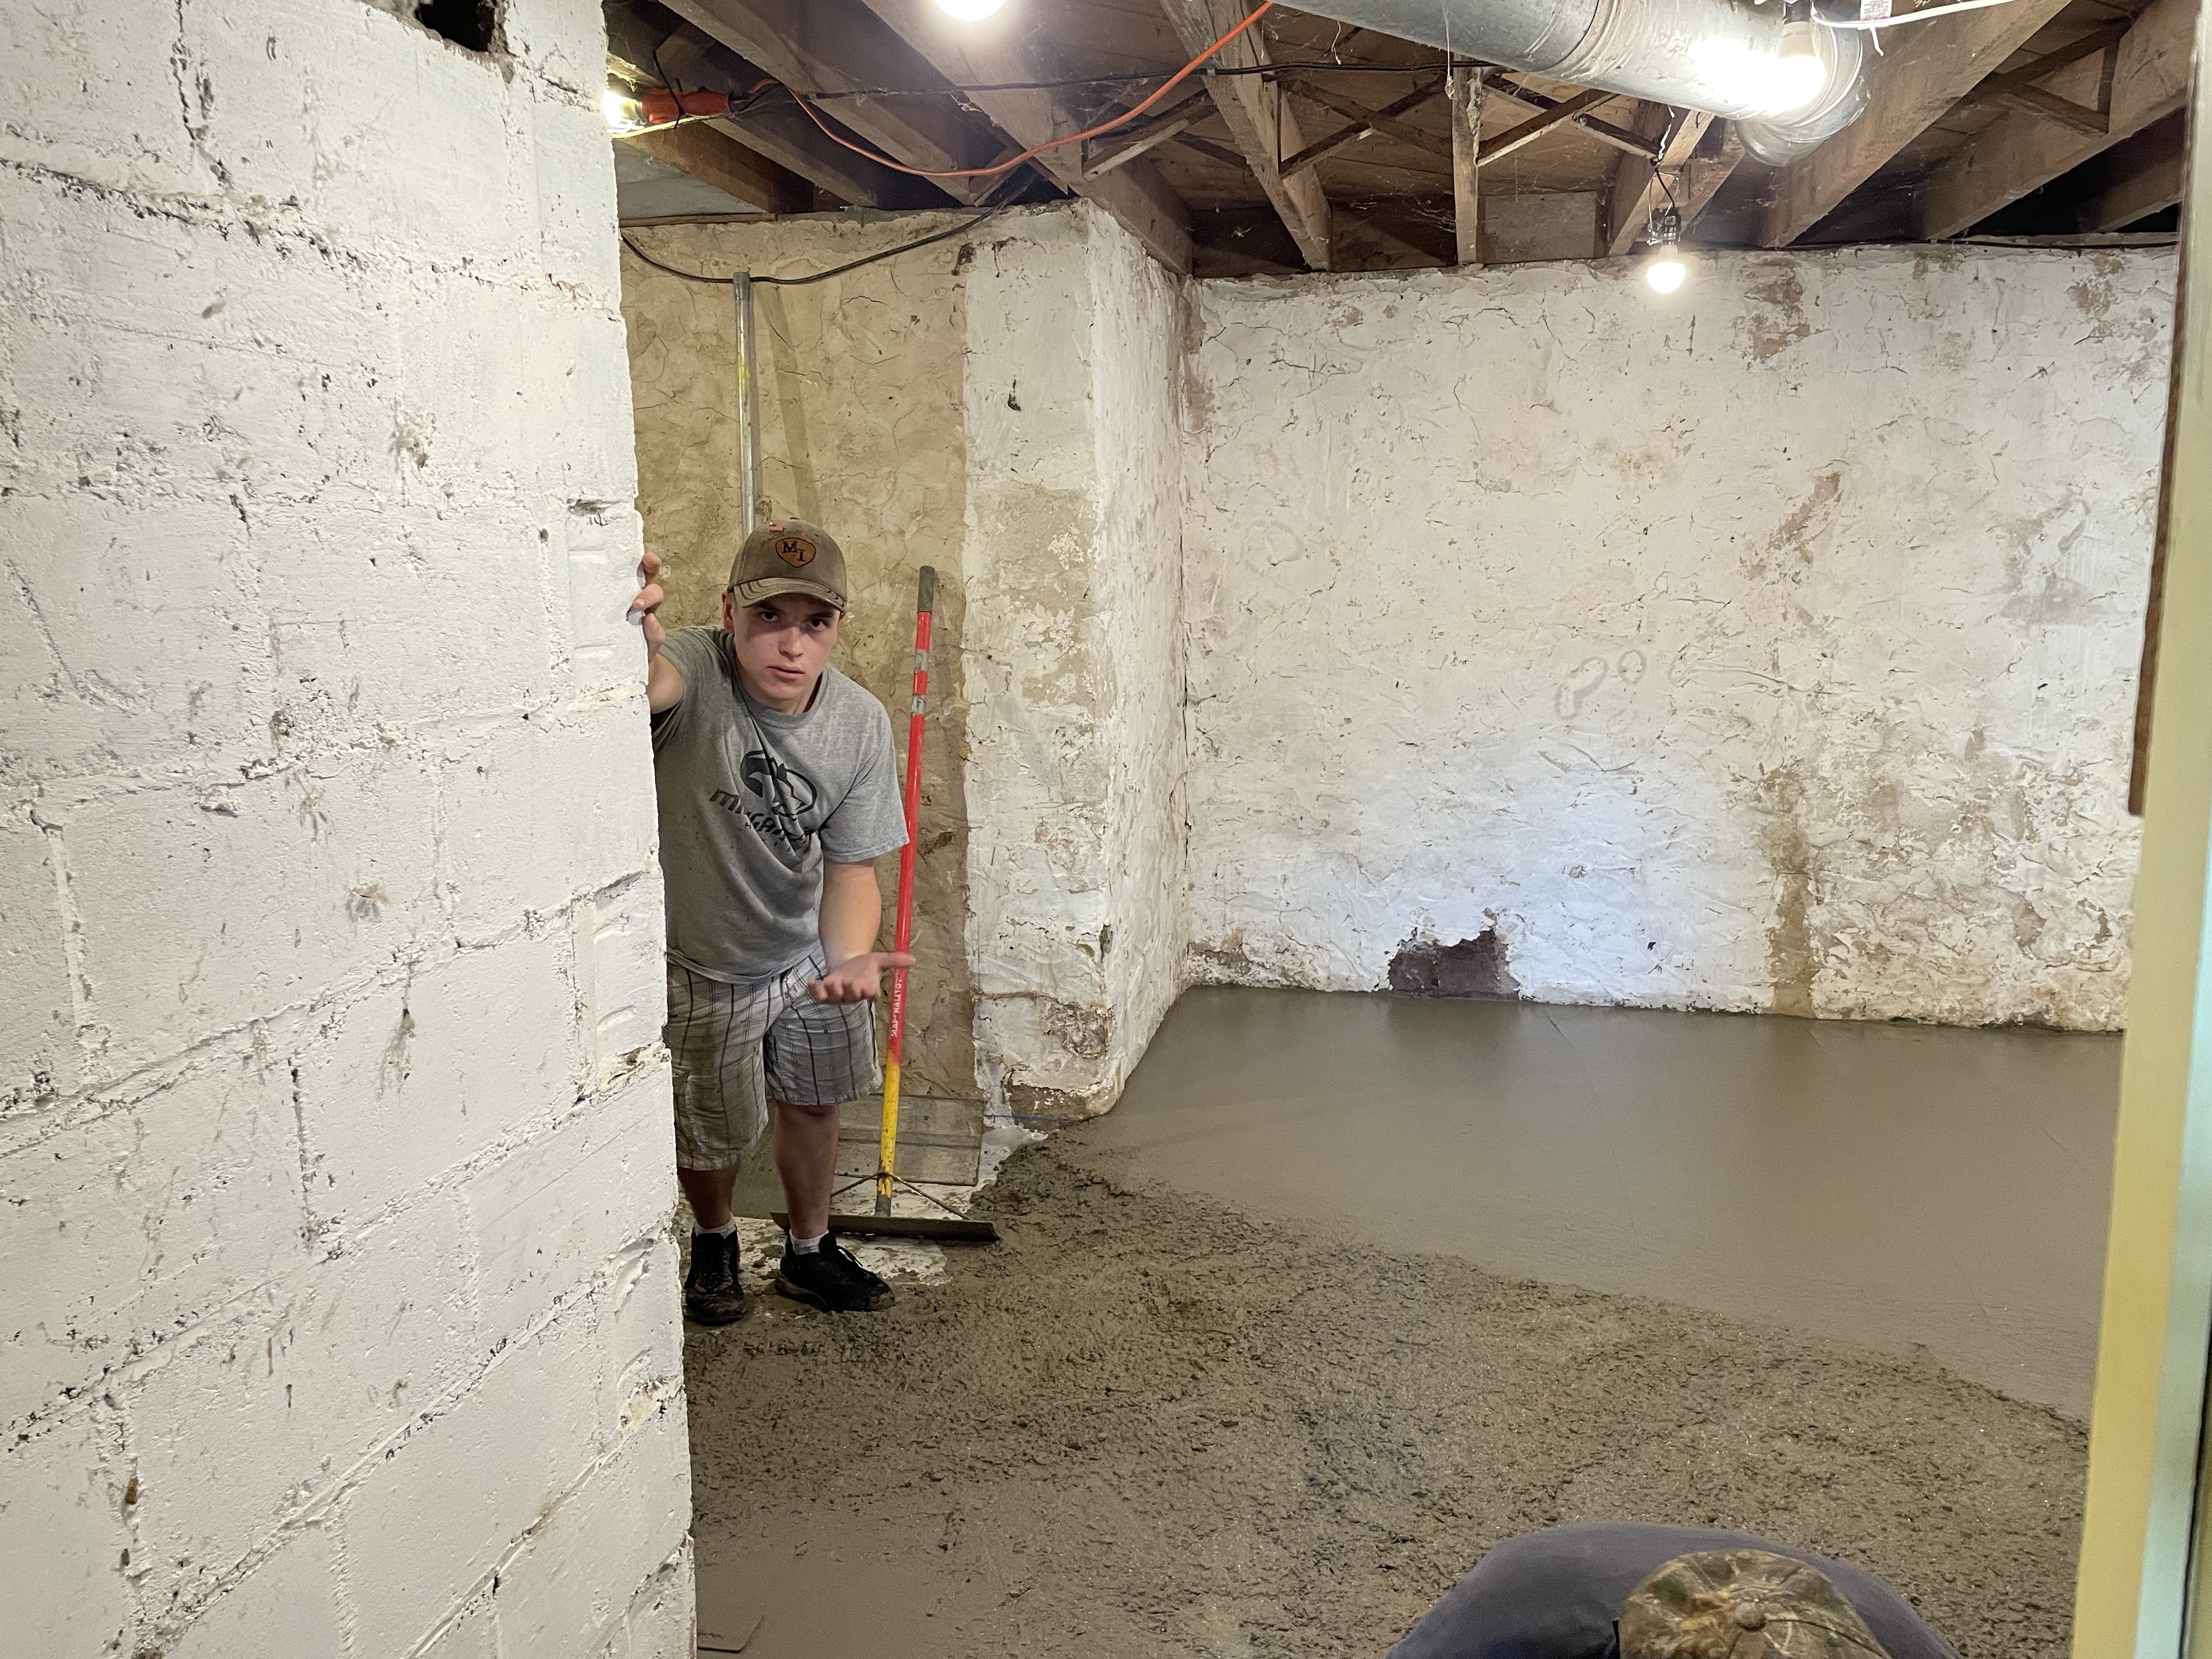
“how am I supposed to get out?”

Brandon stepped through the concrete to get out (Jack told him to), Jack worked himself over to where the chute was, took that out and handed it out the window, and then exited the basement through the window.
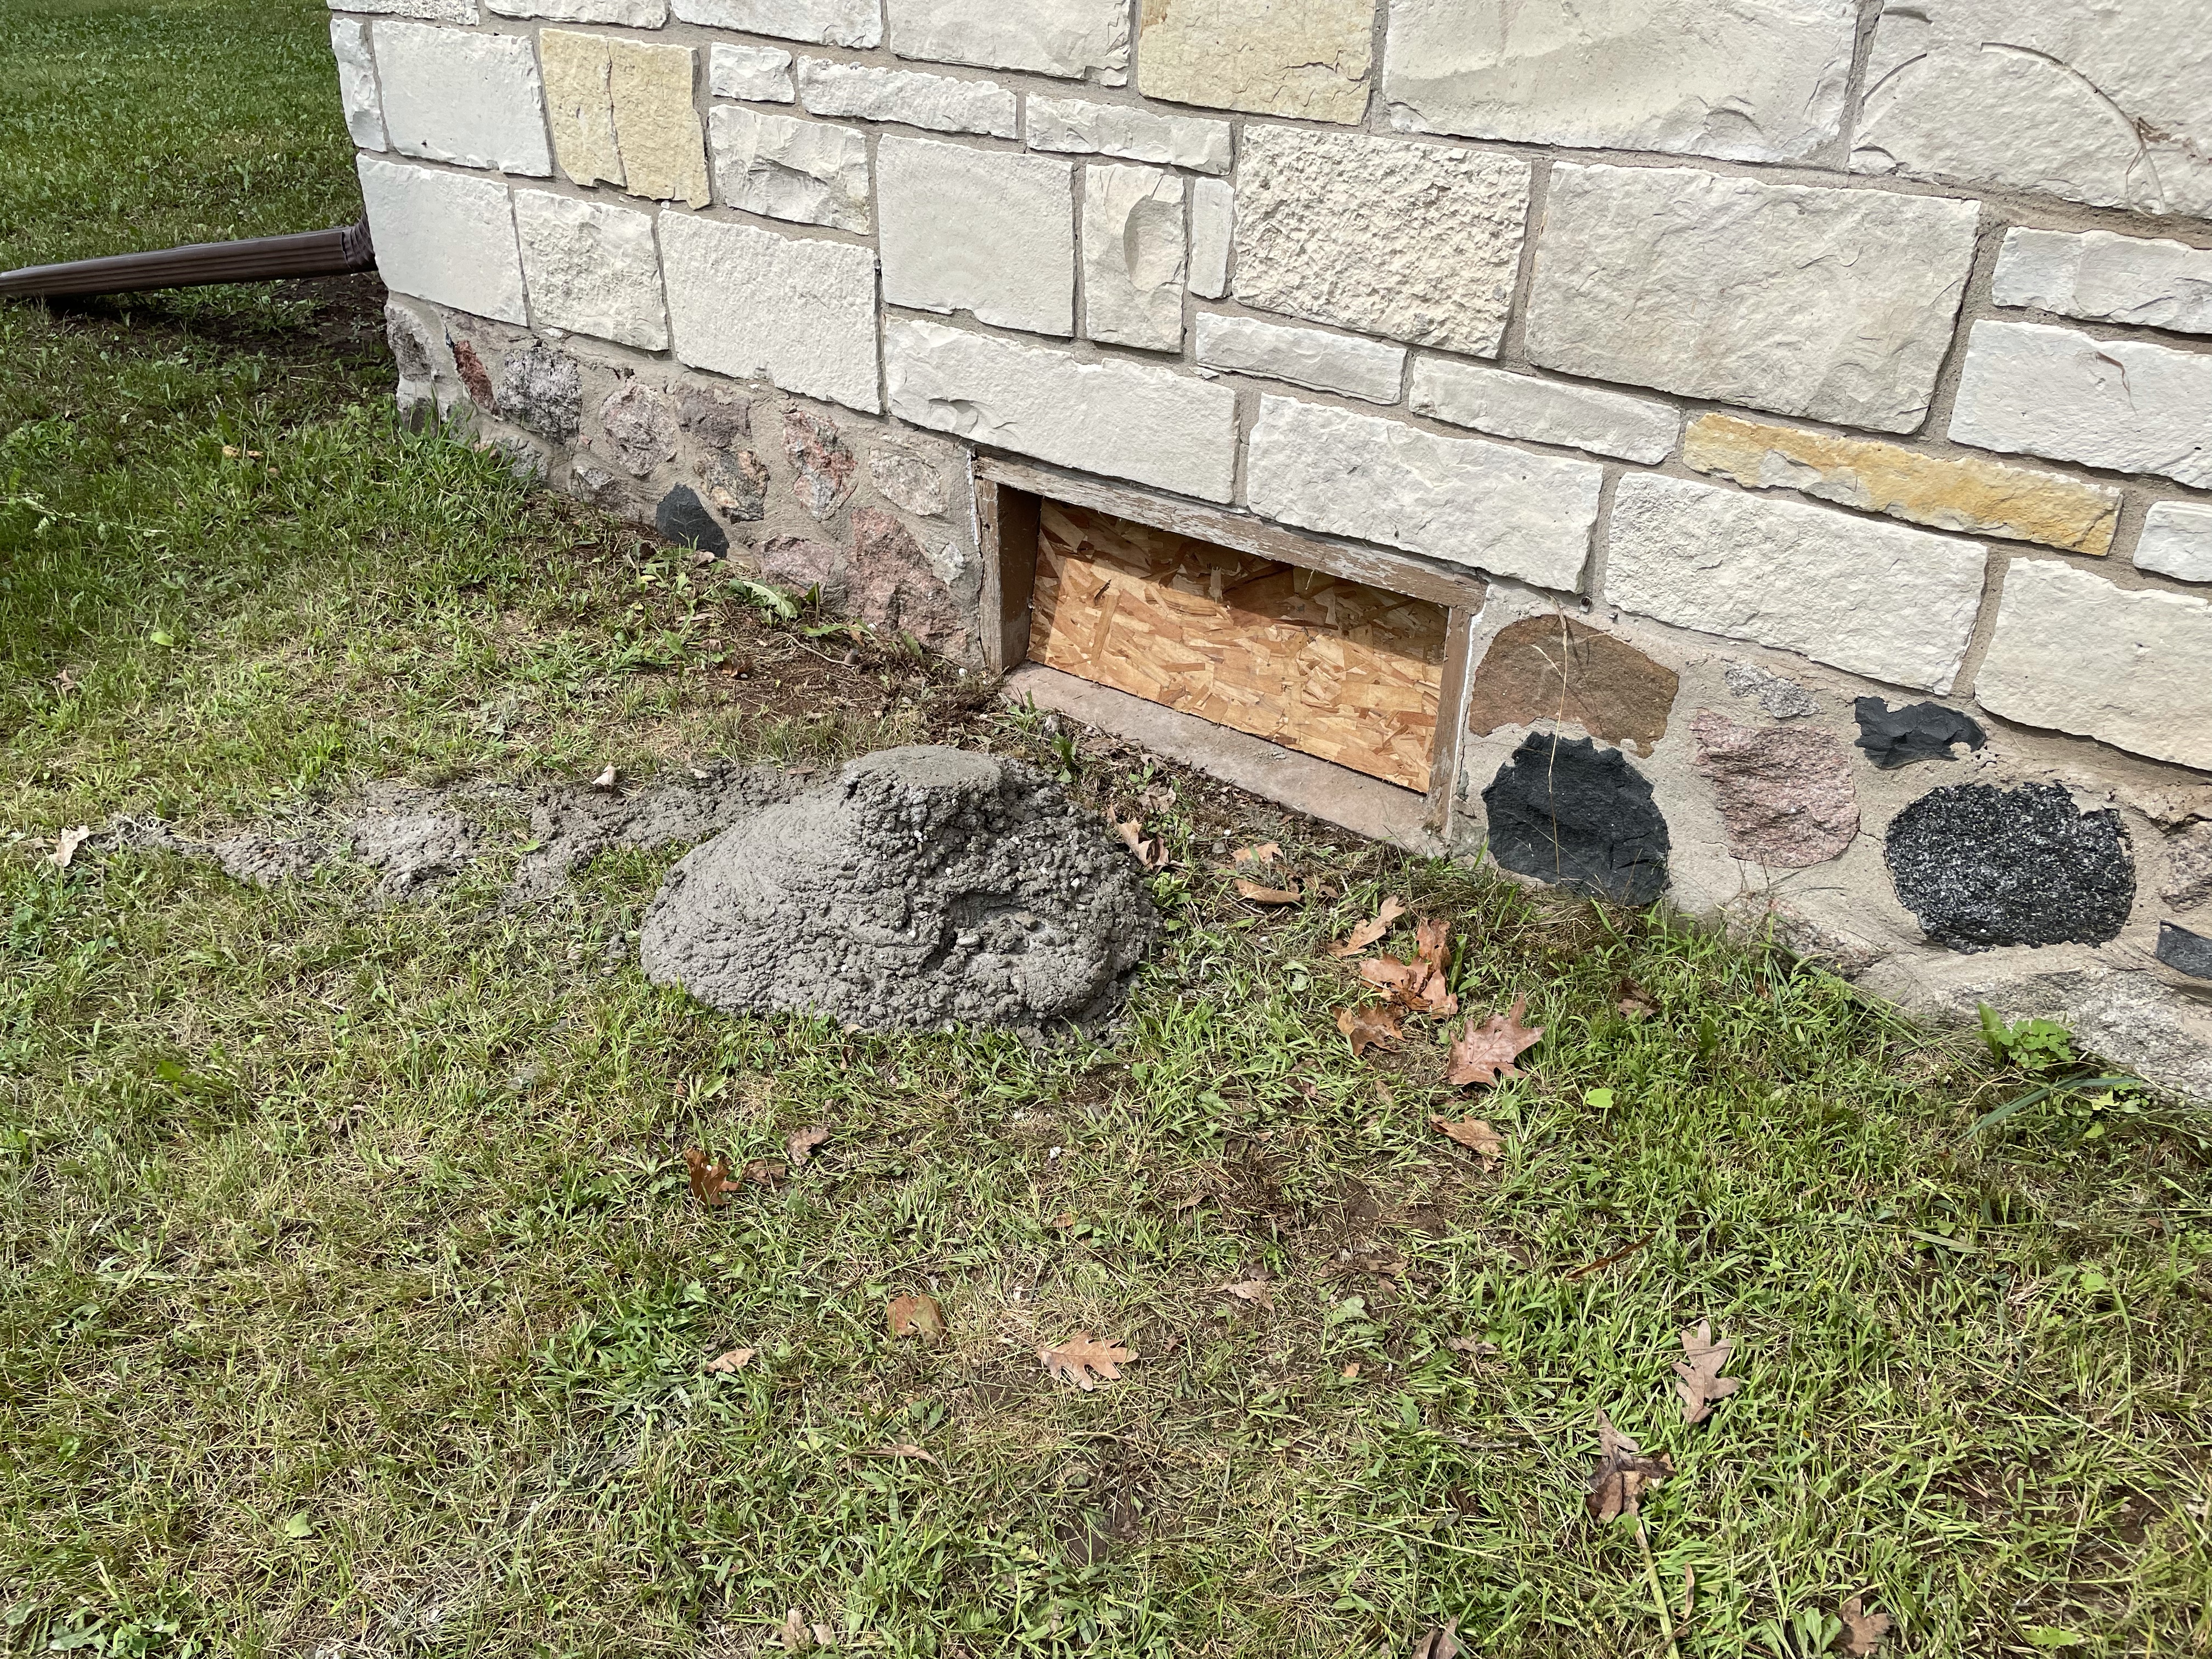
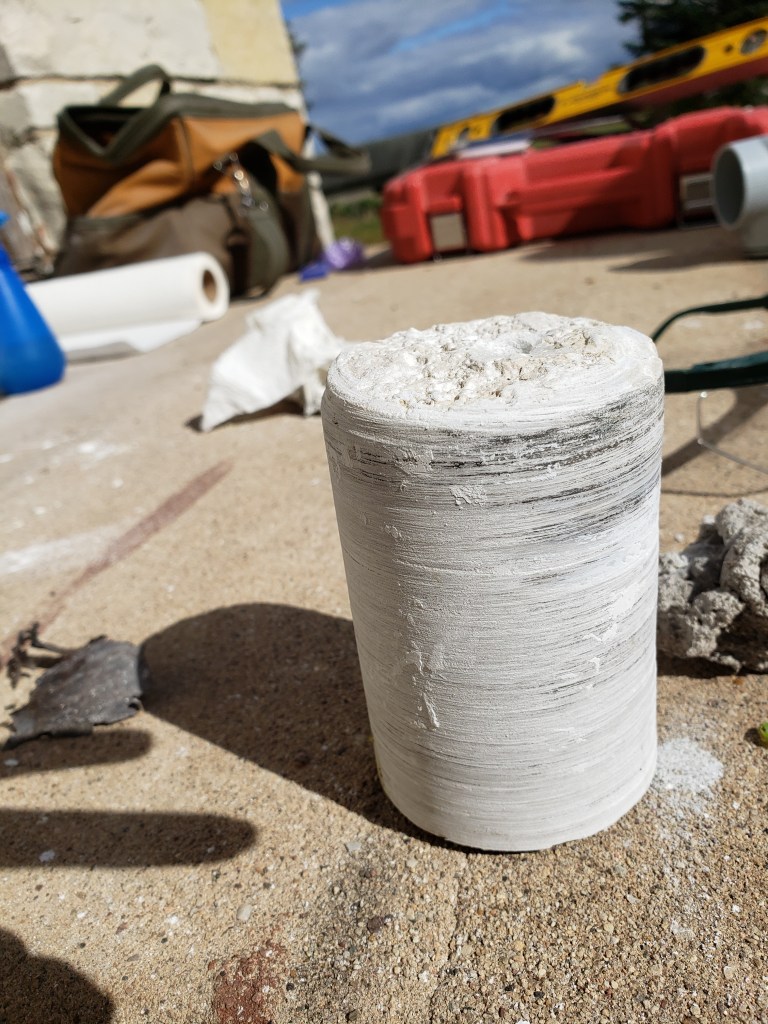
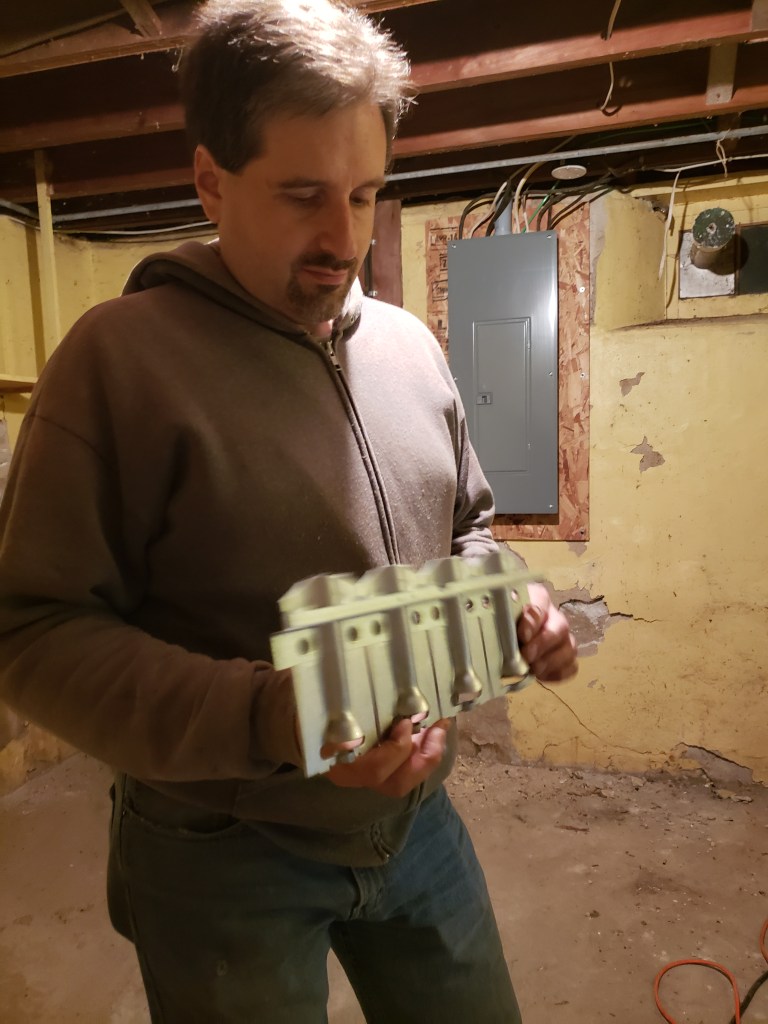
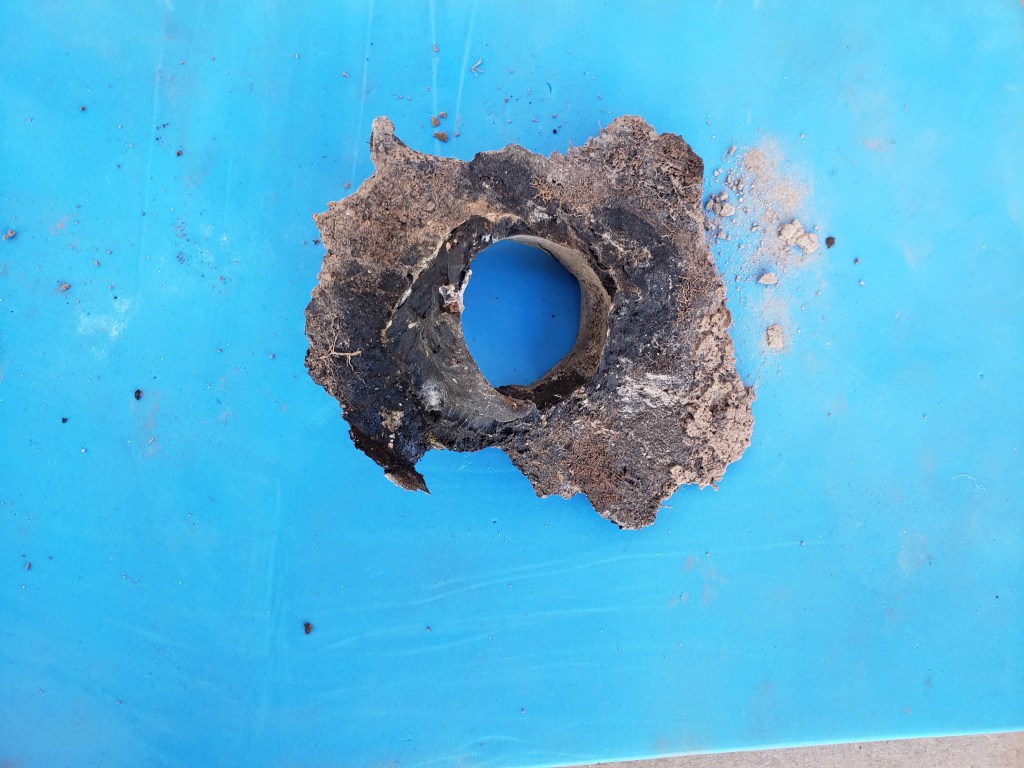
While Brad, Brandon, and Jack worked on cleaning everything up outside (including themselves) the brand new floor was was drying just enough that Jack could come back and smooth it out.

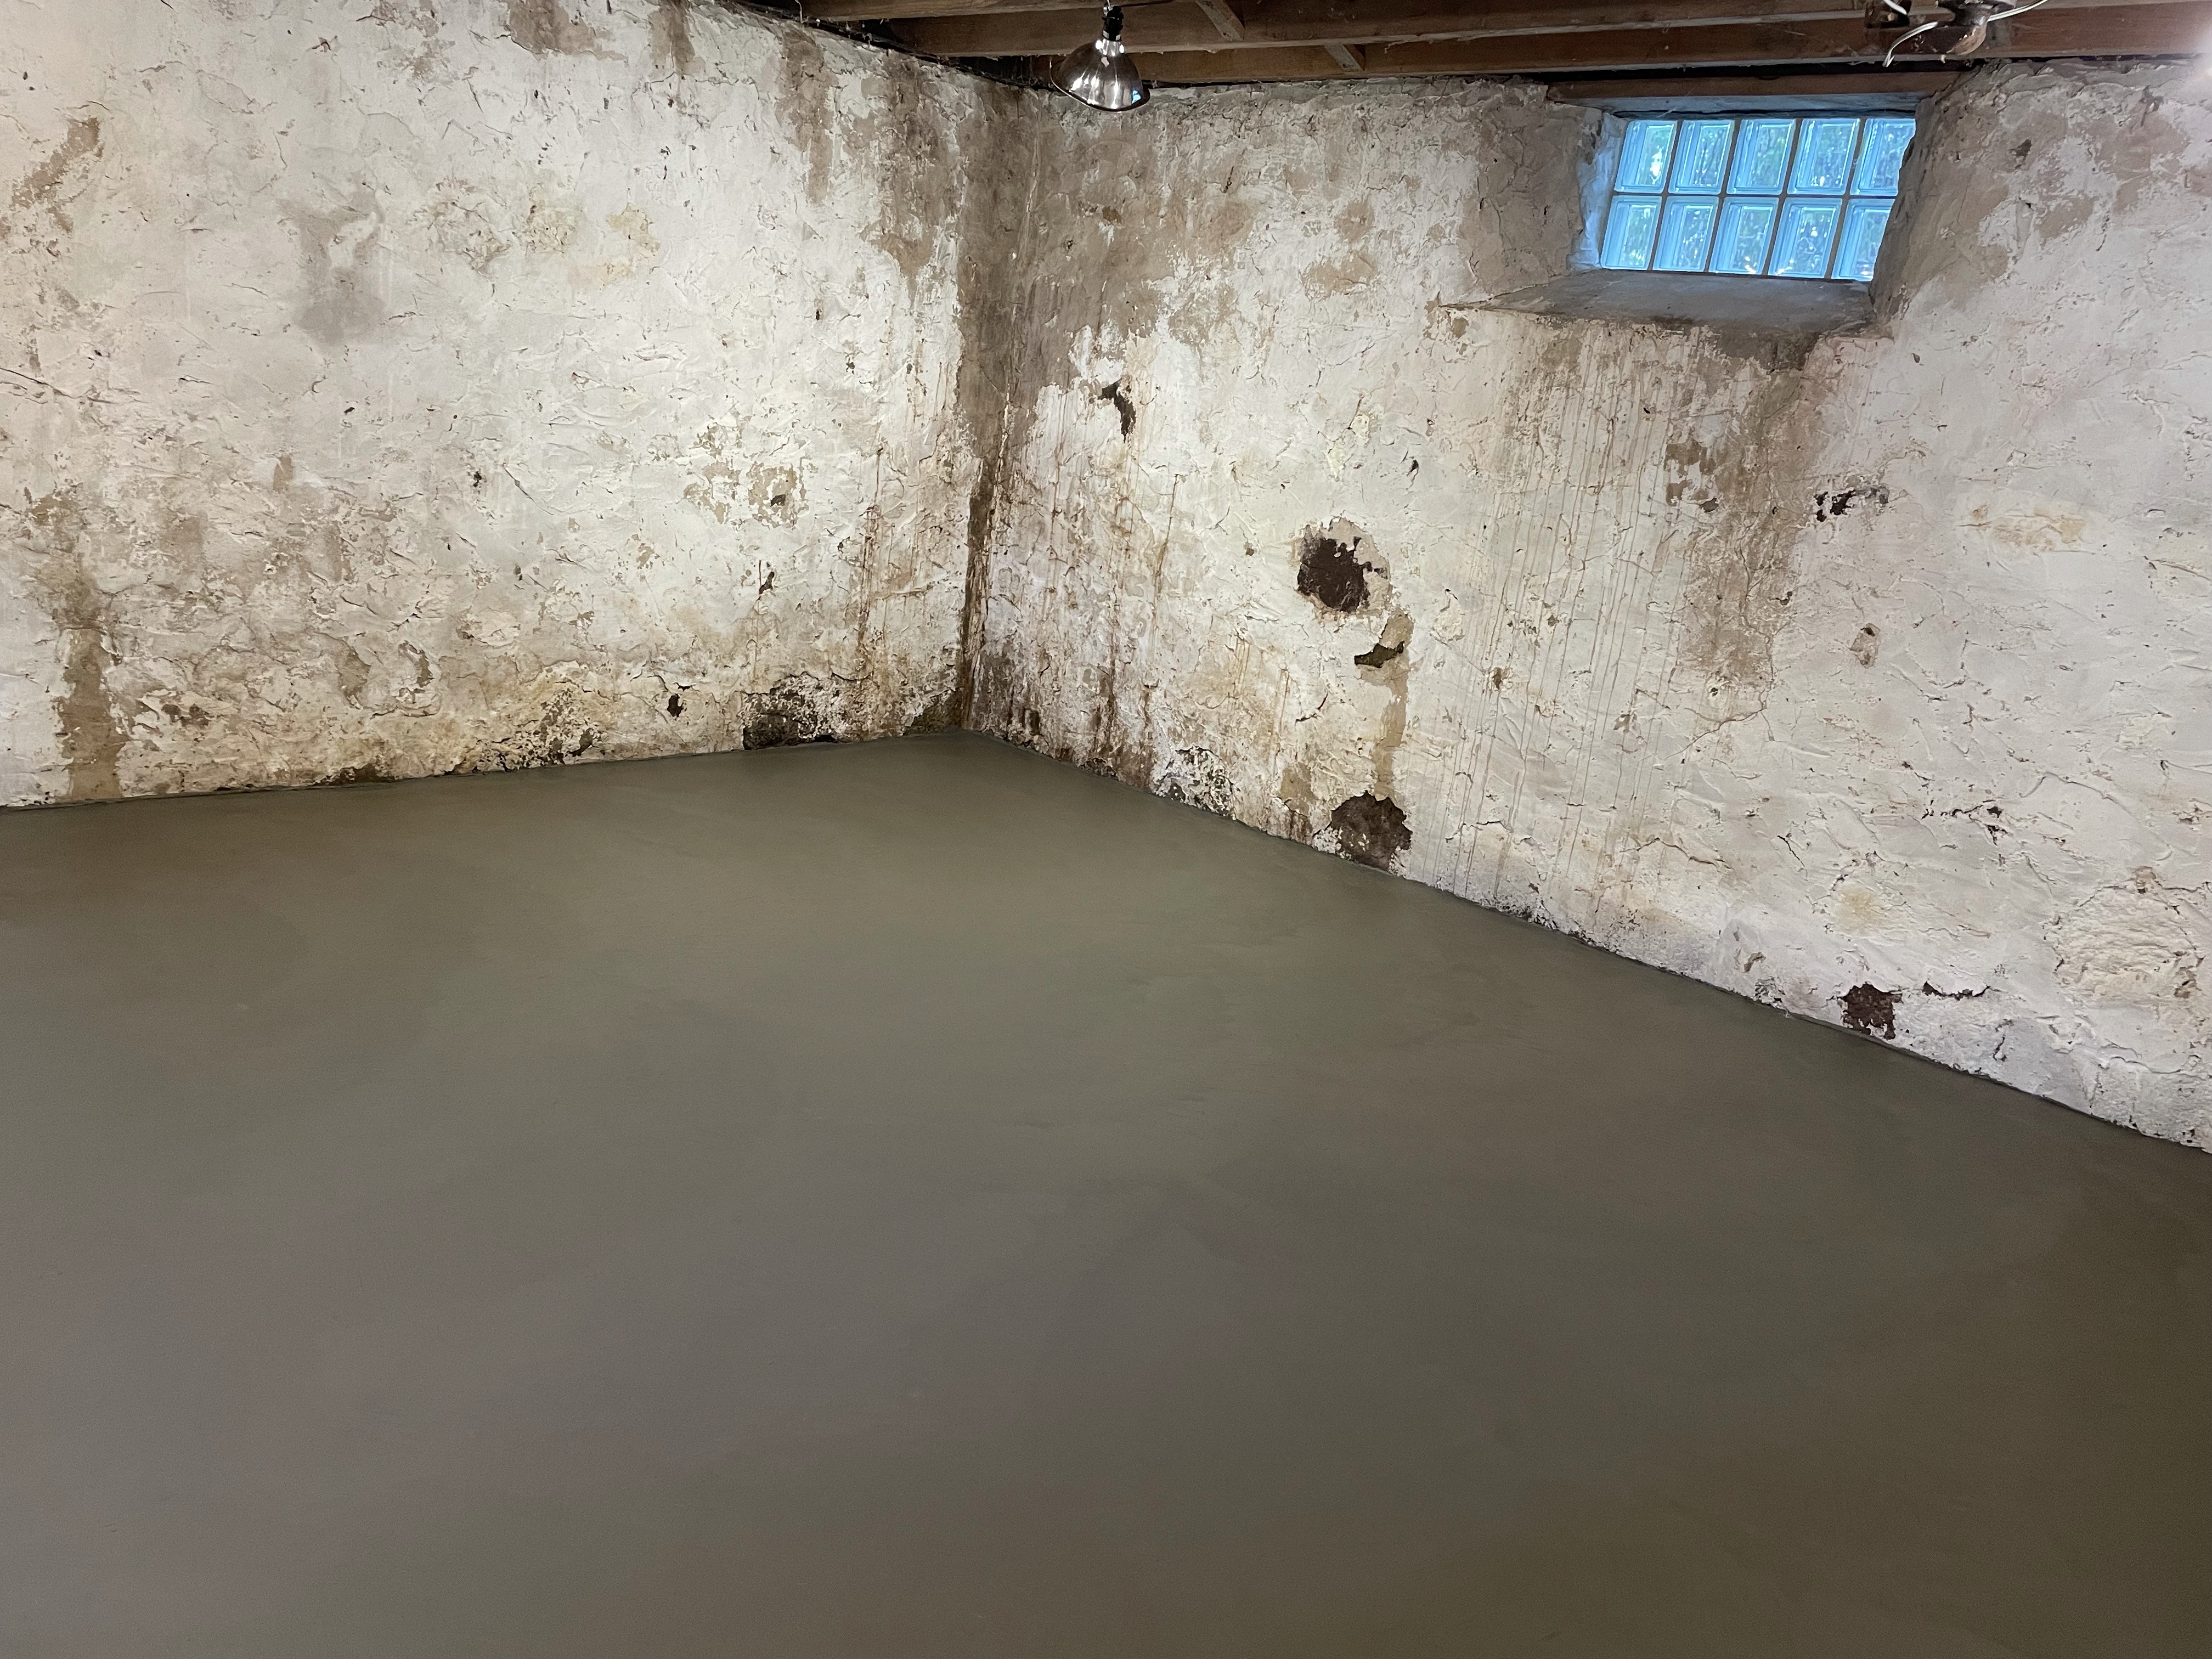
Jack smoothed the floor 3 times in addition to the initial leveling as it was poured. He has machinery that takes the back breaking labor out of it, but decided that the area was small enough he would rather do it by hand than deal with getting the equipment down the stairs.

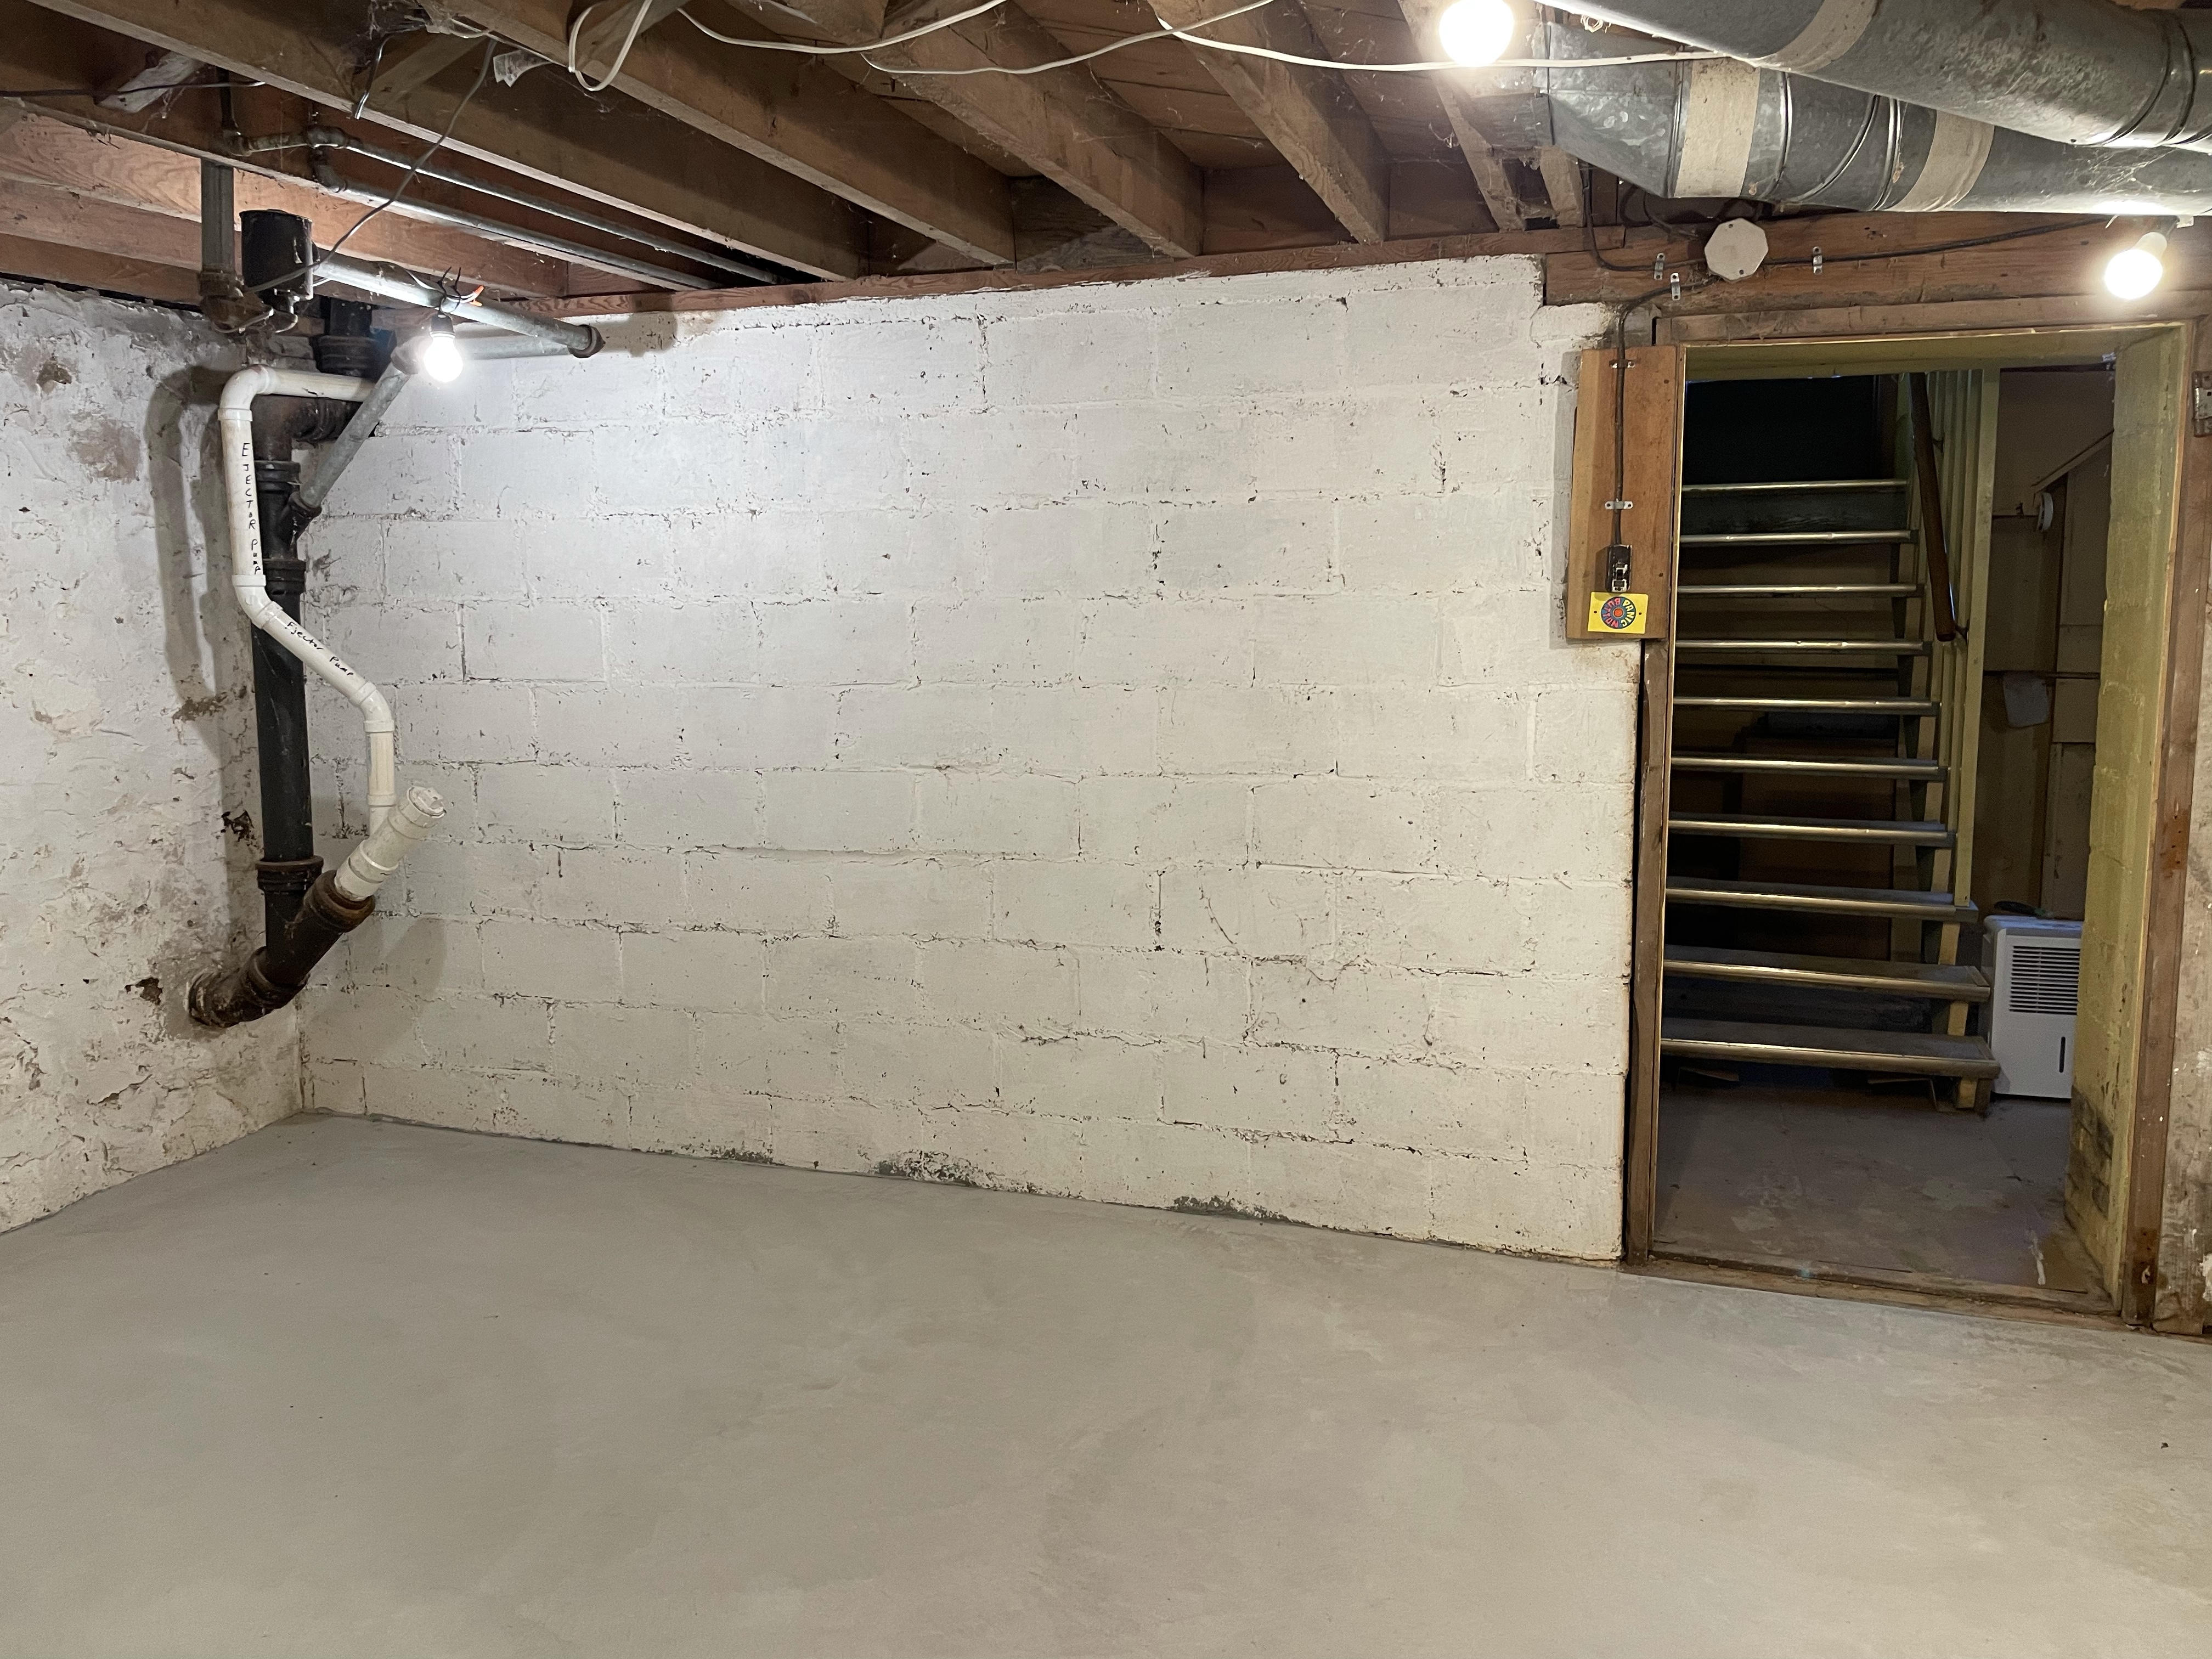
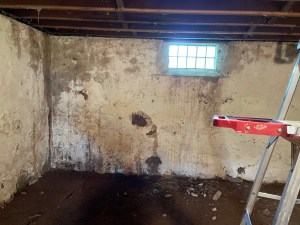
After about a week we were able to walk on the floor. The difference was amazing, not only the look but also the moisture level in the house and the smell.

Future site of my itty-bitty root cellar.

Jack did an amazing job! We love how it looks. We were so thankful that Brandon was able to help. One more job done!

Lighting up the night

Summer was flying-by. The guy who was going to pour the basement floor, originally said he would be out sometime in June to do it. Well June became July and the floor was still dirt. We couldn’t complain, he is someone we know who does this kind of work on the side, and we know all to well how life can get in the way of plans and best intentions.

While we waited for the basement floor we got some other things done, like changing the garage plans (see A woman’s prerogative . . . ). Something else, no matter what the garage final layout was that the yard light would have to be moved. The old electric pole where the yard light was mounted sits inside the footprint of the future garage (we are NOT going to pull a real life Green Acres). We weren’t going to tackle the pole itself, but the light was do-able. This is the same light that mysteriously worked even though there was no neutral wire connected back to the new underground electric service.

As you can see in the second photo above, the light is just below a grouping of insulators on the left side. Brad shimmied up the ladder (no pictures, I was holding the ladder), and removed the light. It still worked so he took the whole fixture down. The question was, where to put it?

The choices were on the west side of the barn or the south side of the granary. Brad’s vote was for the west side of the barn because he doesn’t want light flooding into the house, and didn’t want too much light flooding the yard. My vote was to put it on the granary (which having grown up in the country where there are no street lights is the entire point of a yard light). My rational was especially when snow blowing to be able to see up to the house better since the days are so short and our old snow blower operator is headed to college & the job will most likely fall to Brad (I prefer to operate the shovel and be support).

Guess who won. 😀

I may have to fight for the light on the granary in the future, but for now, I won! (I also think it looks cute there.)

It of course is not as simple as just slapping the light up on the side of the building. This building, while it did have power, had minimal lights and outlets. There was more work ahead to make the night light up, and multiple trips up and down the ladder.

While Brad was busy being an electrician, I worked on some of the trenches that had settled. The trenches make for a very rough (and unnerving) ride while mowing lawn. We didn’t have quite enough dirt laying around to fill all the settled trenches, but these by the panel were by far the worst. The stakes are where Brad wanted me to stop filling to so he could easily see where the lines are when we run underground power to the future garage.

Some of the depressions were deep enough to mess up someone’s ankle of knee if they stepped into it unaware. The section that I left open we covered with plywood to avoid accidents. I purposefully took this picture to show how much spots had settled, red clay compacts – a lot! Last fall I had stepped into one (unaware) that was filled with leaves. I had a sore knee for months afterward, I was going to be sure to not have a repeat.

After several trips up and down the ladder Brad finished up the light. The question was, did it survive all the jiggling around.

Knowing that in the near future a cement truck would be coming Brad trimmed an out of place branch from the apple tree that hung in the driving path, and I cut down a flower bed that would get crushed anyhow. (It also needed to be cut down for fall which wasn’t that far off anymore.)

It had been a full day. The last thing to do was come back in the dark and see if Brad’s handiwork worked.

No surprises here. Good job done!

A woman’s prerogative (a man’s too :D)

It’s been a while since I last posted – too long. Life has been busy! Our youngest graduated High School, so there was the graduation party, I took on a new role at work which dramatically increased my hours, our Church Picnic, family camping, moving our youngest off to college, lots of other family and church things, and fitting in working on the house in the middle of all that. In the midst of all this, I had 3 technology upgrades (sorta 4). My work computer, my phone, and my personal computer (twice). I upgraded my personal computer with a much newer hand-me-down, it started to crash – consistently – so hand-me-down #2. (Sigh)

This is not meant to be an excuse – just sharing why updates got put on the back burner and a gentle prod from a friend moved them up front. (Thanks Bas).

We had fully intended to put up a garage closer to the house. The current garage is a bit farther from the house than we would like. The plan was a 3 stall garage for both vehicles plus our pop-up camper. Then the market went crazy! From a 6 week period from March to May the cost of materials alone (not the slab, and not paying anyone to hammer even 1 nail) rose $7,000 (that’s not a type, seven THOUSAND dollars). We were sick.

We would have to wait for the market to stabilize and prices to (hopefully) come down. We were realistic, even when the prices came down, it was unlikely that they would return to what they had been. The question also came, could we make due with a smaller garage? The question was how. We had these outbuildings, but there was a problem with each one. Granary/chicken coop had no large doors (and was promised as my she-shed). There was not enough room between the machine shed and the barn to fit the van with the camper attached to back up into it. Unlike many area barns there are no double doors on the barn. The doors on the existing garage have only about 3 inches to spare (not per side, but 3 inches total, 1 1/2 inches on each side of the camper) way too close for us.

Then one day I’m standing in the garage and look up at (what looks to me) a header. I asked Brad if we could just turn the single doors into one double door, then there would be plenty of room for the camper. Brad had to pause and said he had to check on something. He measured the distance from the garage to the barn (we hadn’t paid attention to that since we thought the doors made the garage not an option).

It was close, but there was enough room! So we decided to reduce the garage plan down to 2 stalls. This was actually almost a relief on multiple levels. Not only was it more cost effective, but it put the far footing further from the underground line that runs to the main house, and aesthetically it would look better to have a smaller footprint. Then there was the question of whether or not the placement was a good idea.

The question was how to see what it will look like before it is built. With poles and a tarp we simulated the North wall and what it would look like looking out the kitchen window. With our original plan there was a tunnel effect. We moved the poles and tarps just a couple feet to the South and just being able to see the North end of the barn gave the feel of being so much more open.

Brad re-drew the garage plans and submitted them of approval to the building inspector and to the County. Everything was set.

Now we just needed 2 things.
1. The price of materials to come down.
2. The basement floor to get poured (more on that in a future post).

That’s it for now, more of the summer projects to come.

Pandora’s Box

Disclaimer – I reserve the right to reuse this title again in some way shape or form. Yes, I know that could get confusing, and I will try my best to differentiate. Here’s the deal – we’ve discovered when doing work on an older home, you open a wall, rip up a floor, etc, and you find that there was some cosmetic band-aid covering a “slap & a promise” (a half done job that the owner may or may-not have intended to return to and do appropriately) or some ugly big repair that a half-assed job would make it good enough to do. So your 1 simple job turns into 1, 2, 3+ jobs depending on your own level of OCD for things being right, time, money, and being able to look the other way.

Ok – on to Pandora’s Box

Last fall -actually last year we started the search for a mason. There are lots of people who can work with concrete. The number that can work with stone, not just veneer, is shrinking. We found 1 company who came to look at our project. He gave us a quote of about $16,000 (no that’s not a typo).

We did more looking around, for someone working on their own. Found 2 who were retired (no help there). I then turned to our mechanic. The guy has lived here his whole life, is 2nd or 3rd generation in the area, his dad started his small garage and his son is now taking it over, and for a period in the 80’s he was the town mayor. The guy knows pretty much everyone, or has at-least heard of them. He gave me a name & number, and told me the guy does great work.

Darren (the mason) came out, looked it over, gave us a quote of under $1,000, plus a couple hundred in materials, and told us to call him in the spring.

Spring came, and getting in contact with him was an exercise in patience. While we were waiting for him to return our calls we started to discover that there were questionable areas. We started with these areas desperately needing attention.

When the house was built (we guesstimate sometime between the 2 World Wars) the stone was placed directly on the wood frame of the windows.

Kinda hard to tell, but this core is about 6″ thick of solid limestone. Now when the house was new all that weight resting on the wood was no big deal, but wood and stone are not a good combination to have resting on one another due to moisture, rot, etc. Over the years under the weight of the stone some of the wood was starting to sag and the mortar was actively cracking over 4 windows with the stone starting to drop. Add to that water issues around 3 corners of the house that had deteriorated the mortar in the field-stone foundation. As we started looking 5 more windows had the mortar cracking. In talking to Darren, we decided to do all the windows and doors (minus the double north window that already had a steel header and the door under the patio). There were only 3 windows without compromised mortar and we figured with our luck it would start to fail right after he retired.

So basically he would removed the blocks above a window or door, wrap the piece of angle iron in while aluminum and put it over the window, and then reassemble the jigsaw puzzle of blocks. It took him a bit to get into the rhythm, he was used to working on new builds, but once he got the feel for it, he really started to zip along. It went pretty much as expected. Then Pandora reared her ugly head.

The frame on top of the bathroom window (on the north side of the house) was actually starting to rot. So Darren had Brad cut some wood and replace the rotting wood with something solid.

The mortar was by far in the worst shape where the deathtrap of a balcony had been. Once Darren disassembled the jigsaw puzzle, he found the wood rotten above the window and it went up into the soffit.

Before new wood could go in, the old rotten wood had to come out. It wasn’t that cooperative. Brad tried pulling the nails, but no dice. Time for the Sawz-all! After a broken blade he got the board out. Getting the new board in was a bit tricky, but between the two of them, Brad and Darren got it in.

We had been debating when we should do something with the basement windows, and what. Well, walking around on the north side we discovered that the block was dropping over one of the basement windows. Ugh!

So now what? The easy answer was that as long as we had Darren out, and he had time, he should fix this and any other basement windows. There was even more weight on these windows than the ones he was working on, and they were done the same way as the others originally had been.

The obvious answer was what Brad had been voting for all along, glass block. It would be solid and could bear the weight of the stone pressing down on it. I really didn’t want to go glass block it just seemed too industrial, but I conceded that it was the best option for what we needed. We started virtual shopping, in our area we cold only get the wavy glass block. Ugh! I wasn’t a fan to begin with, and now the thought of only seeing vague shapes when I looked out the basement windows was less than exciting. I turned to Google, and found a dealer that sold clear glass block. Yay! They were in Illinois – 4 1/2 hours away. Ugh! Darren was making good progress, we had to make up our minds, and fast.

We decided to go clear. We could have the dealer ship it to us, but it would add another week, and Darren was going to be ready for it in the next few days. He had Brad remove one of the basement windows (frame and all) so he could see what he was up against.

Needless to say we were a little nervous about taking the support away from the stone above. My mind reeled, what if it fell down. Darren calmly told us, if it fell off, he’d just put it back up. (I guess, it still made me nervous.)

Brad took a day off and we made a road trip to Morris Illinois.

We placed our order in advance, and had to wait a bit to pick it up. It was pretty non-de-script in an industrial park. We stopped off and saw our brother-in-law and nephew on the way home, since Morris was only a half hour away from them. On the way home it poured and poured.

We realized in transit that Darren couldn’t finish. Half the basement is still dirt, and we have someone coming to pour a concrete floor, and he needs to have the cement truck put it’s chute through one of the basement windows in particular. We had checked with him about going down the basement stairs since it is a straight shot. No such luck since the truck cannot get close enough due to the patio.

The dirt basement floor that’s slated to become concrete – I’ve convinced Brad to let me keep a small section dirt and seal it off from the rest of the house for a small root cellar. We had a conversation with Darren about what to do for the window that would be in that room since it would have an inlet and outlet vent, and it would be impossible to complete that opening with glass block. At first Darren suggested bricking the opening up, and the more he thought, the less he liked the idea since there wasn’t a single brick on the house (except for the chimney). After a conversation, he sent us on another shopping trip for thin, split-face Mountain stone (aka thin, split-face granite). We had picked that up earlier, and when we returned with the glass block, Darren had removed the coal chute and stoned it up. (The inside was cinder block, but who would know!)

Brad finished removing the original windows and Darren continued to make progress on the upper stone, and the lower windows, juggling more than one window in progress at a time. Quite a difference from when he started and worked on one window all day getting the feel of how to rip it apart and put it back together again.

One final thing before Darren temporarily left us. The corners.

The North East and South West corners were pretty simple as piecing back together a puzzle made of fieldstone can go. Then there was the North West side. This was the corner that had been without a gutter above, and leaked the worst in the basement.

Darren started digging to get to solid mortar. He asked us to dig down 2 more feet from what he had already dug out. He dug down all the way to the base. (There’s no footing under the old fieldstone basement. A huge stone was placed and built upon from there.) The years of water and the roots against the foundation had completely disintegrated the mortar over the years turning it to basically sand. Darren took the puzzle apart, and put it back together with a bit more mortar than original. He told us to leave the plywood to protect the fresh mortar from splashing as it cured.

Darren is finished, for the time being. The tuck pointing on the main stone looks great! There is so much more light in the basement. Now to get ready for the basement to be poured.

And it came tumbling down

Any home owner will tell you that there is always a project or two waiting to be done. Some are urgent, and some can be put on the back burner until you have the time, money, or ambition, or they become urgent. With a property with several buildings, the number of projects waiting for attention multiplies. We inherited a unique project when we bought the property – a leaning silo.

We didn’t expect to be getting our very own leaning tower. Honestly it was pretty low on our priority list, and we planned to keep an eye on it and if it started leaning more to move it up. I took some pictures last fall and checked it again after winter. It was hard to tell without having marked the wall and taken actual measurements, but it looked like it had gotten subtly worse. We told ourselves we needed to actually scribe a line and watch it better and kept it at the bottom of the priority list.

This fall we had someone approach us who wanted to get into the silo removal business. They wanted to take it down. They came out and looked it over and verbalized several methods to take it down, some much more concerning than others. We asked for a quote and pondered it. While we waited for the quote we contacted someone else we thought had taken silos down before. I was really concerned that the guys who approached us would be cutting their teeth on an unstable silo. It seems dangerous enough with one that is standing straight and should fall predictably. This thing was literally being held up by the barn. Some poor sapling was sandwiched between the silo and the barn. If the barn failed, gravity would take over and it would be gone.

We were right, the other guy had taken 20 down – this year alone! He had been watching the silo lean more and more over the last 5 years. In addition he gave us a quote of less than half of the other guys. It helped that he already owned all his own equipment and would not need to borrow anything. He warned us that he couldn’t guarantee that nothing would happen to the barn. We understood. Our priorities were #1 – no one gets hurt, #2 the barn is saved (if at all possible). He asked when we wanted it down. We told him before someone gets hurt and before it wrecks the barn, other than that we had no timeline. He gave us a rough estimate of after gun deer hunting season (gotta love Wisconsin!). We told him we’d like to be there, and left it at that. Got a call – he would take it down the following week. Brad drove past to see a backhoe in the neighboring field.

Brad was able to take the morning off when he was coming. We got there early, and he was already there, ready to start. I shot stills and Brad was ready with his cellphone to take a video. He dug around the foundation to weaken it structurally more. Tapped it with the backhoe, and it didn’t want to budge. At one point it resettled sealing the crack in the block – ugh. He started to take more dirt out and knock a few more blocks out of the already gaping hole.

Suddenly it started to lean – a lot! Before Brad could react to hit record (or I could get any pics in-between, even in sports mode) it was a cloud of dust.

And so ends our own private leaning tower. No one was hurt, the backhoe was untouched, and the barn didn’t get a scratch. Everyone was pretty happy with how it went.

He disposed of the block, and now we just need to smooth and seed the area this spring. Another project.

When the sh-t hits the fan

When we first bought the property we discovered a curious 2′ metal disk on the basement floor of the main house. Brad guessed, and was correct, that it is an ejector pit. An ejector pit is used when household waste has to go uphill. Its the collection center before an ejector or lift pump sends the sewage on its way. Learning that, I steered clear of that curious 2′ metal lid, the thought of what lay beneath was – just gross.

To clarify, the vast majority of the household sewage goes straight out the house to the septic. For some unknown reason the kitchen sink drains into the pit, and so does the drain line from the LP furnace – oh and the dehumidifier we added to the basement does too. So all that goes into the pit is liquid even though the pump is designed for – um – you know – poop. So, knowing it just handles water is comforting since its is right there in the basement, but still a bit gross.

For the last few months Brad would see a bit water pooling on the floor, so he would go jiggle the cord on the pump because it had stopped working. Somehow that would magically make it work again. Plans are that it will be removed – eventually.

One evening, Brad peeks down the steps as we are leaving the house, sees the water on the floor, and jiggles the cord – nothing. He jiggles again – still nothing. Ugh! Something is wrong with the ejector pump. Brad informs me that we need to drain the pit and figure out what is going on. Ugh and ick!

Thankfully we were able to borrow a sump pump and garden hoses from our friend Frank to drain the thing. Brad lifts the lid (which is designed to be bolted down, but is just sitting loose on the pit) and suspends the sump pump into the murky stinky water. While it is just water, it is grey water with bacteria in it. Stagnant bacteria filled water smells oh so lovely – not.

It wasn’t as bad as we feared once Brad had the water drained. The pump came off the pipe that lead to the septic. It appears that it was never glued. (PVC connections are glued with special PVC glue so that they stay together) So with lots of paper towel and rubber gloves (and a kneeling mat to protect his healing knee) Brad cleaned the parts and glued the pump to the pipe that goes to the septic.

We ran water in the kitchen sink to fill the pit again to test the new connection after the glue had sat the proper amount of time. Yay! It worked again. We flushed clean water through the sump pump and garden hoses, and closed up the pit. Eventually we will be taking it out, re-routing the kitchen sink directly to the septic, and changing over to a much simpler sump pump pit for the furnace and dehumidifier.

The rationale behind an ejector pit has been a conundrum for us. By the non-yellow state of the PVC Brad estimates it was installed sometime in the 90’s (at least not earlier). Best guess, it was installed when they changed from a wringer washer to a modern washer. The water hook-ups for the washer are just out of sight in the pictures, so it was in the basement. A wringer washer drains by gravity, so it could be controlled and where a modern washer mechanically pumps the water out with force. This is just a guess, and we may never know the actual why. We’re just glad the pump working again and we didn’t have to invest in a new one.

Going underground – a retrospect

Going from the old overhead lines to the underground service was a long project that took a lot of planning, elbow grease, and back breaking labor. Brad suggested, since the work was spread out over several blog posts to make one summary post. Also, since he’s the knowledgeable one, he would be working on this post too instead of just proof-reading. (With the technical stuff, I know what I’m talking about and can usually convey the general idea, but he knows the technical terms and how things operate.)

Service Entrance Before & After

Main House Before & After

Guest House Before & After

Underground Well Vault Before & After

Also added a well house heater to keep the vault’s temperature at a minimum of 40 degrees.

Granary Before & After

Machine Shed After

The machine shed never had electricity prior to our project.

Barn Before & After

Garage Before & After

Prior to us purchasing the property, the garage did not have electricity. Last fall Brad pulled out his 1954 copy of Wiring Simplified, flipped to the farm wiring chapter, and ran a temporary feed overhead from the barn.

Not pictured are the 14 – 8′ ground rods that were required (2 at each building and 2 at the service entrance) driven so they are completely underground, and the 600+ feet of trenches.

And so completes an ambitious DIY project that from submission of the application to the power company to completion took a bit over 5 months.

Baby its cold outside

In the middle of finishing the underground electrical (remember we were completing that in October through mid-November) the weather forecast called for reality to hit Wisconsin and the super mild 60’s and 70’s to plummet to the 30’s and 40’s. So, it was finally time to bite the bullet and fire up the furnace.

Last year we had to fill-up with propane alarmingly often for keeping the house first at 60 degrees, and then at 55 to try and control our costs. A friend who is an HVAC contractor recommended that we disconnect the beast from the chimney. He explained that the draft caused by the chimney was pulling heat up even through the propane furnace was a direct vent furnace.

The beast – a Gravity Furnace also called an Octopus Furnace because of the ductwork.

First we disconnected the monster from the chimney. So we pulled the flue out that lead to the chimney, and capped the hole in the chimney. We noticed a cobweb moving, the beast has a cracked heat exchanger, we could feel warm air exiting the old coal furnace’s flue connection without anything creating a draft. So, cap that too.

Now to fire up the the LP furnace. It has 4 burners in the unit. In the little window Brad could see only 1 lighting. After fighting with the furnace for quite some time he punted and called the friend who is an HVAC contractor. Greg made a service call and ripped the thing apart. What he found was a very dirty, very rusted burner assembly. After a very thorough cleaning, he declared that the assembly was beyond saving. A new furnace has been in our plans. In-fact we thought we would have the new furnace in by now, but with all of the challenges of the year it just wasn’t in the cards. With October flying by and needing to remove the coal beast from the basement to access the duct work and tie a new furnace in properly, this was absolutely the wrong time of year to start such a project. Greg ordered a new burner assembly and returned with-in a week to install it. The burners not lighting explained why last winter we could smell propane every time the furnace ran (even though tests on the line said there were no leaks), propane was going in, not burning and being exhausted out! Hopefully the repair will make the LP furnace more fuel efficient this winter.

Light at the end of the tunnel

It was mid-October in Wisconsin, the project had now become a race against Mother Nature to finish. The Garage was complete and so was the main house. We needed to connect the other buildings before it became intolerably cold or we had a foot of snow. Mother Nature in Wisconsin is bi-polar and she’ll do what she wants when she wants. October can be mild, or wet and cold, or snowy. We had 5 connections left to make, with how fast the rest of the project went, it was a bit concerning that we still had so much left before winter.

When Brad was drilling through the stone and hurt his knee – it was still giving him grief. So I scolded him and told him he couldn’t be kneeling. He explained that he needed to, to get the project done. I reminded him that Brandon or I could kneel for him – ha! So when it came to push the wire into the well vault, and to putting hydraulic cement, and rubberized sealant on the connection, guess who got to do it? (I really did do it, Brad just doesn’t take many pictures.)

Brad drilled into the concrete vault that houses the well to run the line, it went through conduit. We then patched the excess hole with hydraulic cement and coated it with rubberized sealant.

Next was the machine shed. This was the first time that the machine shed had power – ever.

The weather remained warm with cold days here and there. Brad wanted to start work on the Guest House next. Depending on what we found it would require lots of wait time. The current entrance was underground, and we learned about all the wait time with the well. If he could, he would reuse the underground entrance and just make sure it was sealed well. If it looked sketchy we would abandon the old entrance, seal it off, and enter the house above ground (with buried cable). With all the wait time and the days getting shorter and shorter it seemed foolish to have Brad working on exposing the current entrance. It took no skill, just being careful. So I finished hand digging to the foundation and down the 24″ that code requires. I exposed the current entrance and we realized that we were not getting the cap off the end of the galvanized conduit that entered the basement. Brad pulled the current panel which had tell-tale signs of water somehow getting in, and far too easily pulled the conduit out of the cinder block wall. Brad went back to the skilled part of the project while I finished cleaning out the hole and cleaning off the cinder block in preparation. Te rubberized cement popped off the outside – I don’t think it is supposed to be that easy.

While I cleaned out the Guest House entrance, Brad continued to work on the other buildings – first the barn and then the granary on Halloween.

The new connection would enter the house above ground and the go to the basement, so the old hole had to be sealed. This was a process of applying 2 coats of hydraulic cement inside and out, and then 2 coats of rubberized coating on the outside. We wanted each coating to dry at least 24 hours since we had less than ideal drying temperatures. With the underground wiring entering the Guest House above the ground it would greatly reduce the chances of water entering through any of the connections. Once the old entrance was sealed and the hole for the new entrance drilled Brad went to work on the inside.

With finishing the panel in the Guest House, the underground wiring project was DONE!

Elementary dear Watson

Newly connected underground power – done.

Lines run into the main house – done.
Thankfully it was done before it got colder out, since they are the largest lines next to the lines that run to the panel from the transformer – the weather was still unseasonably warm, and that was the only thing that made it possible to get them inside. We could tell the difference in pliability as the day wore on and the temperatures dropped. They had been a bugger to get inside as it was.

Brad was ready to move on to the next building, but first he had to determine what still worked in the house and what didn’t. You see, the main house has 2 panels, one of which is now dead (its upstairs in a small attic), both were independently fed from the overhead lines. Before flipping the breaker to the house at the main panel Brad re-connected all the lines that were in the old basement panel to the new one. The lines that were connected to the attic panel will have to be re-wired as we work inside.

Old setup – power from the pole to the house & then down to the basement.
Far left – 3 insulators for the power coming from the pole.
Middle -2 weather head. Top – for cable going into the breaker panel in the attic closet. Bottom – for the cable running on the outside of the house to the basement breaker panel.
Right – weather head for the line to the yard-light.
Far Right – Insulators anchored to the house with lines for the yard-light.

With the power company disconnecting their overhead line from the yard pole, the neutral line to the yard-light was cut. With power on to the main house, the yard light came on – this should be impossible. Without the neutral the circuit couldn’t close and there should not be power flowing. Brad spent 1/2 an hour to an hour physically cutting wires trying to figure out how it was still on when it was physically impossible. The light was on, so as much as we thought it to be impossible, it was obviously possible. In the words of Sherlock Holmes “Once you eliminate the impossible, whatever remains, no matter how improbable, must be the truth.” The only explanation – it was being grounded by – the ground. There was enough moisture in the ground to make a connection and ground the load, completing the circuit, and letting the light work. In the end he determined that it was no more dangerous than before, and shrugged his shoulders and moved on knowing that in the near future it would no longer be an issue.