The house has 4 bedrooms, 2 modest bedrooms downstairs, and 2 much larger bedrooms upstairs. While we want to have room for our sons to come visit, we didn’t really need 4 bedrooms as empty nesters. At the time that the house was built in the 1930’s having indoor plumbing in the rural areas was a luxury in itself. To be honest the bathroom was small, smaller than we would like.
As I said from the beginning, while we want to preserve the character of the house, we also plan to do some updates. This is one of the updates. After lots of thinking, talking, planning, and drawing it out several different ways, we decided to enlarge the first floor bathroom.
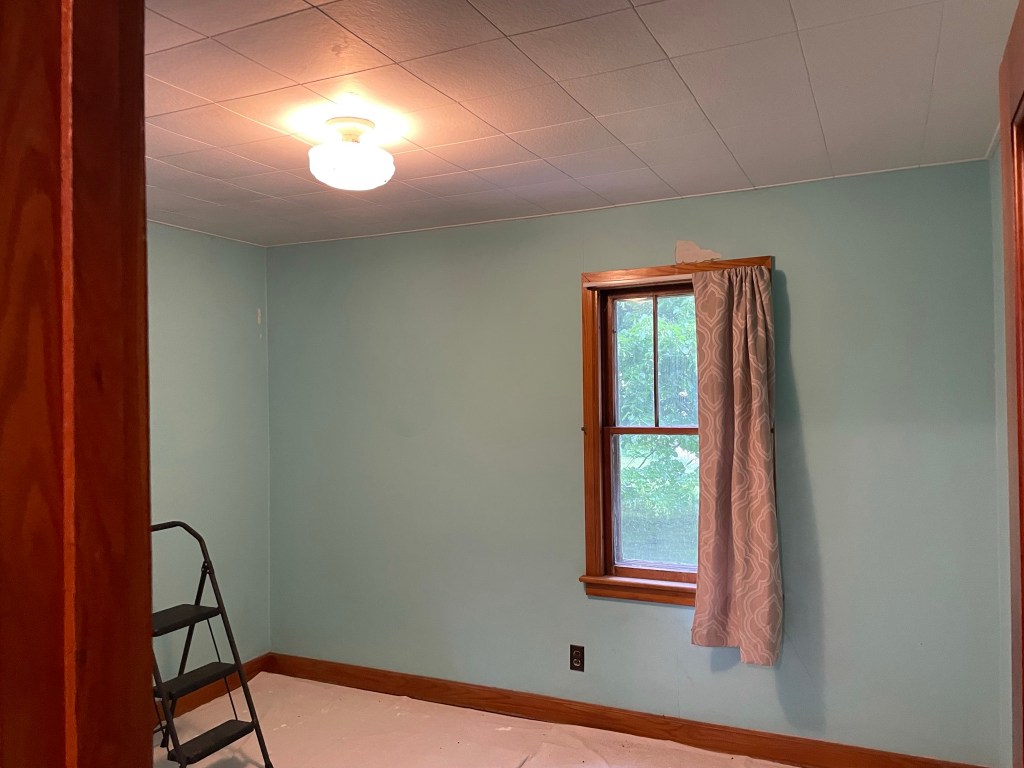
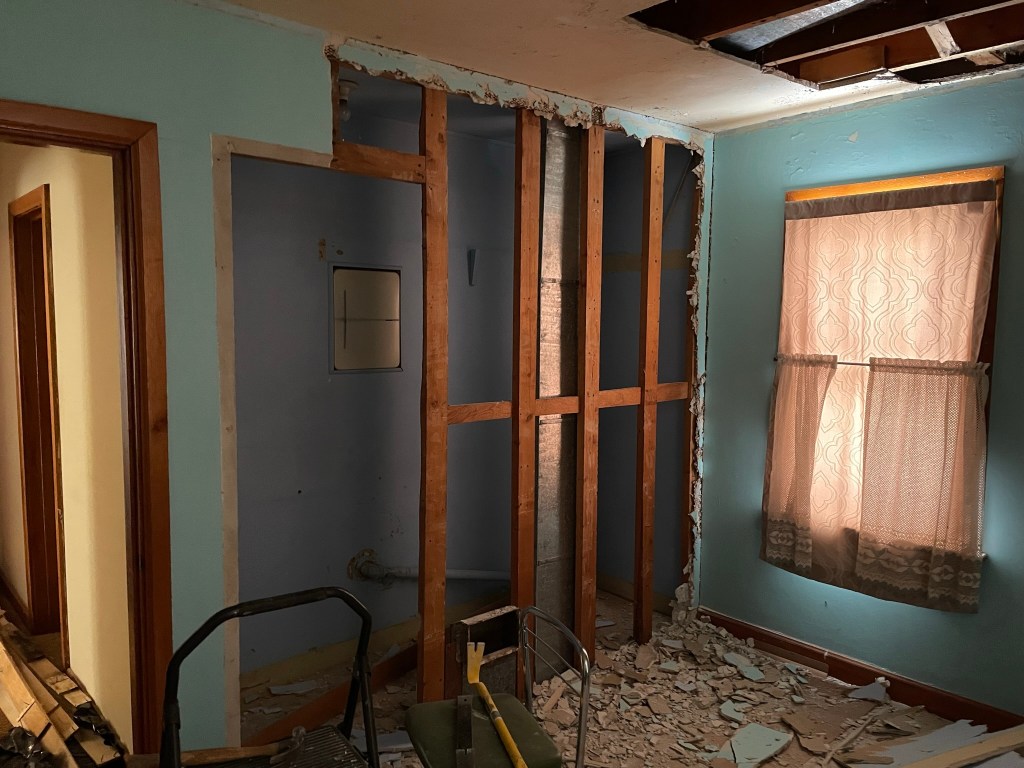
Originally there was an East bedroom and a West bedroom each with small closets, and a bathroom in-between. What we decided to do was move the bathroom to the East bedroom, move the laundry upstairs to roughly where the East bedroom closet is/was (the current hook-ups are in the basement), take out the 2 1/2’X2 1/2′ closet in the West bedroom, turn the former bathroom and West bedroom closet into a hall closet and a walk-in closet for the West bedroom.
It sounds like a lot – and it is. There is wall moving involved. The East bedroom closet is not deep enough for our washer and dryer. The idea is to put louvered doors on so when not in use the laundry isn’t seen. I’m getting ahead of myself.
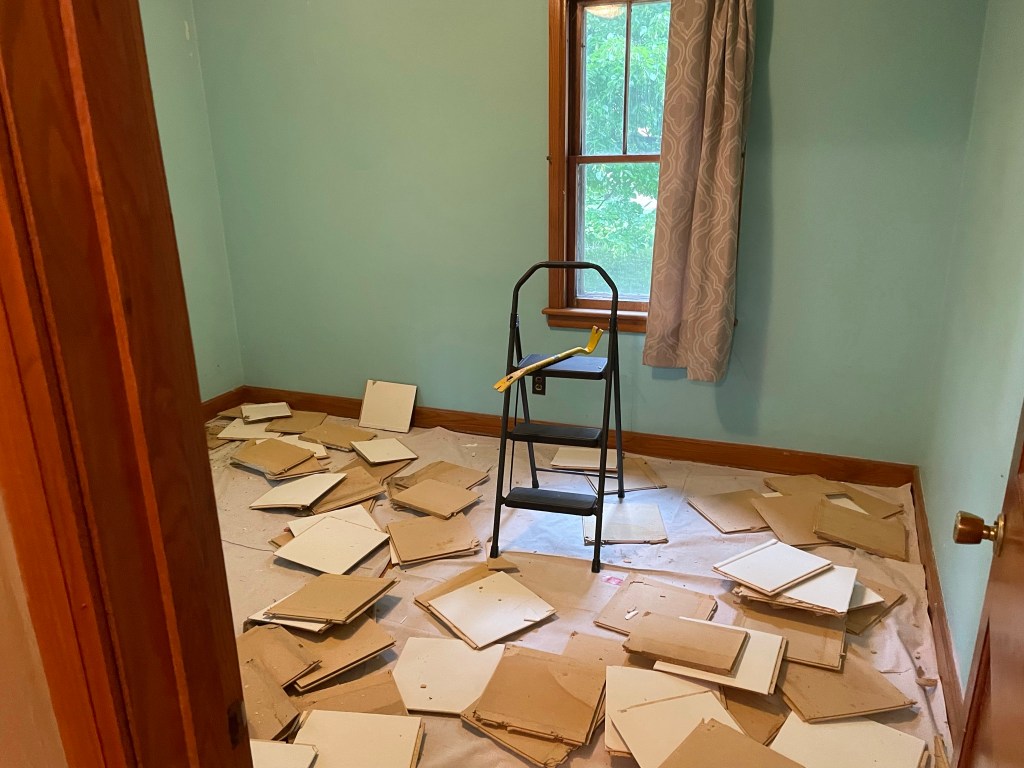
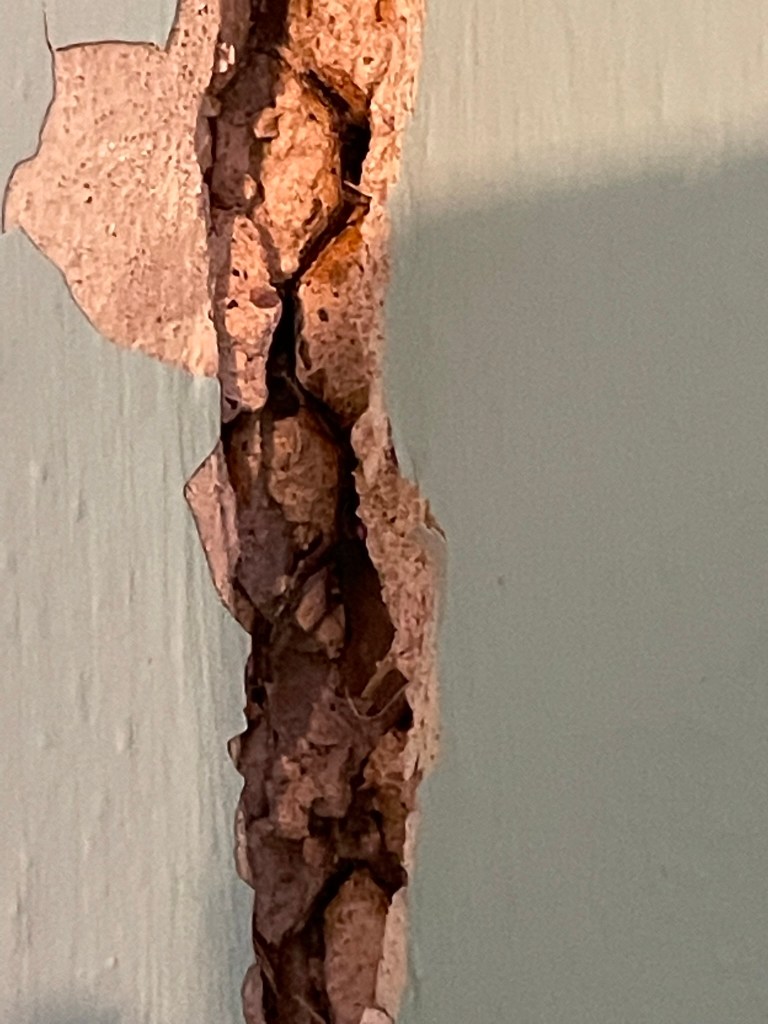
The first thing we did was to assess how the plumbing and heating got upstairs since we were changing the wall that the heat duct ran through. To do this we had to take down the ceiling. Well – not the whole ceiling. Those staple up recycled paper ceiling tiles were in this room. We suspected that the toilet in the 2nd floor bath had leaked or sweated due to a water spot on the ceiling. So the first order of business was to take those ceiling tiles down. That was a me job. I have one word for what I found – GROSS.
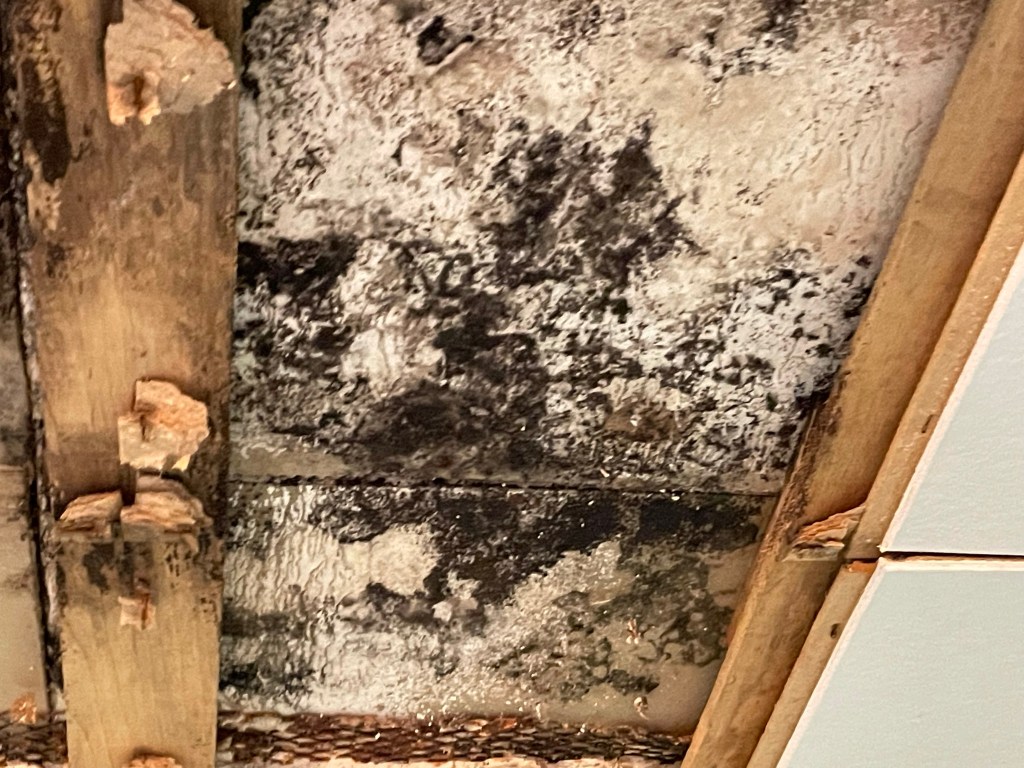
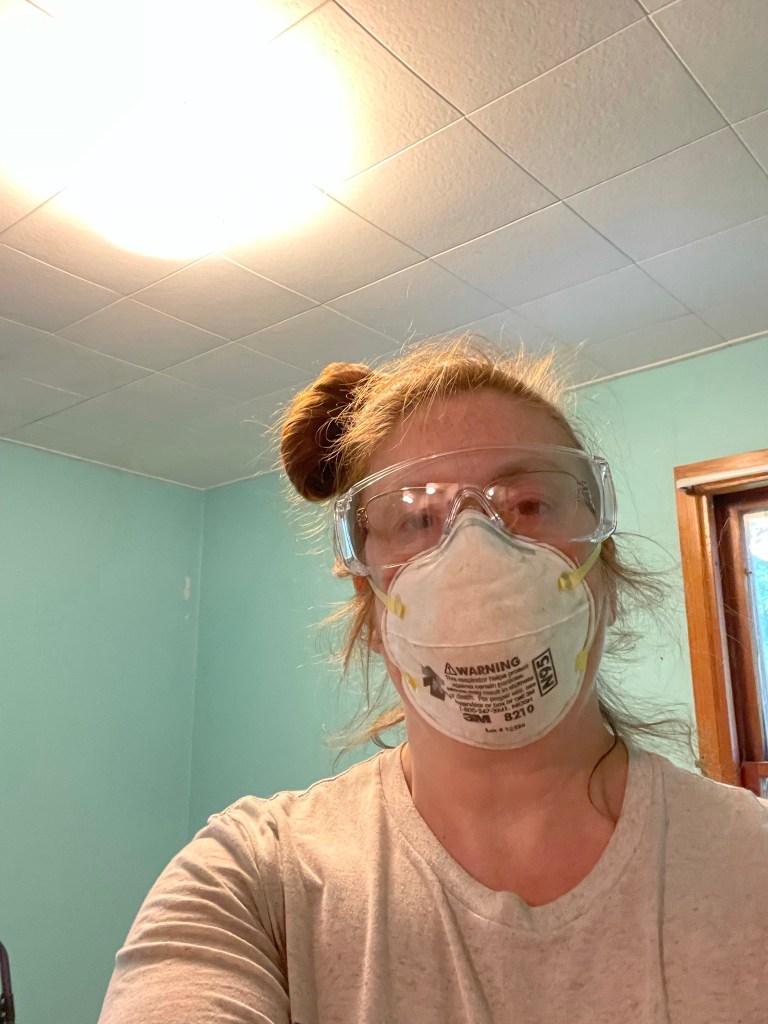
It appeared to be a combination of mold and mouse poop. Anyone worried about black mold – don’t. It will be removed (and yes I wore a P95 dust mask, goggles, and gloves). The solid plaster ceiling I left intact. We will be patching with drywall and plaster to make the ceiling whole again, that step is a long, long way off.
Next I removed what I thought was drywall and plaster where the door for the laundry and linen closet will go. I have been educated that this was not drywall (even though it looks like drywall). In the 1930’s “drywall” was a new innovation replacing plaster and lath, the name however was rocklath and it came in 16″ X 32″ sheets. I discovered that in addition to 3/8″ “drywall”, they put 3/8″ plaster on top – ugh! Brad said putting plaster on top of the rocklath was a common practice in the 1930’s. In the corners I found another innovation of the time and a royal pain to remove – wire mesh lath. As far as good building material I can’t disagree, but to remove it is a pain.


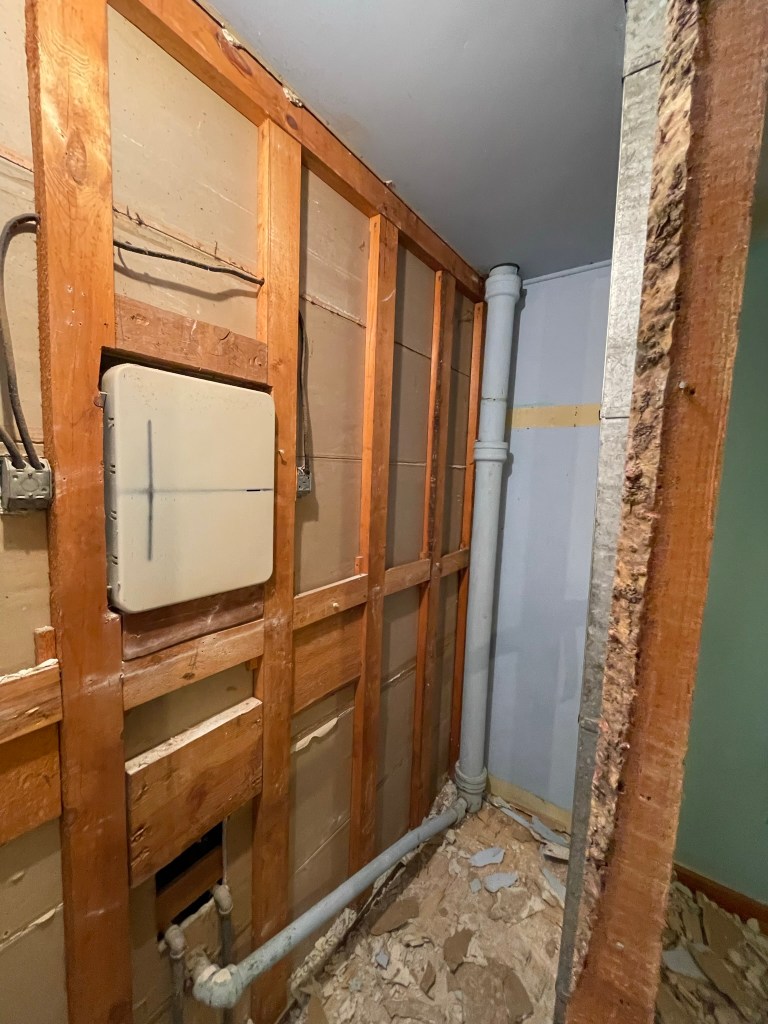
The trim was removed on any walls we would be working on. I was careful to leave intact the walls that we weren’t doing anything to. There is not need to make more work or expense for ourselves.
Once this room was prepped, it was time to turn to the bathroom and prepare that for gutting, that will be another post.
