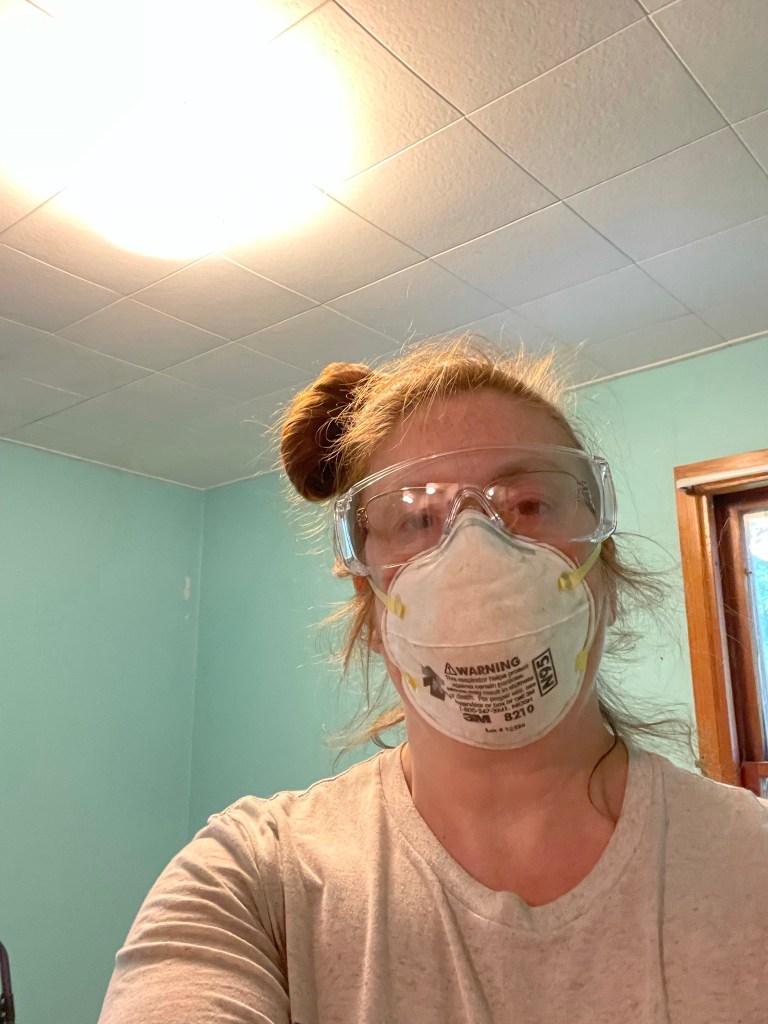
Since we bought Lannon on the Hill we’ve had several self imposed deadlines. Being self imposed, if we didn’t meet them, we simply extended the timeline, which is why we are still in project phase 6 years later.
In July our friend Frank approached Brad that he had several friends who could come and help hang drywall. Brad needed to pick a date. Knowing there was a lot of stuff to do to be ready to close-up walls, Brad pushed the date out to the last weekend of September.
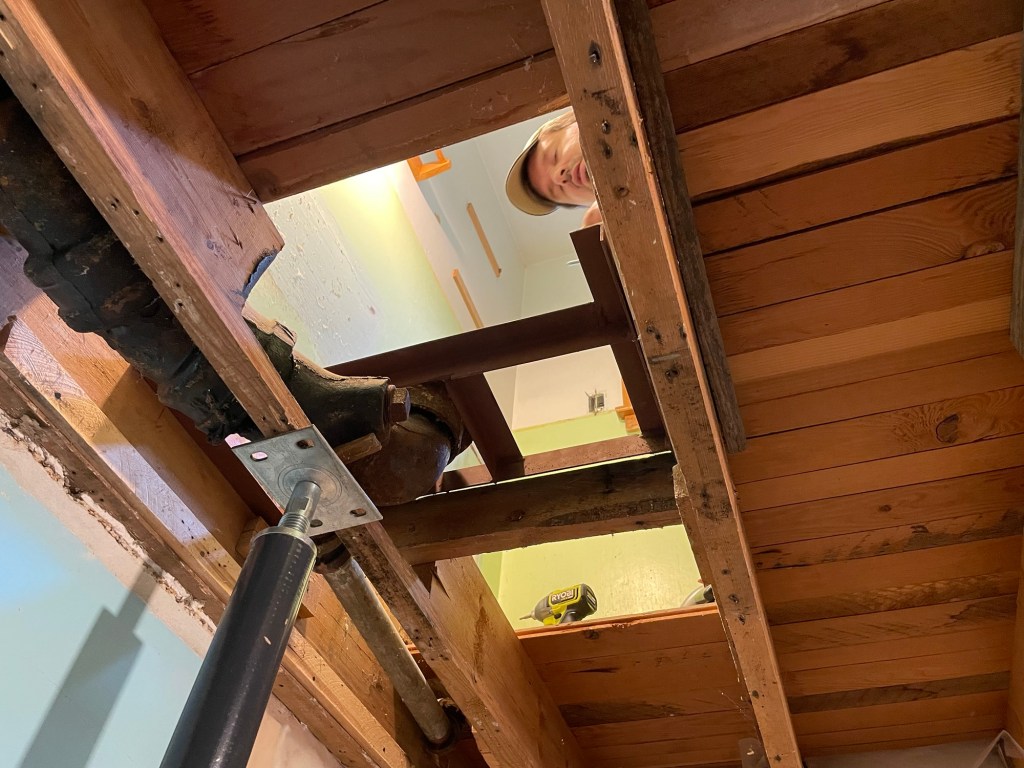
A major problem was the cast-iron pipe from the 2nd floor toilet. The plumber in 1955 apparently thought floor joists were overrated. Of the 8” joist 7” had been removed to make room for the elbow.

The weight of the pipe & toilet over the years had made the joist sag and was pulling the floorboards apart. Brandon put the skills he learned at NWTC to use and welded a support. With house jacks pushing the pipe back into place, the welded frame was bolted to the good joists on either side of the compromised one.
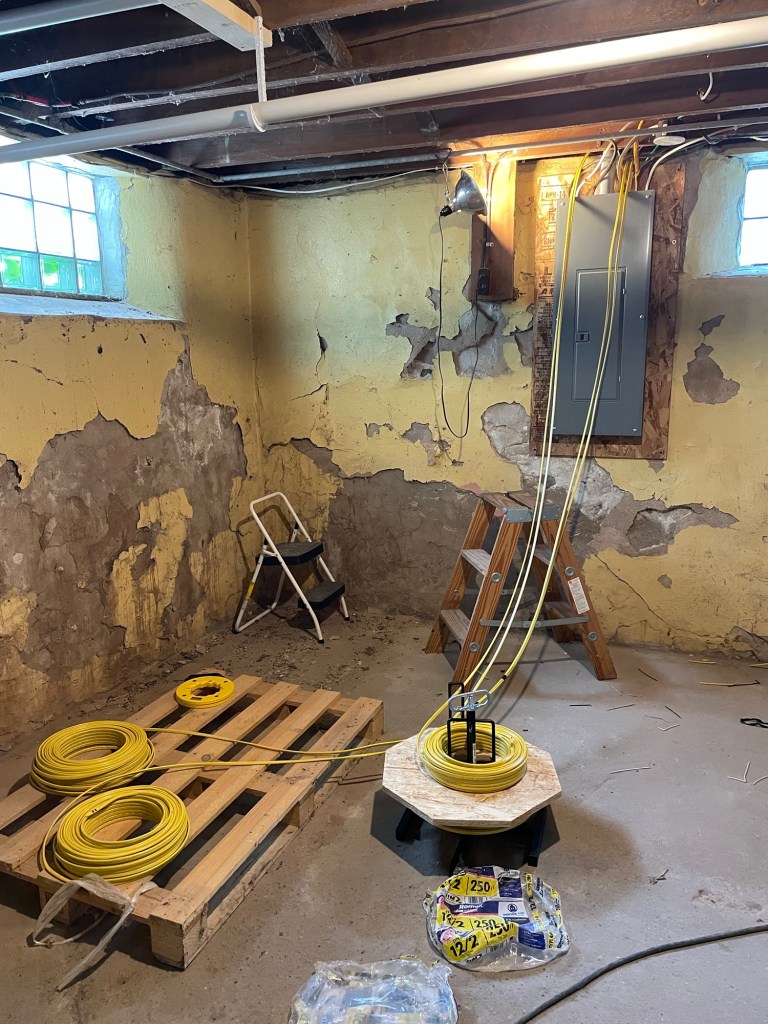
Brad finished the DWV lines (drain, waste, vent). He and Brandon ran the pex lines & finished them. Next would be electrical.
We discovered that when the family room addition was put on the original roof decking was left on when the new roof was put over the top. The obsolete roof decking was an obstacle to accessing the vent pipe. Brad needed to tie the vent pipes for the sink, toilet, and tub/shower in the relocated bathroom into the old cast-iron vent pipe. To do that, he needed to get to it and cut a hole in it and then place a special fitting to connect the 2.
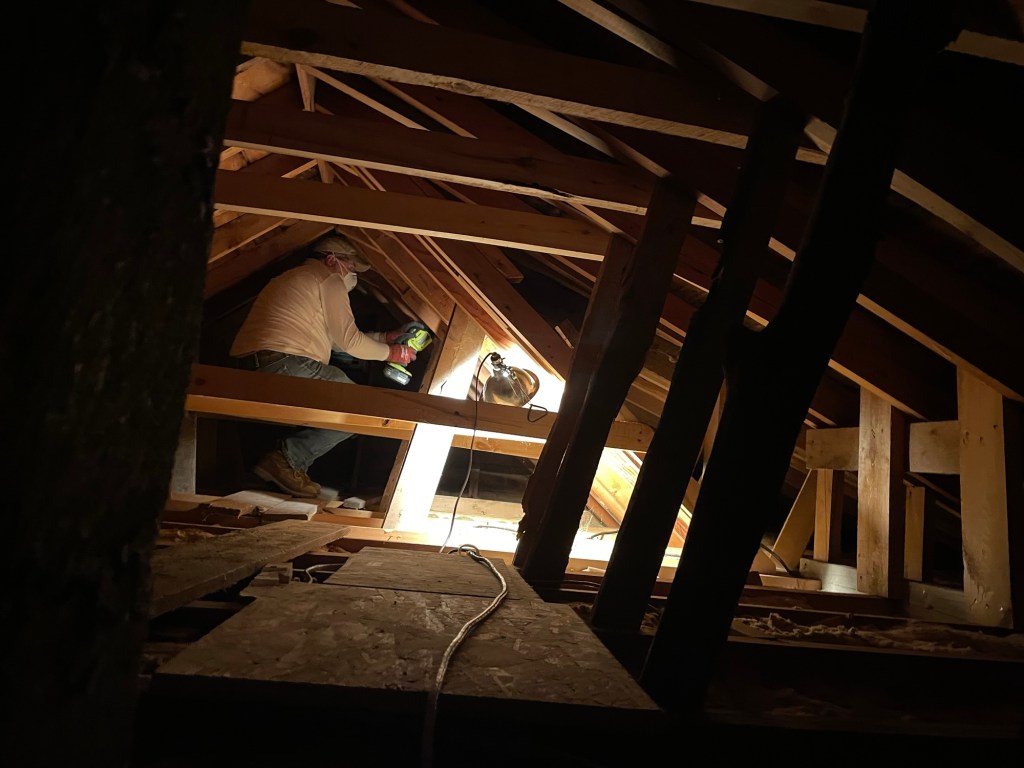
Laying a cat walk over the joists, he and Brandon cut the obsolete roof decking and handed it down piece by piece. Brandon was able to squeeze himself far enough to bore a hole into the cast-iron, and then a saddle fitting was place on it to connect the new vent to the old.
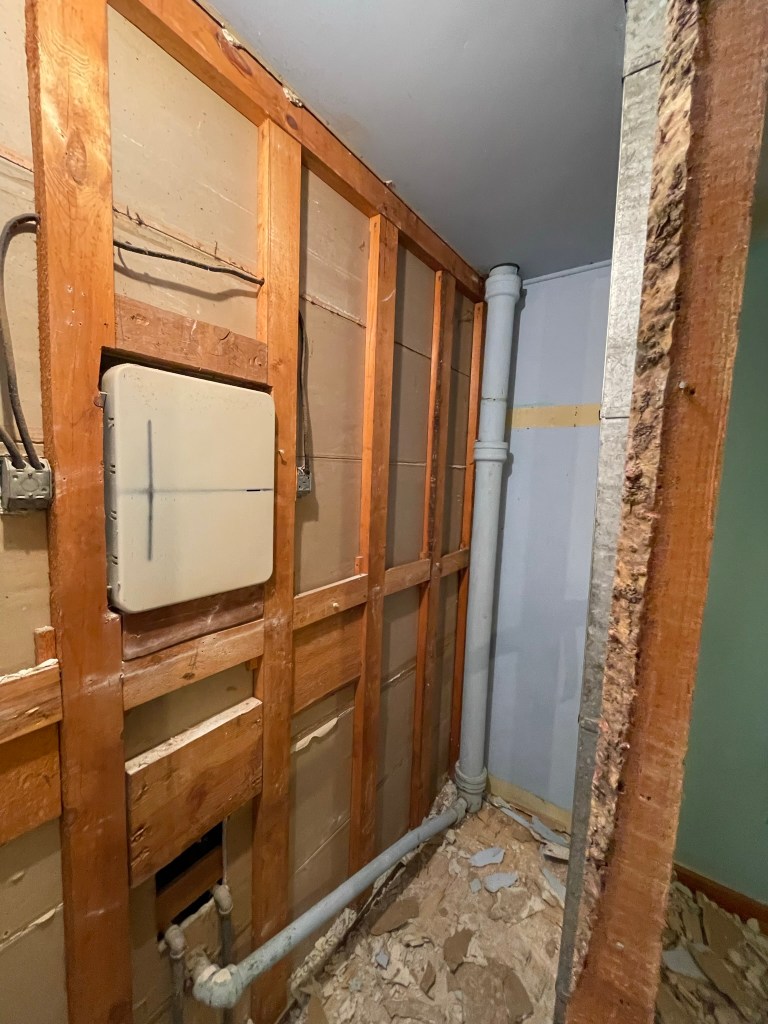
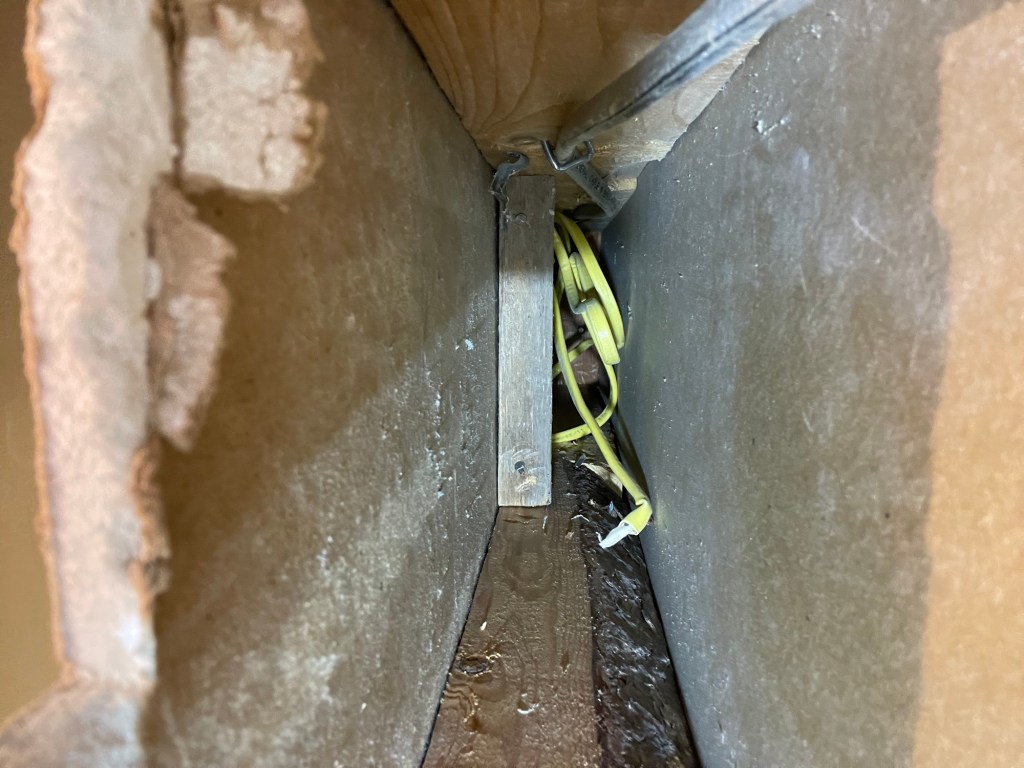
To minimize how many walls had to be opened (and then repaired) wire was run from the breaker box in the basement up the walls to the small closet off the south bedroom, which simply had plywood over the studs. From this closet the wires were then run up into the attic and then disburst to the rooms on the second floor. Toward the edges of the attic it got pretty tight, and Brandon was a huge help, being younger and smaller.

Running the electrical to the bedrooms, closets, and 2nd floor bathroom was simple compared to the family room. Everywhere was accessible through the attic except the family room. Brad cut an access panel in the family room ceiling. Cutting a hole in the family room wall we sent the wires from the attic down the wall shared between the bedroom and family room. Not needing to have the family room electrical completed for the drywall, we stopped here for the time being. More on the family room later..
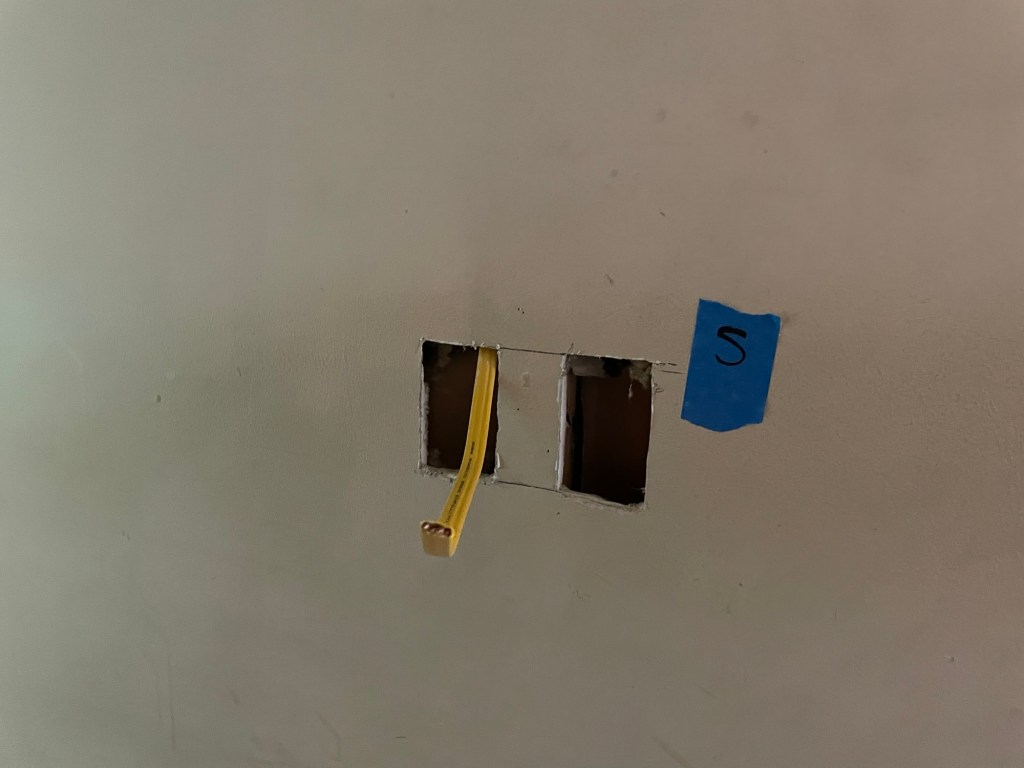
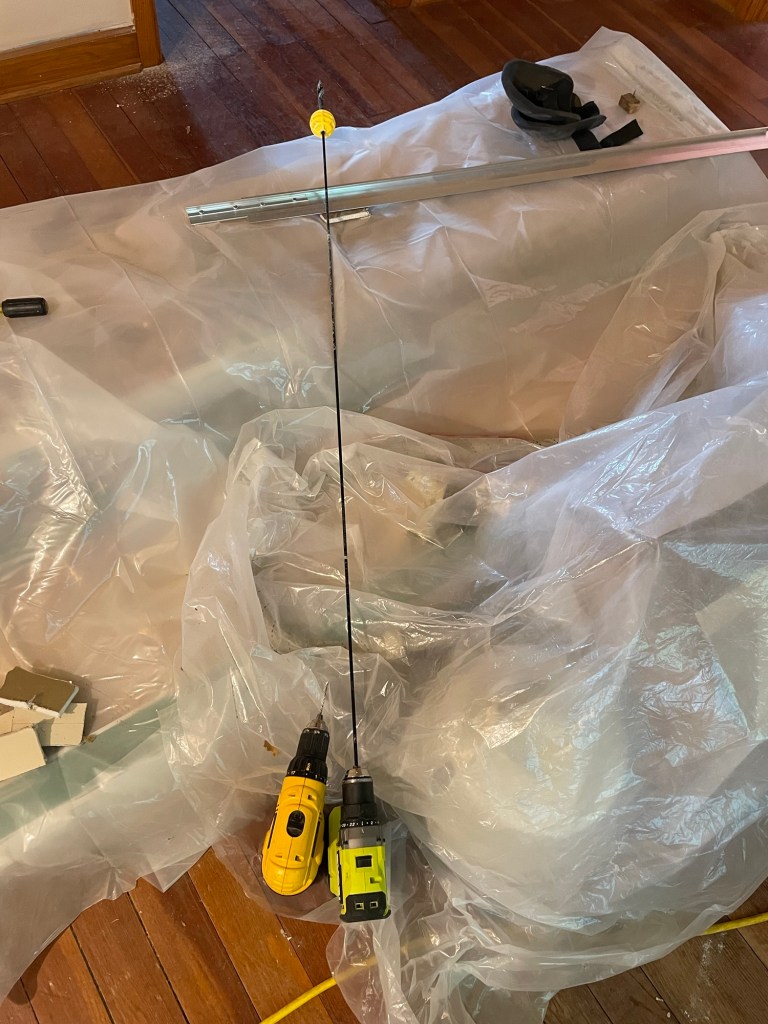
This all sounds really simple. It was far from simple. We tried very hard not to open up more walls than needed. Brad bored 3/4″ holes in the top plate and sent wires down to the holes cut for the outlet boxes. We discovered blocking, which is not common practice in the US. This caused Brad to remember the slang term for the blocking, “bastards”, and we could understand why they got that name. To compensate for the bast – blocking, Brad invested in drill bits that were between 36 and 54 inches long. They had a ball that slipped on to help steady the drill bit in-between the joists. It worked, but not flawlessly. At times it would jam in the hard old growth wood. With many colorful adjectives, a lot of elbow grease, and strategically cut holes we finished the 2nd floor wiring.
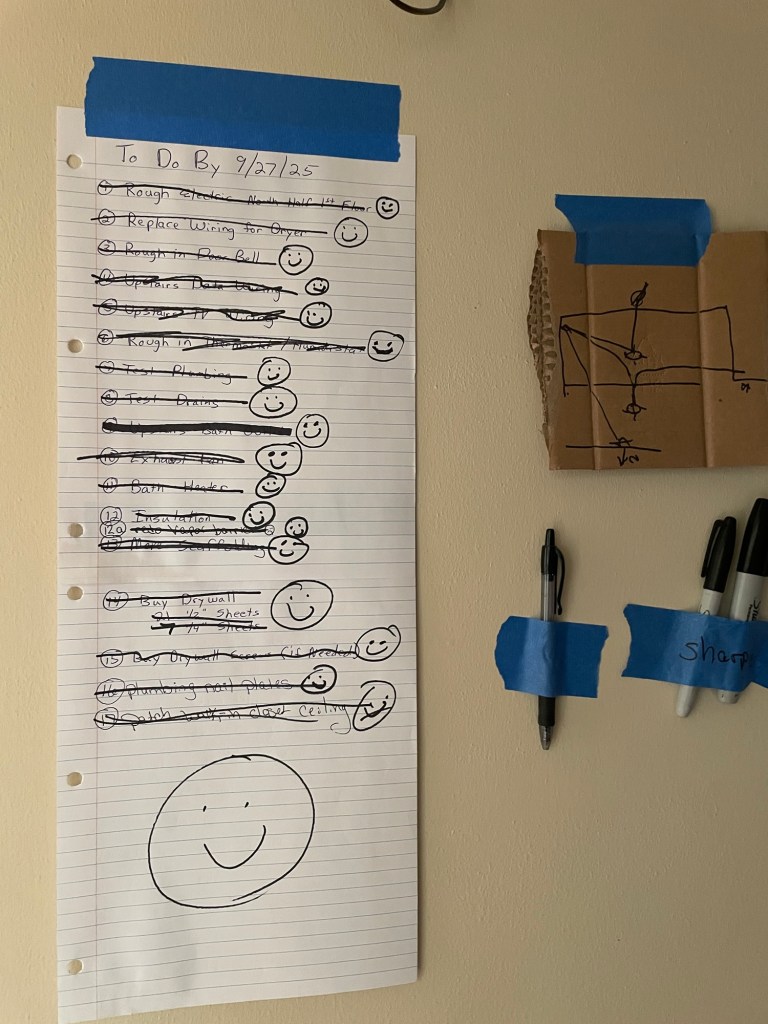
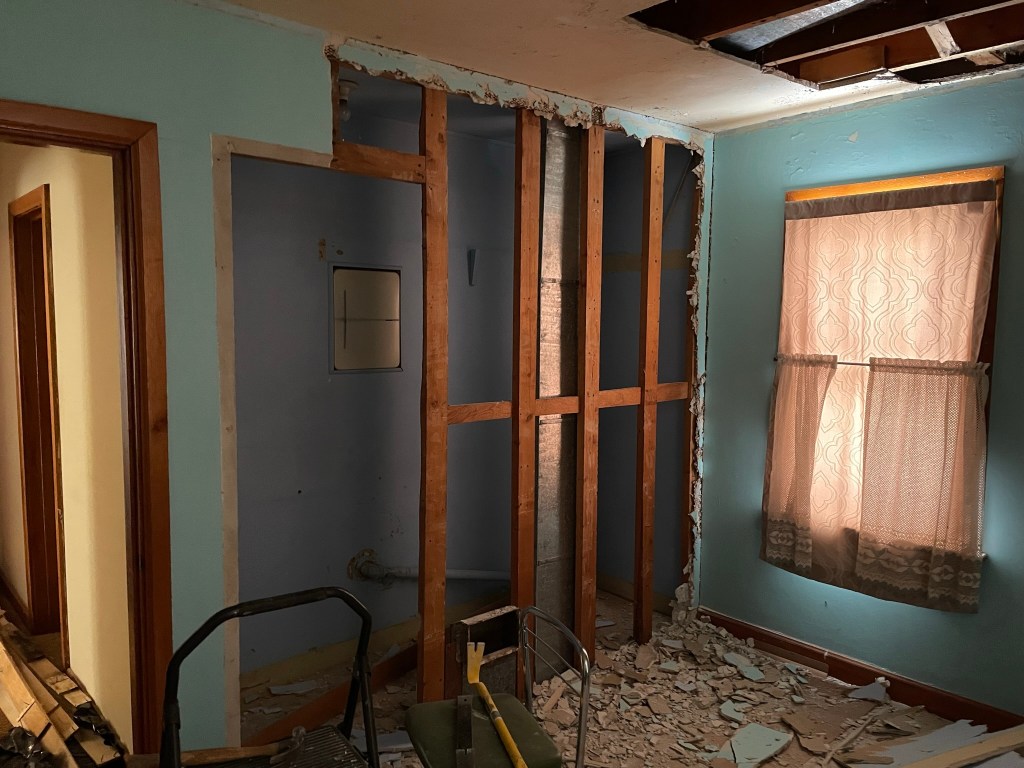
Back to the open walls of the closets and new bathroom. We had a punch list taped to the wall listing what we needed to complete by the end of September, when the drywall crew would arrive.

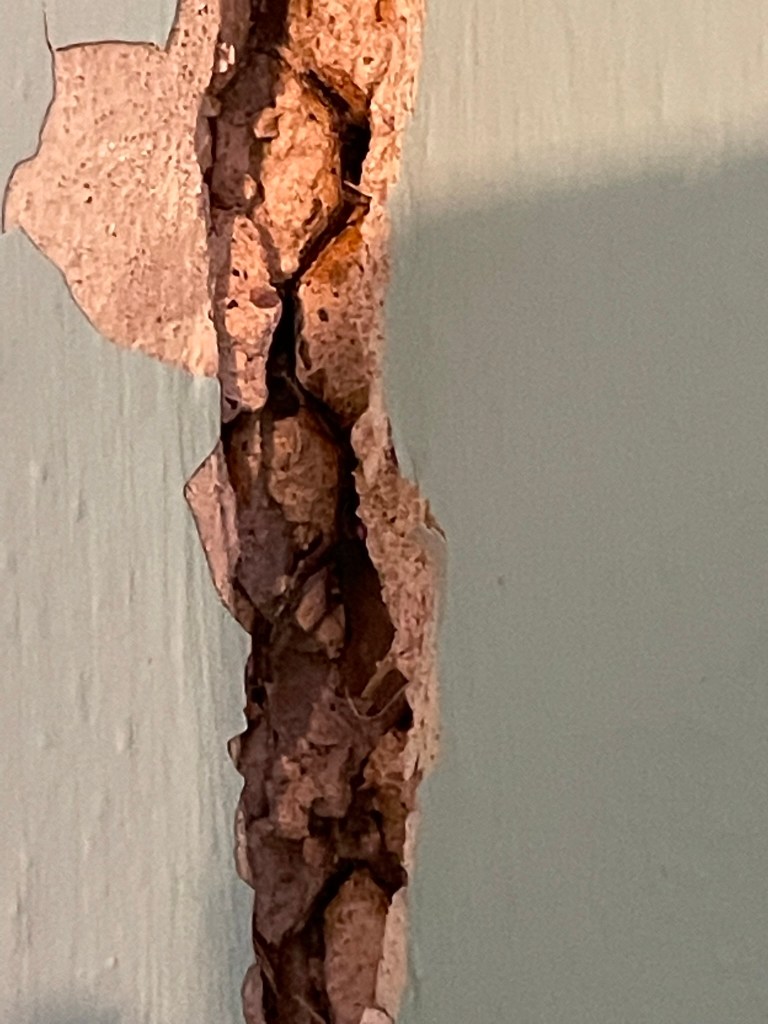
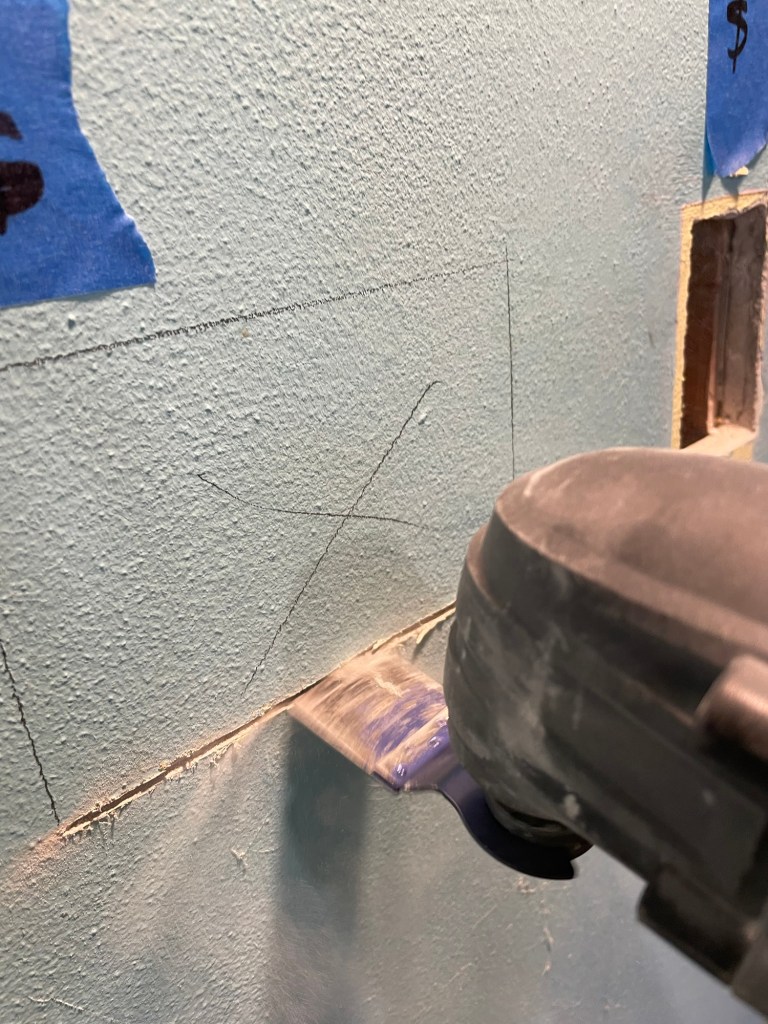
The plumbing was finished, and Brad tested the pex connections to be sure they held water – thankfully there were no leaks! Electrical was run from the basement. Brad had me cut the holes for the boxes for outlets and switches with his oscillating tool and a diamond tipped blade. The original walls on the 1st floor are rock lathe (which looks like small sheets of drywall) covered in a full layer of plaster, which after 90 years is about the consistency of cement. The diamond tip cut through really easily – at first. Cut after cut it took a bit more to cut the holes. By the last hole there was almost nothing left to the diamond tip.


There were hiccups and setbacks. Brad ended up taking vacation days and half days to work through the list. We completed it with time for him to attempt to get working lights in that end of the house. A manufacturing deviation made installing the switches difficult at best. The lighting would need to be run from extension cords, but at least we were ready!